Sewing a button on by hand is a simple and useful process. Most sewing kits will have all of the things you need to mend an article of clothing. All-purpose thread is fine for most projects.
If you are concerned about the durability of your sewing on a high-use button, you can purchase matching button thread or upholstery weight thread. Be sure to knot the thread several times to make sure it is secure.
Video of the Day
Video of the Day
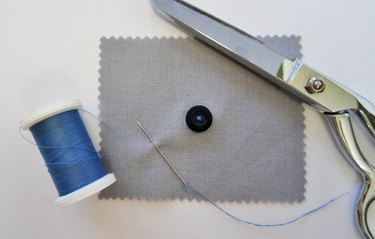
Things You'll Need
[Button](http://www.craftsy.com/supplies/tools-notions?fopts=finishing-supplies_buttons-fasteners)
Sewing needle
Matching/contrasting [thread](http://www.craftsy.com/supplies/thread)
[Scissors](http://www.craftsy.com/supplies/tools-notions?fopts=cutting-tools_scissors)
Pencil or removable fabric marker
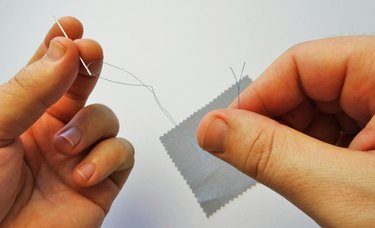
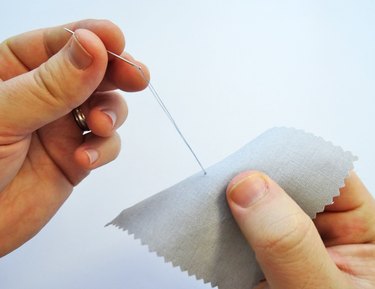
Step 1
Cut a length of thread about 18" long.
Thread the needle and bring the two free ends together.
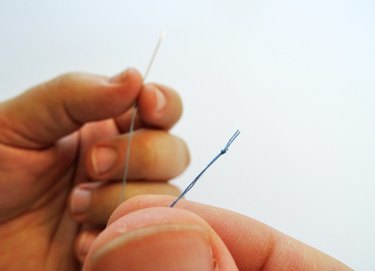
Step 2
Knot the free ends of the thread near the end.
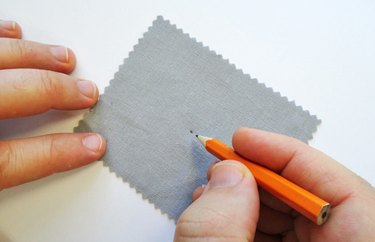
Step 3
Mark the placement of the button to be sewn.
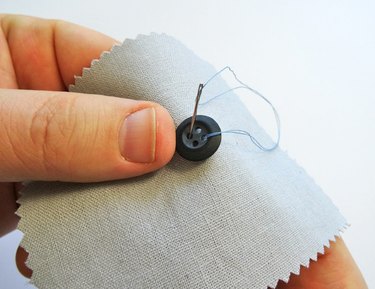
Step 4
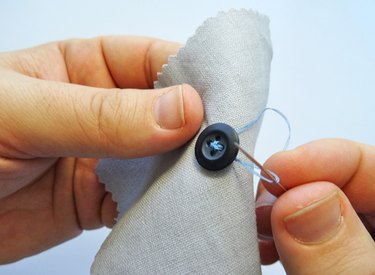
Bring needle up from the underside of the fabric through the marked dot and then through one of the button's holes.
Step 5
Stitch through another hole and back down into the fabric. Stitching right beside the marked dot.
Step 6
Pull the needle to tighten the button to the fabric.
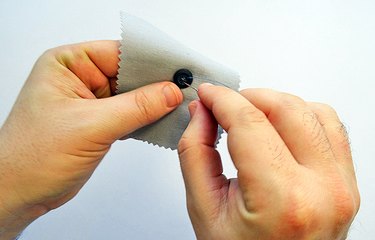
Step 7
Bring the needle up and down again through another set of button holes. Repeat the process 5 or 6 more times to secure the button.

Step 8
Bring the needle through the fabric up under the button beside the stitching.
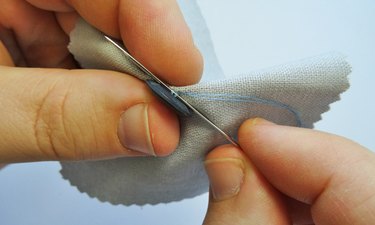
Step 9
Take a small stitch through the threads behind the button. Pull the needle through until there is a small loop of thread left. Pull the needle through the loop and tighten to create a knot. Repeat this step once more to ensure the threads are knotted and secure.
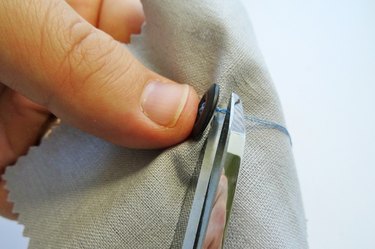
Step 10
Clip the threads near the knot, hiding them underneath the button.
You might also enjoy this post on how to sew a shank button.
Elevate your sewing skills with FREE online classes!
Enjoy step-by-step expert instruction as you create standout garments, accessories and home decor with FREE online sewing classes from Craftsy. Browse FREE online sewing classes now >>
You Might Also Like
