If you aren't one who easily recognizes plants, garden markers are a great way to help keep things straight. After all, you certainly don't want to accidentally use catnip instead of oregano on that pizza. Garden markers are also a great tool in teaching children about plant recognition, and this project is one with which little hands can help!
Video of the Day
In keeping with the organic feel of planting your own garden, it only makes sense to create your own markers from recycled items. Old barbecue skewers are a perfect candidate with their shapely pointy end, long stem, and material (metal).
Video of the Day
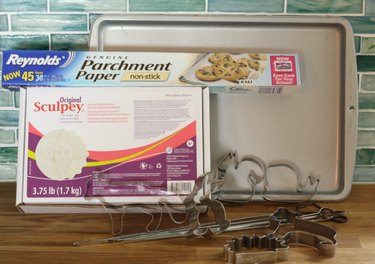
Things You'll Need
Old barbecue skewers
Clay that bakes in the oven
Rolling pin
Parchment paper
Cookie cutters
Baking sheet
Permanent marker
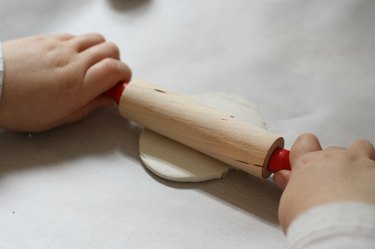
Step 1
Roll out your clay on your countertop (or another flat surface). Lay down parchment paper first so that it doesn't stick to the counters. Roll it to about 1/4" thickness. You will want to make sure you select a clay that hardens and bakes in the oven.
Note: If you choose to use Sculpey, which was used in this example, bear in mind that the clay starts out very hard and requires some kneading.
Step 2
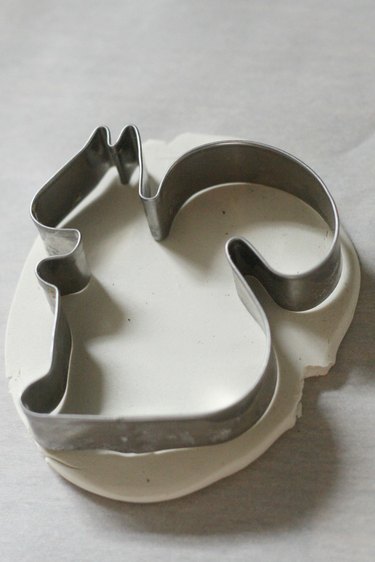
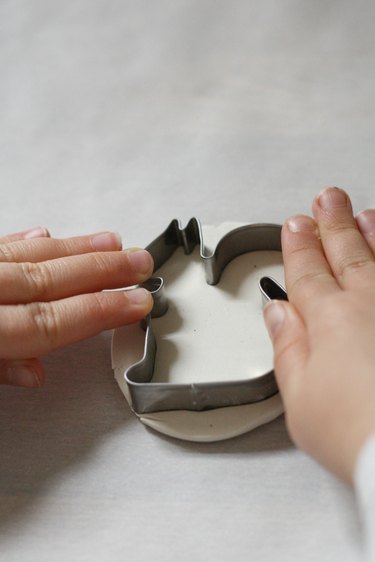
Once you've rolled out your clay, use cookie cutters to cut out shapes. You can personalize the markers with any shape you prefer, or let your kids select something that demonstrates their personality!
Step 3
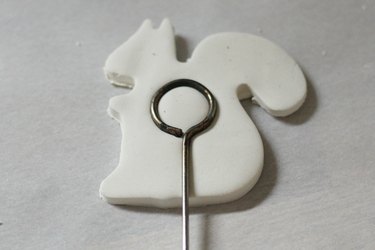
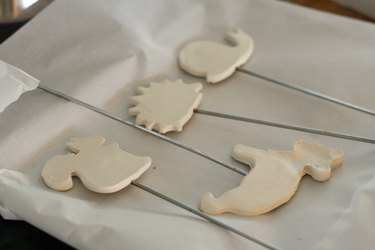
Choose one side to be the front and one to be the back. On the back, press the non-pointed end of the skewer into the clay.
Step 4
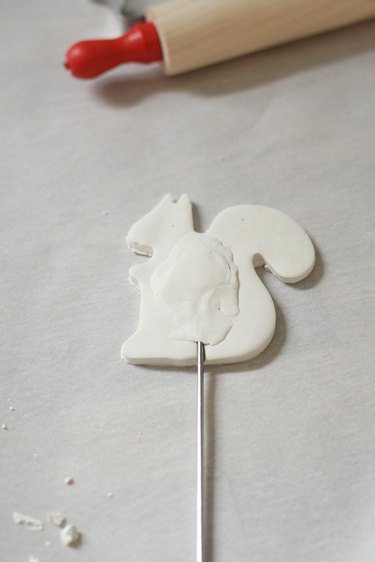
Use a bit of extra clay to cover the head of the skewer, patting and smoothing as much as possible.
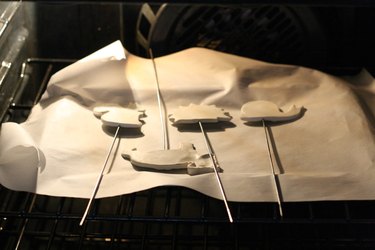
Step 5
Lay the clay skewers on a baking sheet lined with parchment paper, and bake according the the clay manufacturer's directions. Let them cool right on the rack before removing them from the oven.
Step 6
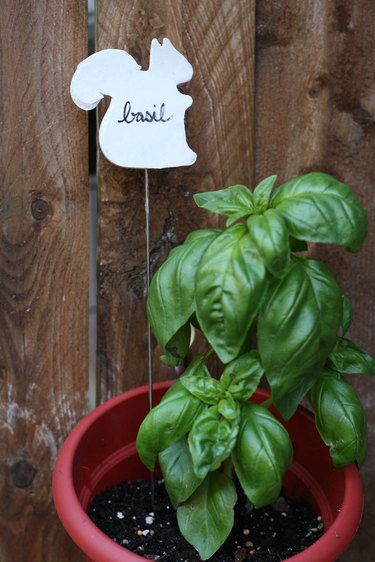
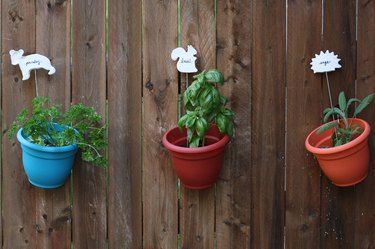
Use a black permanent marker to write directly on each garden marker. If you mess up, or want to reuse with another plant, you can lightly sand your clay to remove the marker and easily rewrite the new plant name. Then place your homemade markers in your garden to mark your plants.