Things You'll Need
Stud finder
Chalk line
Measuring tape
Furring strips
Framing nailer
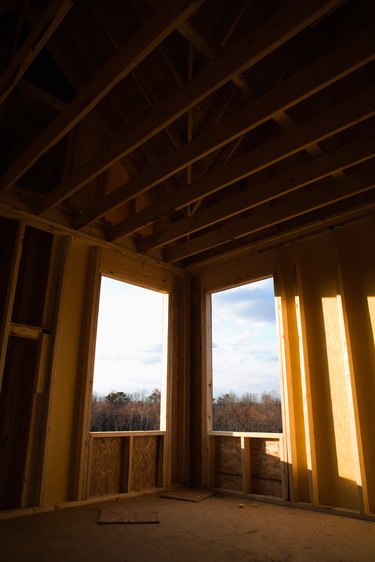
In new residential construction, the contractor attaches drywall panels directly to the ceiling joists and fills the seams with joint compound. If you live in an older home, however, you may have to modify the ceiling before you can give it a finished look. If the existing ceiling is plaster or features wiring or plumbing that extends below the joists, which is common in basements, you'll have to extend the joists. The standard method of preparing a frame to hold the panels, known as furring, provides a structural base to which you can attach large drywall sheets or other specialty-ceiling materials.
Furring Strips for Drywall
Step 1
Locate the ceiling joists using a stud finder if you're furring out an existing ceiling, and pop a chalk line, lengthwise, over the center of every joist. Standard joist spacing is 16 to 24 inches.
Video of the Day
Step 2
Measure the length of one chalk line and attach 1.5-inch furring strips along the line with a framing nailer. Insert one nail every eight inches. Center the furring strips directly over the original ceiling joists.
Step 3
Install as many furring strips as necessary to cover the chalk line. For example, if your chalk line is 12 feet long, you will install one whole eight-foot furring strip, butting it against one wall, and then measure and cut four feet from another strip and attach it over the remaining space.
Step 4
Cut furring strips so they will not cover wires or pipes that extend below the joists in an unfinished basement. This occurs when the plumber or electrician installed pipes or wiring slightly below joist level. Measure from the end of an existing joist to a point about ½ inch shy of the wires or pipes. Cut a furring strip to fit.
Step 5
Repeat the measuring and cutting process on the other side of the wires or pipes. This will leave a gap in the furring strip over the pipes or wires, but that's okay. When you install the drywall, you won't insert screws in that specific spot.
Special Furring Needs
Step 1
Install furring strips perpendicular to the ceiling joists when you need a smaller or larger space between strips to install specialty ceilings, such as tiles.
Step 2
Space perpendicular strips as far apart as indicated by the manufacturer of the ceiling material. For example, if you're installing 18-inch tin ceiling tiles, you'll space the furring strips 18 inches apart.
Step 3
Install wider furring strips when you're running them perpendicular to the joists. If you use one-by-four furring strips, you can insert two evenly spaced nails where the strip crosses every joist for added security.
Tip
If an old drywall or plaster ceiling is sagging, consider removing the existing ceiling materials instead of furring out the joists and adding drywall.
Warning
Furring out a ceiling will reduce headroom. If you use standard two-by-two furring strips, which actually measure 1.5 inches, and you install ½-inch drywall panels, you will lose two inches in headroom.
Video of the Day