Things You'll Need
Paint
Mosaic art pattern
Tile or shell pieces
Cardboard
Liquid nails adhesive
Grout
Waterproof acrylic
A mosaic can add a colorful and whimsical look to your mailbox, while also being an expression of your home's character and personality. Turning your ordinary wood or metal mailbox into a crafty piece of art is an engaging project that your children will enjoy helping with. Mosaic mailboxes are an excellent way to make use of extra tiles from a previous project, or shells you gathered on your last beach vacation. The possibilities of expression are only limited to the size of your mailbox and your imagination.
Step 1
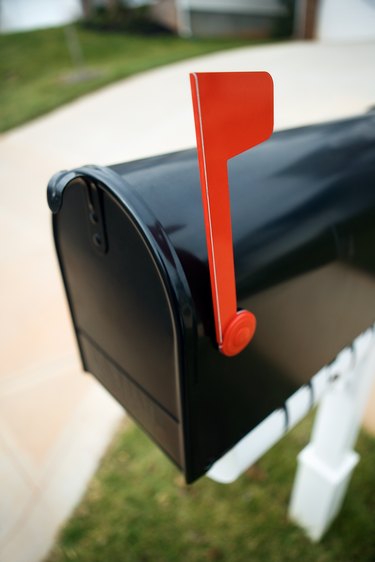
Purchase a mailbox that would be best suited for making a mosaic mailbox according to your preferences. Wooden mailboxes may be affordable and acceptable for warm, dry climates but they may become warped in wet climates. Metal mailboxes are generally best for affixing mosaic pieces.
Video of the Day
Step 2
Paint your mailbox using a single color that will blend into your mosaic design. Painting your mailbox before you begin will help to defend it against the weather, and it will fill in any spaces that may be visible between mosaic pieces.
Step 3
Draw your mosaic pattern on a piece of cardboard or paper that is the same size as your mailbox so you can make sure your pattern will fit correctly on the mailbox.
Step 4
Place your mosaic tiles, shells or stained glass pieces on top of your cardboard drawing and arrange them until you are pleased with the design. Arranging the tiles before attaching them to your mailbox will make the process easier and you will be sure that the tiles are arranged to your liking.
Step 5
Transfer your tiles from the cardboard to your painted mailbox and attach them with a liquid nails adhesive to ensure maximum hold in any climate. Move the pieces one at a time in a sequential manner so they fit together in the way you intended.
Step 6
Mix a waterproof acrylic into your grout for a secure hold that is resistant to many types of extreme weather. Grout your mailbox after allowing the mosaic pieces to dry for at least two days.
Tip
You can also draw your mosaic pattern directly onto your mailbox with a pen or piece of chalk after it is painted as a guide. Placing your tiles directly on top of the sketched pattern on the mailbox may give you a better idea of how the tiles will fit together.
Video of the Day