Things You'll Need
Card
Scissors
Graphics software
Printer
Craft glue
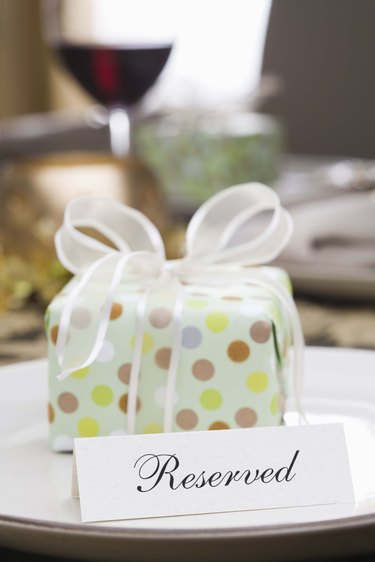
At parties or in restaurants and bars, it is sometimes necessary to set aside tables that have been booked ahead or are for a specific purpose. While it is possible to purchase "Reserved" signs, it is also very simple to make your own custom designs. You can make the signs using basic craft materials and a computer, which can then be placed on a table to designate it as being set aside.
Step 1
Cut sections of cards 5-by-5 inches. Fold the cards in half to make them into a "V" shape.
Video of the Day
Step 2
Use the "Text" tool in your graphics software to type the word "Reserved." Set the font and size to your desired style, but ensure that the word "Reserved" will fit onto the front of the card. Print out a test page, then print out the number of copies that you need. To save space it is a good idea to make multiple "Reserved" signs on the same sheet.
Step 3
Cut out the "Reserved" signs from the sheets of paper. Use craft glue to attach them to the front of the folded pieces of cards, with the fold orientated at the top.
Video of the Day