Things You'll Need
Linoleum
Linoeum cutter
Bench hook
Pencil
Water
Paint brushes
Paper towel
Acrylic paint
Spray fixative (optional)
Frame
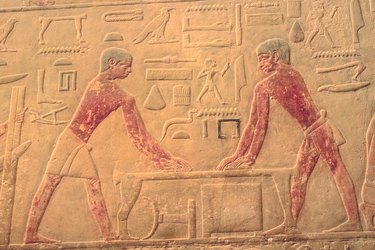
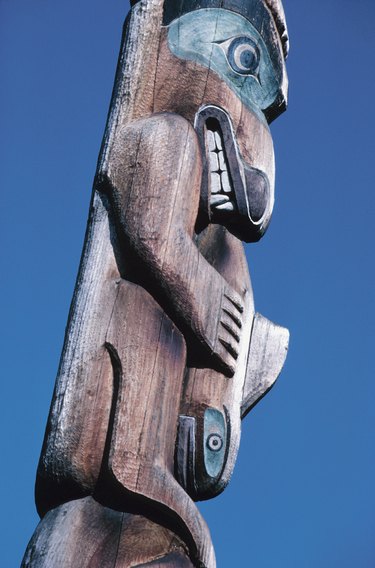
A relief painting is carved, creating a "raised" two-dimensional surface, which is then painted. Relief is a form of sculpture, which can be either high or low (also known as "bas"), depending on the depth of the cut. In ancient Egypt, relief paintings were depicted on pharoahs' tombs, carved in limesone or sandstone; in the Americas, wood was used by Native Americans for totem poles. Thereafter, the popularity of relief painting seems to have waned; few modern artists would adopt this technique. Relief painting should not be confused with relief printing, which uses inked woodblocks to create art. In this article we will use linoleum, as it is softer than stone or wood, and is therefore the best material for beginners. Linoleum is a substance that can be both carved and painted with relative ease.
Step 1
Determine the size of the linoleum you want to use. You can purchase it in the desired size or in a large sheet that can then be cut to size. Place the sheet of linoleum on the bench hook. This will hold the surface firmly so you can cut the linoleum accurately and safely. Lay out the linoleum cutter as well as the interchangeable attachments.
Video of the Day
Step 2
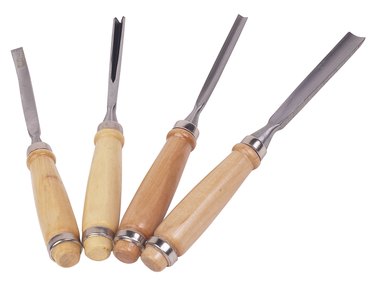
Draw an outline of the picture on the linoleum, using a pencil. Hold one arm across the linoleum to stabilize it, then begin cutting the surface with the other hand. Cutter sizes vary: a narrow (liner) cutter is best used for high relief, a wide, U groove and V groove should also be used to achieve a variety of effects. For optimum results, use varied cutters, much like a painter would use different brushes; this will determine the shape and size of the painting.
Step 3
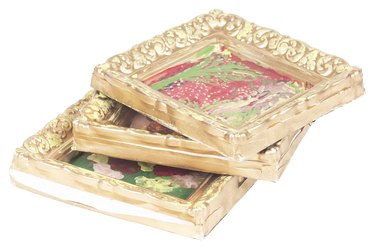
Remove all stray pieces of linoleum for a smooth, clean surface. Decide on the color(s) for your painting and place the acrylic paints in a palette. Add water to make a watercolor like consistency, creating a stain. Linoleum is absorbent, so the water and acrylic paint mixture works well. Begin painting the deep, carved grooves with darker colors. This will give the painting shadow-like effects. Lighter colors can be used on the flat surface for contrast. Remove paint that has spilled into any unwanted areas with paper towel. The acrylic paint is water-resistant, so it is optional as to whether you use a sealer. A spray fixative can be used, and the finished relief painting can then be framed.
Tip
When you become more experienced, you may want to experiment with harder surfaces(stone or wood), which will afford you a relief which can then be painted.
Warning
Practice caution when using cutters. Direct the cut away from your body, as the tool may slip. Use safety equipment for your own protection.
Video of the Day