Things You'll Need
Scissors
Poster board
Foam brushes
Decoupage glue
400-grit sandpaper
#0000 steel wool
Clear coat polyurethane spray
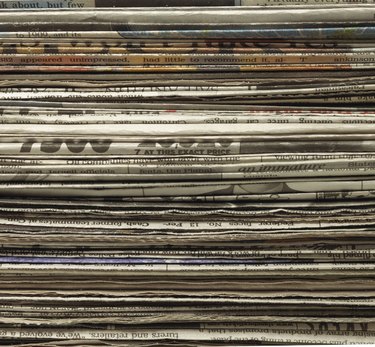
Decoupage is a French term that literally means, "to cut up." It is also an aptly named art form in which objects are decorated with small pieces of paper, including newspaper, photos, magazine clippings, tissue paper and wrapping paper. People decoupage everything from furniture to shoes and jewelry boxes. You can also decoupage newspaper onto canvas. Try this project to chronicle the top headlines for a year, to highlight a particular event or if you simply want an original piece of art. Use a canvas board to frame later or choose canvas stretched over a frame.
Step 1
Cut out the pieces of newspaper using a pair of sharp scissors or a paper cutting board if you want smooth edges. Tear the pieces apart if you prefer a more jagged edge for your pieces.
Video of the Day
Step 2
Arrange the newspaper cutouts on the canvas without glue to find a design you like. Arrange the clippings flat or with slight overlap, if desired. You can measure the dimensions onto a table or poster board instead of having to move the pieces from the canvas after finishing the arrangement.
Step 3
Brush decoupage glue onto a small area of the canvas, starting in one corner. You can purchase glue specifically for decoupage or mix a few drops of water into white school glue.
Step 4
Brush the back of one newspaper cutout with a small amount of decoupage glue and stick it into place on the glued portion of the canvas. Lay the piece carefully to reduce wrinkles and push out any wrinkles from the center to the edge of the paper. Continue with additional cutouts until the glued canvas is covered.
Step 5
Apply decoupage glue to another section of the canvas next to the previous section. Now that you know how long it took you to cover the first area, you can choose to cover a larger or smaller section of your canvas.
Step 6
Apply the glue to the back of newspaper cutouts and paste them to the canvas one at a time until the glued area is covered, smoothing out all wrinkles as you go. Repeat this process until the entire canvas is covered and you are satisfied with your work.
Step 7
Add a second layer of cutouts over the first layer, if desired, or decoupage a picture or words on top. For example, you can used the decoupaged newspaper as a background over which to decoupage your favorite quote.
Step 8
Allow the decoupage glue to dry for about one hour.
Step 9
Brush a layer of decoupage glue over the surface of the collage to protect your work. When the top coat is dry, lightly sand it with damp 400-grit fine sandpaper. Apply at least one more coat to finish the project; if applying a third coat, lightly sand with the sandpaper after the second coat.
Step 10
Apply the final coat of decoupage glue to the surface, allow it to dry and then lightly polish the finish coat with #0000 steel wool.
Tip
You can also spray the finished decoupage with a clear coat polyurethane spray in place of or in addition to the decoupage glue coating. Add as many coats as desired to achieve a glossy finish, sanding in between coats as with the decoupage glue. Most canvases available at art and crafts stores are pretreated and ready for your project. If not already prepared, you will need to treat the canvas with gesso, a paste used to prepare a variety of surfaces for painting.
Video of the Day