Things You'll Need
1/2-inch thick wood plank
Hand saw
Measuring tape
Sandpaper
Hammer
Nails
Leather twine
Elastic ribbon
Sewing machine
Scissors
Drill
Drill bits
Chisel (optional)
Paint (optional)
Wood squares, 2" x 2" and 1/4-inch thick
Pattern paper
Pencil
Nobody would last more than a few minutes in modern warfare with a suit of wooden armor. It is heavy, hard to move in, and easily penetrated by bullets or sharp weapons. Believe it or not, several cultures used wood to make their shields, masks and vests until metal work was perfected. Though it would be about as protective as a T-shirt against modern weapons, these wooden items shielded soldiers from ancient weapons and helped those with the technology win several wars. The suits generally only protected the front of the body and were extremely simple in design. It was not long after people began using these wooden suits that they recognized metal makes a much better suit of armor. The main parts of these traditional wooden suits of armor are a mask, shield, a vest and thigh plates.
Step 1
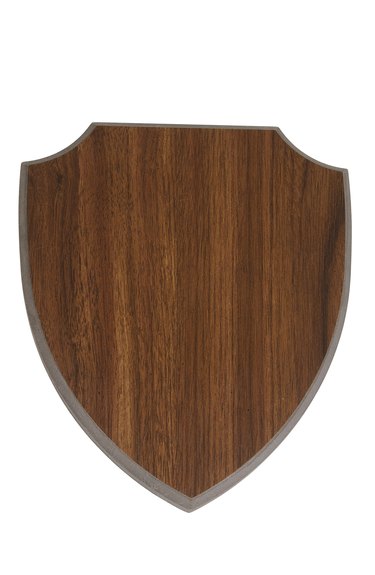
Cut the wood plank into the shape of your shield and mask using the hand saw. You can make the mask and shield any shape you like. Masks were usually long, oval shapes that covered the head and neck, but be creative.
Video of the Day
Measure from the top of your knee to the top of your thigh. Measure the circumference of the top of your thigh and your knee. Divide the thigh and knee measurements by two, then divide by three. Cut three rectangular pieces this width plus the height for the thigh plates. Sand all of the rough edges.
Step 2
Make a hole on each corner of the thigh plates with the hammer and nail. Attach the three thigh plate pieces together for each leg with leather twine. The three pieces allow the thigh plate to slightly bend around your leg. Thread the elastic ribbon through the top two outside corner holes in the right thigh plate. Fit snugly to your leg. Sew the two ends of elastic together with the sewing machine and cut off any excess. Repeat for the bottom end of the thigh plate and the left leg. Of course traditional wooden armor did not have elastic, but this holds the armor in place better than leather twine.
Step 3
Fit the mask to your head. Make four holes with the hammer and nail. Two at the forehead on each side and two just below the ears. Attach the elastic the same way you did in step 2, only this time fitting the mask to your head. Place the mask on your face and mark the place for the eyes. Drill two large holes in the mask. Make several holes if you do not have a drill bit large enough to see through. Sand around the edges. Decorate the mask by chiseling the wood or painting a design.
Step 4
Make a hole in each corner of the square wood chips. Measure the width of your chest, shoulders and stomach. Roughly sketch your torso on a piece of pattern paper following these measurements. Lay the chips flat on the paper in the shape of a vest on the torso. Tie the chips together with the leather twine. Make two more holes on each side of the vest just below the armpits. Attach elastic to the holes, then sew the elastic ends together at the back, fitting the vest to you snuggly. Make two more holes at the top of the shoulders. Sew a piece of elastic from each shoulder down to the other piece of elastic around your back. You can make the back of the vest in the same fashion and tie the two together, but traditionally wooden suits of armor only had front protection.
Step 5
Finish your shield. Hammer a piece of elastic going across the back. This is for you to hold the shield. Try the entire suit on and make any necessary adjustments to the elastic. Decorate your wooden armor or leave it plain.
Video of the Day