Things You'll Need
Ladder
Screwdriver
Wire pliers
Fan brace
Wrench
U-bolt
Mounting bar
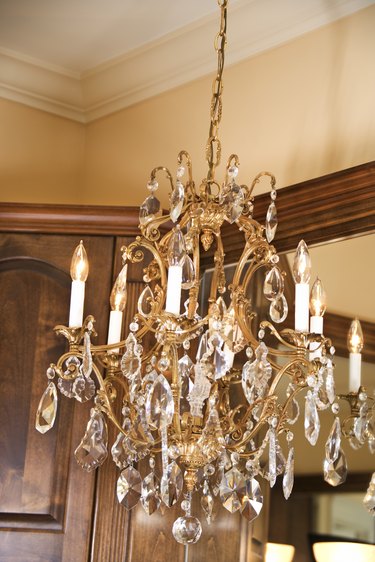
Flush mount lighting systems are appropriate for rooms with low ceilings. Adding chandeliers to rooms with higher ceilings helps fill the space and add elegance to the area. Updating lighting from a flush mount ceiling fixture to a chandelier involves taking out the canister that houses the flush mount wires and replacing it with a new support system. Chandeliers are heavier than flush mount lights, so they require additional bracing in the ceiling.
Remove the Flush Mount Light
Step 1
Turn off the power supply to the light fixture.
Video of the Day
Step 2
Use the ladder to reach the flush mount light and remove the screws holing the light cover to the light. Set the light cover aside.
Step 3
Remove the light bulbs and take out the rest of the screws holding the plate to the ceiling and remove the plate. This will expose the flush mount canister that holds the wiring.
Step 4
Take out the screws holding the canister in place and gently pull down on the canister until you can pull out the wires. Disconnect the wires from the light kit inside the canister and set the light kit aside.
Step 5
Disconnect the wires that lead to the electrical juncture box that feeds power to the light. At this point, you can remove the canister and set aside. The wires from the electrical box will remain hanging from the hole in the ceiling.
Step 6
Remove the old electrical box that housed the wires of the flush mount light by removing the screws that held the box to the ceiling joist or metal bar.
Install the Chandelier
Step 1
Take the fan brace and spin the hexagonal bar until the brace is at its shortest length. Push the brace bar up through the hole in the ceiling and set it inside the hole with both feet resting flat on the drywall or plaster.
Step 2
Rotate the brace by hand until the prongs on each end grab and dig into the joists on either side.
Step 3
Finish tightening the brace with a wrench until it is firmly embedded in the joists.
Step 4
Install the new electrical box by popping out one of the prepunched holes and feeding the wires through the hole, while holding the box close to the ceiling. Feed about 6 inches of wire through the box and tighten the screws to hold the wire in place. Bolt the box onto the fan brace with the U-bolt included in the brace box.
Step 5
Lift the chandelier and screw the chandelier mounting bar into the electrical box. Connect the wires from the chandelier to the wires coming through the new ceiling box. Finish by tucking the wires into the canopy and sliding the canopy up to the ceiling. Hand-tighten until the canopy is snug against the ceiling.
Video of the Day