Things You'll Need
Measuring tape
Tulle fabric
Snaps
Pearl or covered buttons
Thread
Needle
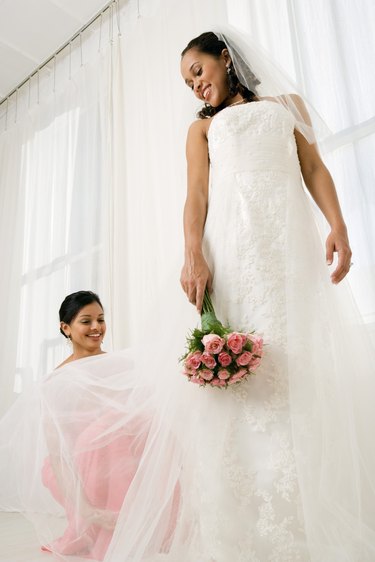
Adding a detachable train to your dress is not very difficult since it is made as a separate piece from the dress and attached once it is finished. Tulle can be a bit tricky to work with, though, because it is so thin and fragile. It catches easily on anything nearby and can snag or tear. Put away anything with pointed or rough edges so your workplace is smooth. Gather up wedding magazines or look in bridal shops for the type and length of train you like. Once you have an idea, put it into action and design your own, one-of-a-kind train.
Step 1
Try on your dress with any slip, petticoat, hoop or other item you will wear under your dress on your wedding day and the shoes you will wear. Have a helper measure the distance from your waist to the floor. Be sure she doesn't compress the dress while measuring, as this will affect the length of your train.
Video of the Day
Step 2
Decide how long you want your train to trail along the floor. A court train trails up to 2 feet, a chapel train trails up to 4 1/2 feet, a cathedral train trails up to 7 1/2 feet and a monarch train can trail 12 feet or more. The longer your train, the more formal your wedding becomes. Most brides do not choose the monarch length unless they are royal.
Step 3
Add the length of train you've decided on to the measurement from your waist to the floor. This is the amount of tulle you need to buy.
Step 4
Fold the 72-inch-wide tulle to different widths and look in a mirror to see what look you prefer. Experiment between making your detachable train about 12 inches wide, the average length for a detachable train, or having your train extend from one side seam to the other.
Step 5
Stitch by hand long running stitches across the width of the tulle, 1 inch from the top edge. Stitch again just below the first stitching. Pull the ends of the thread to gather the tulle, pulling until the fabric is the width you decided on. Knot the edges of thread to hold the fabric and stitching in place.
Step 6
Measure the width of your train at the gathering stitches. Double that measurement and add 1 inch. Cut a piece of ribbon to this length, being sure the ribbon looks good with your dress. Hand sew the ribbon onto the train so it covers the gathering stitches, hiding the raw edges of the ribbon on the underside of the train.
Step 7
Sew snaps on the underside of the ribbon and at the waistline of your dress. Space the snaps about every 3 inches and match up the corresponding half on your dress. Don't worry if the stitches show on the front of the ribbon because you will be covering that part. Alternatively, you may use hooks and eyes instead of snaps.
Step 8
Cover the placement of the snaps with pearl buttons, covered buttons or a large bow, whichever looks best with your dress and gives the look you want. You'll find tools to cover buttons in the notions department of any sewing store.
Step 9
Decorate your train any way you like with seed pearls, sequins or lace, or leave it unadorned. Snap and unsnap the finished train to be sure it anchors well to the dress and that the tulle lays the way you want it to when the train is attached to your dress.
Warning
File your nails and put away anything sharp before working with the tulle, as it snags very easily.
Video of the Day