Things You'll Need
Measuring tape
Hockey sock from favorite team
Scissors
Fabric glue
Team logo
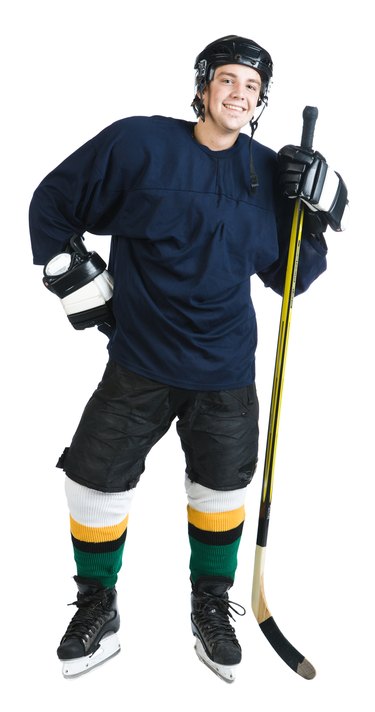
With the right process, a pair of hockey socks becomes a way to show support for your favorite team. Hockey players wear long cover socks over a pair of sports socks before slipping on a pair of skates. These over socks show off the team colors, often with stripes. Fans turn these team color items into long floppy hats to keep their heads warm in the cool sporting arena and out in public to show support. Even the youngest hockey fan may create one of these hats with the right tools.
Step 1
Measure the length for the hat. Measure from the ear to center of the head. Decide on how long you wish the flop of the hat to be and add to the measurement. Add 4 inches to the total.
Video of the Day
Step 2
Cut the sock at the measurement spot. Begin at the top, or band, of the sock and measure downward. Cut the sock at the mark.
Step 3
Line the cut edge with fabric glue. Prevent the edge of the sock from raveling by applying a line of glue at the edge.
Step 4
Fold up 4 inches of the fabric from the cut end. Tuck the glued edge slightly under. Use fabric glue around the top to secure the fold to the hat. Allow it to dry.
Step 5
Apply a logo onto the folded area. Choose a team logo and glue onto the front of the folded area with fabric glue.
Tip
Buy the right size sock for the project. Buy juvenile socks for children and adult socks for adults.
Warning
Some hockey sock color patterns extend all the way down the sock. Consider a longer, floppier hat for this situation.
Video of the Day