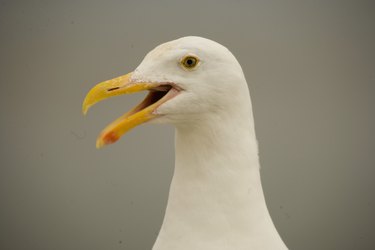
Origami is a form of art that involves folding paper to create wonderful decorations. Origami can be complex or simple. Simple origami designs, such as the bird beak, are often just as exciting to make as more challenging ones. The origami bird beak can be added to other projects, used as a decoration or even used as a mask or toy. When completed correctly, the beak will open and close as you bend the paper.
Step 1
Lay a square piece of paper down in front of you. If you are using paper that is colored on one side, lay the paper with the colored side down. Rotate the paper so that one corner points toward you and the paper resembles a diamond.
Video of the Day
Step 2
Fold the paper in half, bringing the bottom corner to touch the top corner. Crease the paper well and unfold it.
Step 3
Fold the paper in half the other way, bringing the right-hand corner to touch the left-hand corner. Crease and unfold this as well.
Step 4
Fold the bottom left-hand edge up until it lies along the horizontal center line. Crease and unfold the paper. Fold the top left-hand edge down until it, too, lies along the center line. Crease and unfold the paper.
Step 5
Fold the bottom right-hand edge of the paper up so that it lies along the horizontal center line, then crease and unfold it. Fold the top right-hand edge of the paper so that it lies along the center line, then crease and unfold it.
Step 6
Grasp the bottom right- and left-hand edges of the paper. Fold them upward at the same time, following the creases you previously made. The edges will lie flat until the center of the model, where they will pop up in a sharp point. Repeat this step at the top of the model so that both the top and bottom edges lie flat, and there are sharp points at the top and bottom center of the model. Don't flatten these points. They are the top and bottom of the beak.
Step 7
Fold the right-hand corner up and to the left at an angle, so that what was the bottom right-hand edge now lies along the beak. It should be a short distance away from the beak points. The exact amount is up to you and how you want your bird beak to look. Repeat this with the left-hand corner.
Step 8
Fold the top right corner, which was created in the previous step and sticks up over the top of the model, back down on itself and to the right a little. This makes everything look neater. This fold can also resemble the eye of the bird. Repeat this on the left side.
Step 9
Open and close the bird beak by gently folding and unfolding the paper in half horizontally.
Video of the Day