Paint gloss makes it almost impossible to get a top coat of any other finish to adhere. Breaking down the gloss on the finish will allow an otherwise sound coat of paint to remain as primer with no other treatment required. There are two main means of accomplishing this task. The first is a chemical method using a solution known as chemical or liquid sander, or deglosser. The second is mechanical, using a very fine metal oxide sandpaper to remove the gloss without penetrating the paint.
Video of the Day
Things You'll Need
Metal Or Glass Container
Chemical Deglosser
Rubber Gloves
Eye Protection
Paint Brush
Mineral Spirits
Sander
Chemical Deglossing
Step 1
Put on heavy, chemical-resistant gloves and chemical-resistant eye goggles before you begin to protect your skin and eyes from the drying effects of the chemical sander.
Video of the Day
Step 2
Pour a small amount of chemical sander out of the can into a metal or glass container with a mouth large enough to accommodate the paint brush. Pour it about 1 inch deep.
Step 3
Apply the sander to the surface with a disposable paint brush. Allow it to set for five minutes and wipe it off with a clean cloth, removing any dust and oil. Go back to the surface in two hours and wipe over it with a tack cloth to remove the top layer of the paint.
Mechanical Deglossing
Step 1
Apply a very fine 360-grit metal oxide sandpaper to the pad of a random orbit sander. Press the paper firmly in place to engage the hook and eye material on the underside of the sander pad.
Step 2
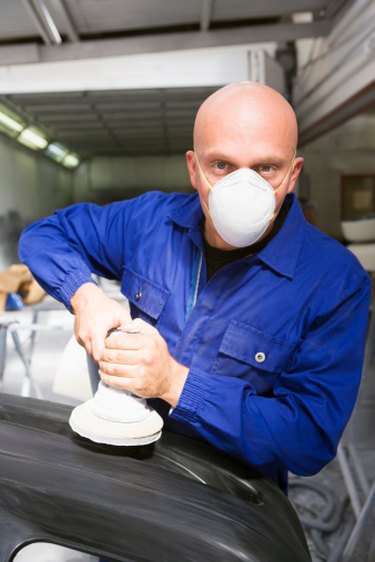
Put on a dust mask and goggles to protect your lungs and eyes from the very fine particulates you are about to create. Run the sander with the grain of the wood and work across the surface in straight, overlapping rows to ensure proper coverage.
Step 3
Wipe the dust away with a tack cloth, focusing on the joints and areas that are not easy to access to prevent the dust spreading into a new finish, should you choose to apply one. Clean the surface with a rag dampened in mineral spirits to complete the process.