Hot Fudge Cake Recipe: The Self-Saucing Chocolate Cake Trick
This hot fudge cake recipe asks for one step that looks like a mistake: pour boiling water over raw batter, then refuse to stir it in. The oven sorts out the rest. By the time the pan comes out, one bowl of batter has split into two distinct layers, a tender cake on top and a pool of fudge sauce underneath. It's about as easy a hot fudge cake as you'll find, provided you respect two rules that feel wrong while you're doing them.
This is a spoon-it-into-a-bowl dessert, not a slice-and-serve cake, and the dramatic version with sauce still flowing has a real clock on it. PastryWiz notes that the sauce is at its best within roughly 15 to 20 minutes of coming out of the oven, after which it starts soaking back into the cake. The same layered method, batter on the bottom, a dry cocoa-sugar mix on top, boiling water poured over all of it and left alone, shows up across recipes with different ingredient lists, all producing the same split (PastryWiz; Bake with Zoha). PastryWiz traces its popularity to the 1950s, when it circulated through Pillsbury cookbooks and church recipe boxes, which is probably why it goes by several names today, including chocolate pudding cake and brownie pudding cake (Sugar Maple Farmhouse; Vintage Kitchen Notes).
What follows is one clear base formula with exact measurements, the two rules that actually make or break it, precise doneness signals, and a straight answer on serving it now versus later.
What you need for this hot fudge cake recipe
Video of the Day
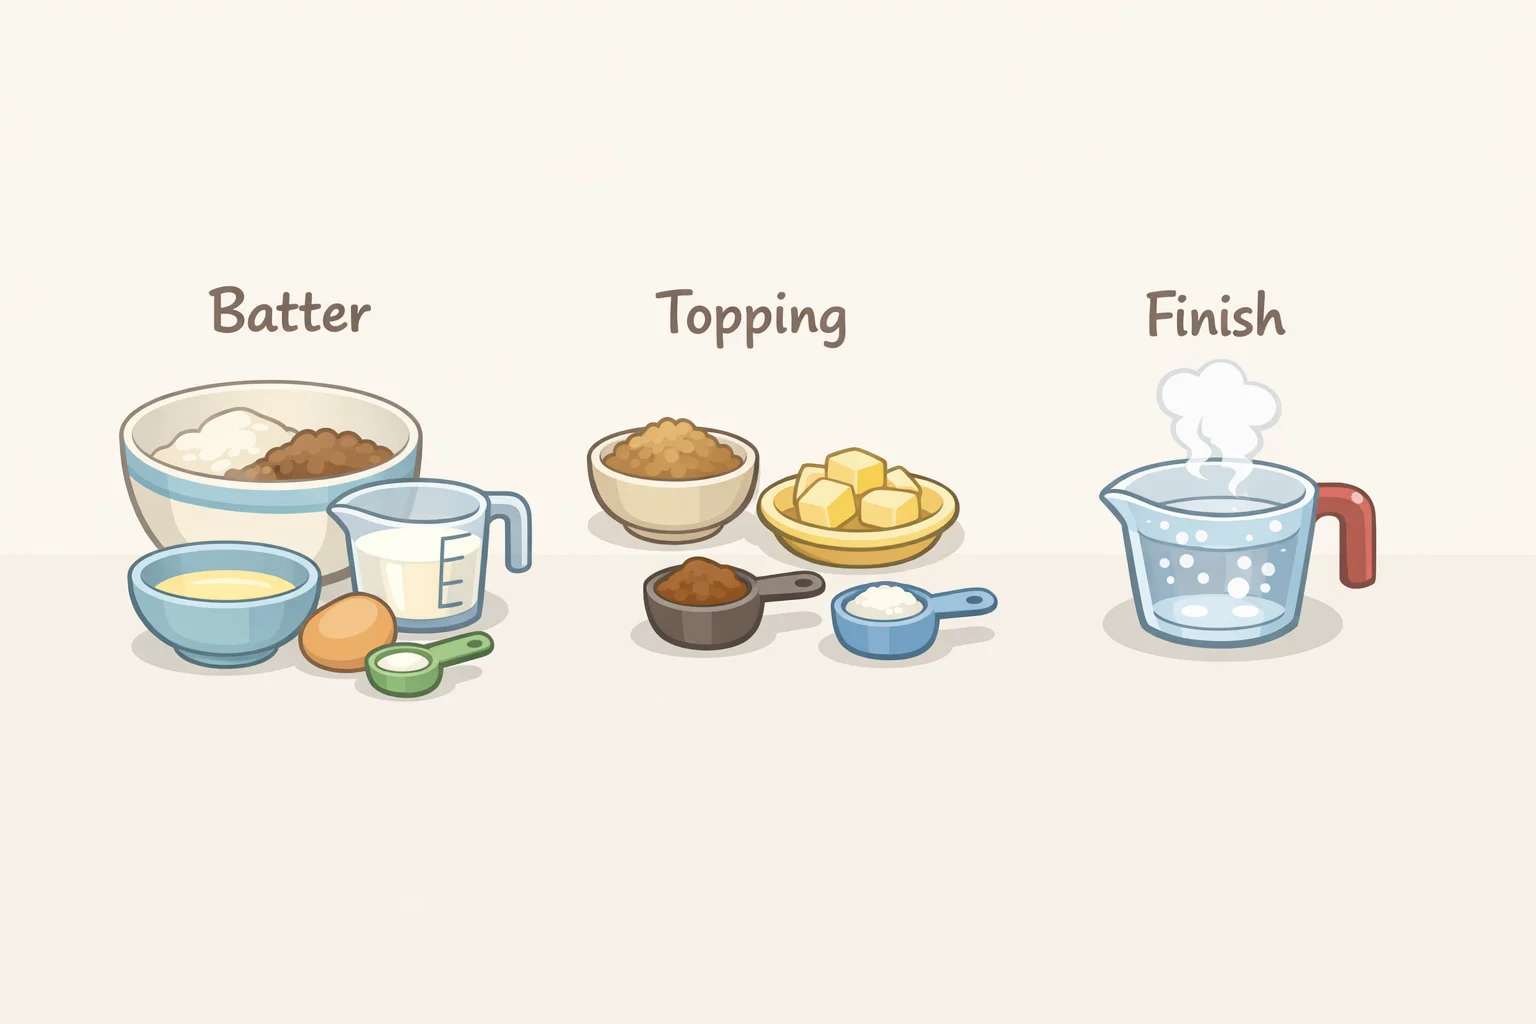
The base recipe here comes from Sugar Maple Farmhouse, a straightforward formula that yields six servings out of a 2½-quart ceramic baking dish at least 3 inches deep. A comparable 9x9-inch pan works too, though other recipes built on the same method use slightly different pans and serving counts, which is covered later.
Batter:
- 1¼ cups all-purpose flour
- ⅓ cup unsweetened cocoa powder (100%)
- ¾ cup granulated sugar
- 2 teaspoons baking powder
- ½ teaspoon fine sea salt
- ½ cup plus 3 tablespoons whole milk
- 1½ teaspoons vanilla extract
- 6 tablespoons unsalted butter, melted
Topping (mixed separately, never folded into the batter):
- ¼ cup unsweetened cocoa powder (100%)
- ½ cup granulated sugar
- ½ cup light brown sugar
To finish:
- 1¼ cups hot water, brought to a full boil
- Cooking spray or butter, for greasing the dish
Once the batter comes together, expect something thick and dense, nothing like a pourable cake batter. That's correct, not a mixing error (Sugar Maple Farmhouse). Every bake time and doneness cue in this guide refers back to this exact pan and formula, not a generic average across recipes.
Video of the Day
Why it works, and the two rules you cannot skip
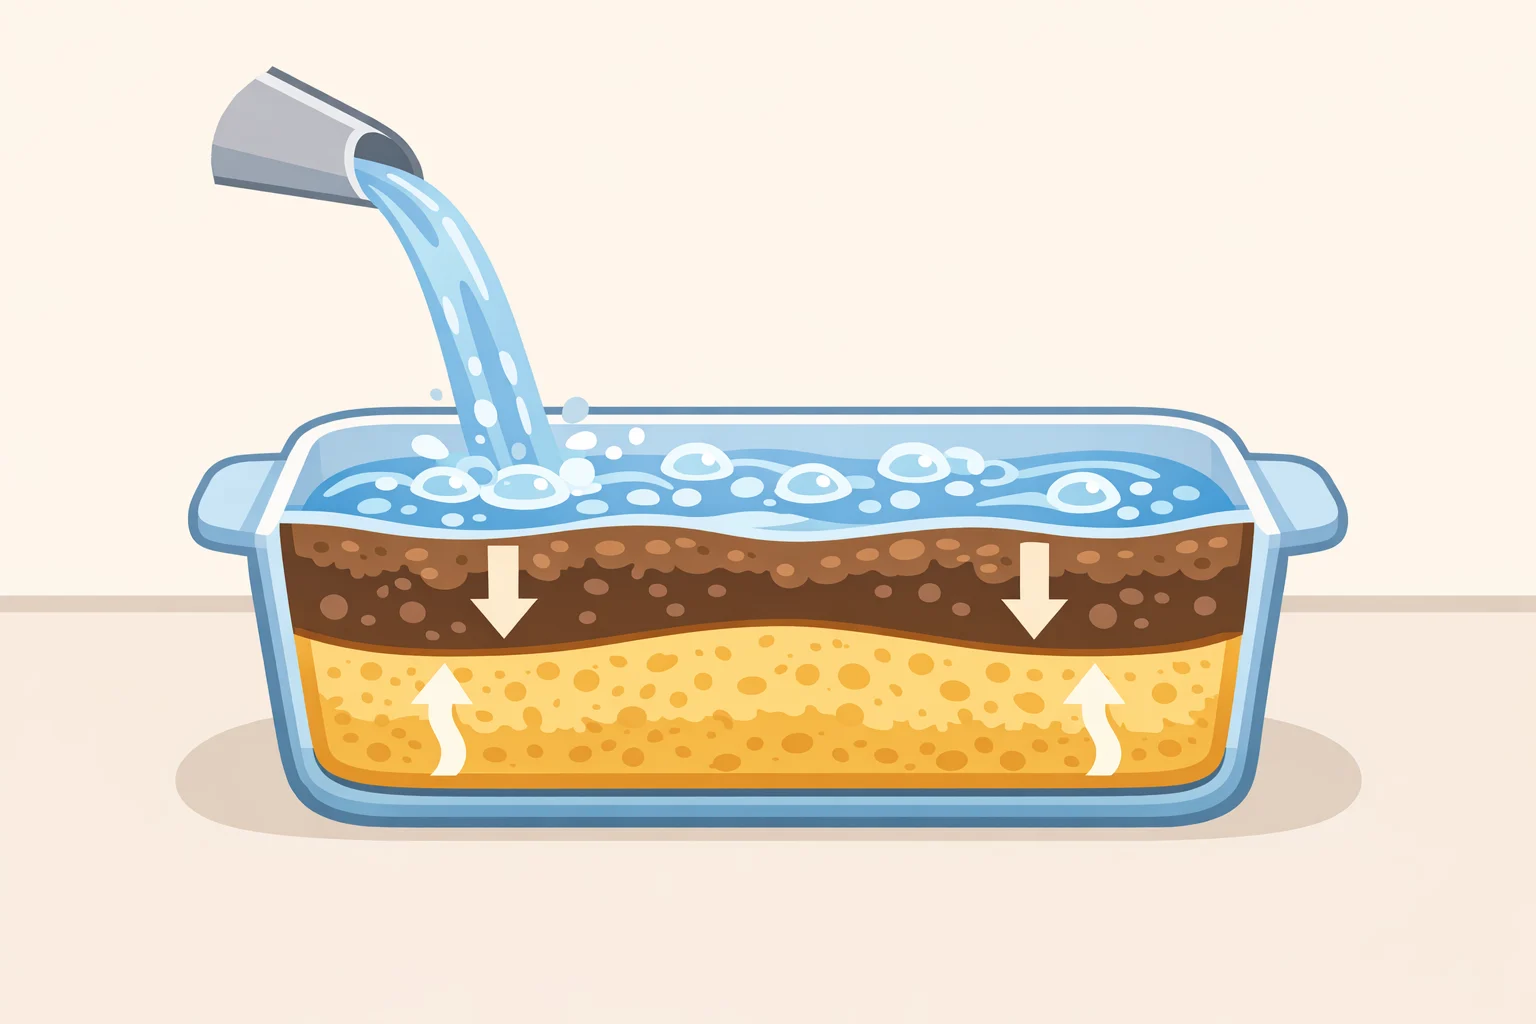
The working explanation, offered by recipe developers rather than food scientists, goes like this: the boiling water sinks down through the batter and dissolves the cocoa-sugar topping into a thick syrup that settles at the bottom of the pan, while the batter itself rises above it as it bakes (PastryWiz; Bake with Zoha). Nobody has run this through a lab. It's just what happens, reliably, when two rules are followed.
The first rule is that the water has to be genuinely boiling, not hot from the tap. PastryWiz is blunt about it: cold or hot tap water won't generate the steam needed for the layers to separate. Sugar Maple Farmhouse puts it almost the same way, insisting the water be steaming hot for everything to work correctly. Even the vegan version of this cake, built on a different ingredient list entirely, still calls for water at a full boil poured straight from the kettle (Cravory Cooks).
The second rule is that you don't stir once the water goes in, no matter how much it looks like a puddle sitting on top of dry batter. PastryWiz's instructions are two words: don't stir. Cravory Cooks explains why: leaving the water alone is what allows the pudding layer to form naturally as the cake bakes. Every recipe that produces this split agrees on that point, even with different flours, sugars, or butter.
There's a secondary caution worth flagging, though it comes from a single source rather than a consensus: PastryWiz lists overmixing the batter beforehand as a possible third culprit behind a failed split, on the theory that extra air in the batter interferes with how the layers settle. Treat that as a caution specific to this method, not a universal baking rule, but it costs nothing to mix the batter just until combined.
Pan size and bake time still matter. A shallow pan throws off the ratio of cake to sauce, and too many extra minutes in the oven will dry out the top. But skip the boiling water or stir it in, and no amount of correct timing will bring the layers back. These two rules are the ones that decide whether the trick works at all.
Step-by-step instructions
- Preheat the oven to 350°F and grease the pan. Use the 2½-quart ceramic dish, or a comparable 9x9-inch pan, coated lightly with cooking spray or butter (Sugar Maple Farmhouse).
- Whisk the dry batter ingredients, then stir in the wet ones. Combine the flour, cocoa, granulated sugar, baking powder, and salt in a large bowl, then add the milk, vanilla, and melted butter. Stop mixing as soon as everything is incorporated. The batter will be thick, closer to a stiff cookie dough than cake batter.
- Spread the batter evenly across the bottom of the greased pan.
- Whisk the topping ingredients in a separate bowl, then sprinkle them over the batter. Cover the surface completely. Do not stir this into the batter.
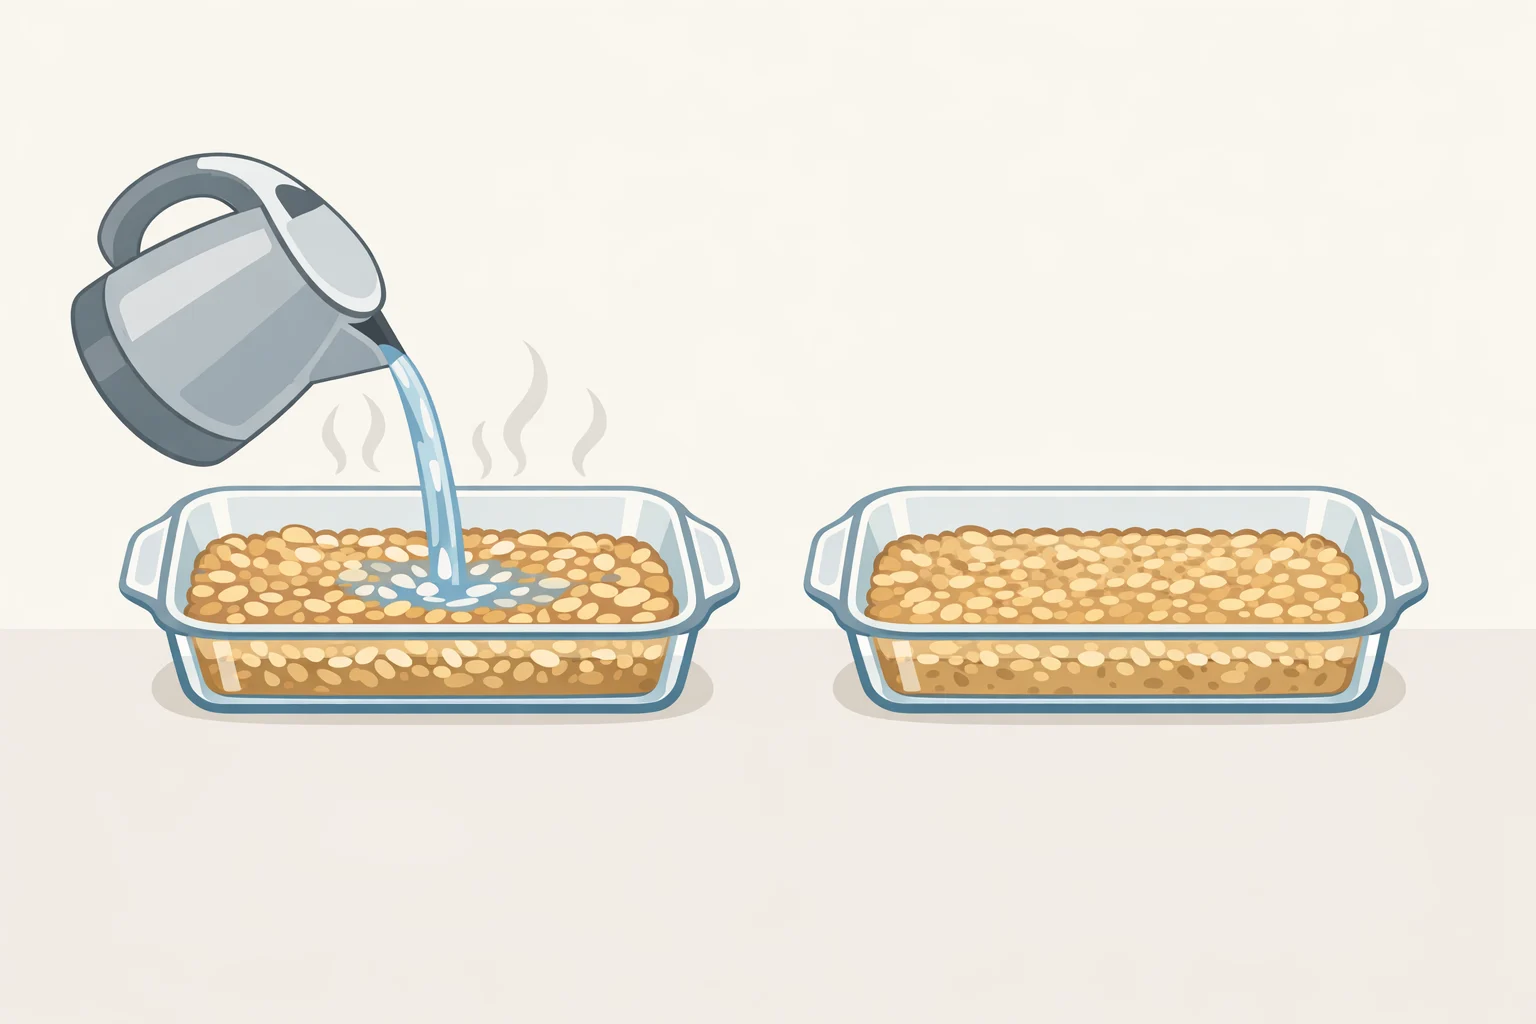
- Pour the boiling water evenly over the top, then step away from the spoon. Every instinct will tell you to stir it in. Ignore it, and slide the pan into the oven right away (Sugar Maple Farmhouse).
- Bake 35 to 40 minutes in ceramic, or 30 to 35 in a metal pan. Look for the top to appear set and slightly cracked. A toothpick inserted into the cake layer should come out with fudge clinging to it, not clean batter. That's the correct result, not a sign of underbaking (Sugar Maple Farmhouse; Bake with Zoha).
- Let it stand 5 minutes, then serve (Sugar Maple Farmhouse).
Troubleshooting: reading the signs
- Top looks dry, toothpick comes out clean. Bake with Zoha's own notes lean toward underbaking rather than over, since the goal is closer to molten lava than a set cake. A dry top usually means it went a few minutes too long; pull it earlier next time.
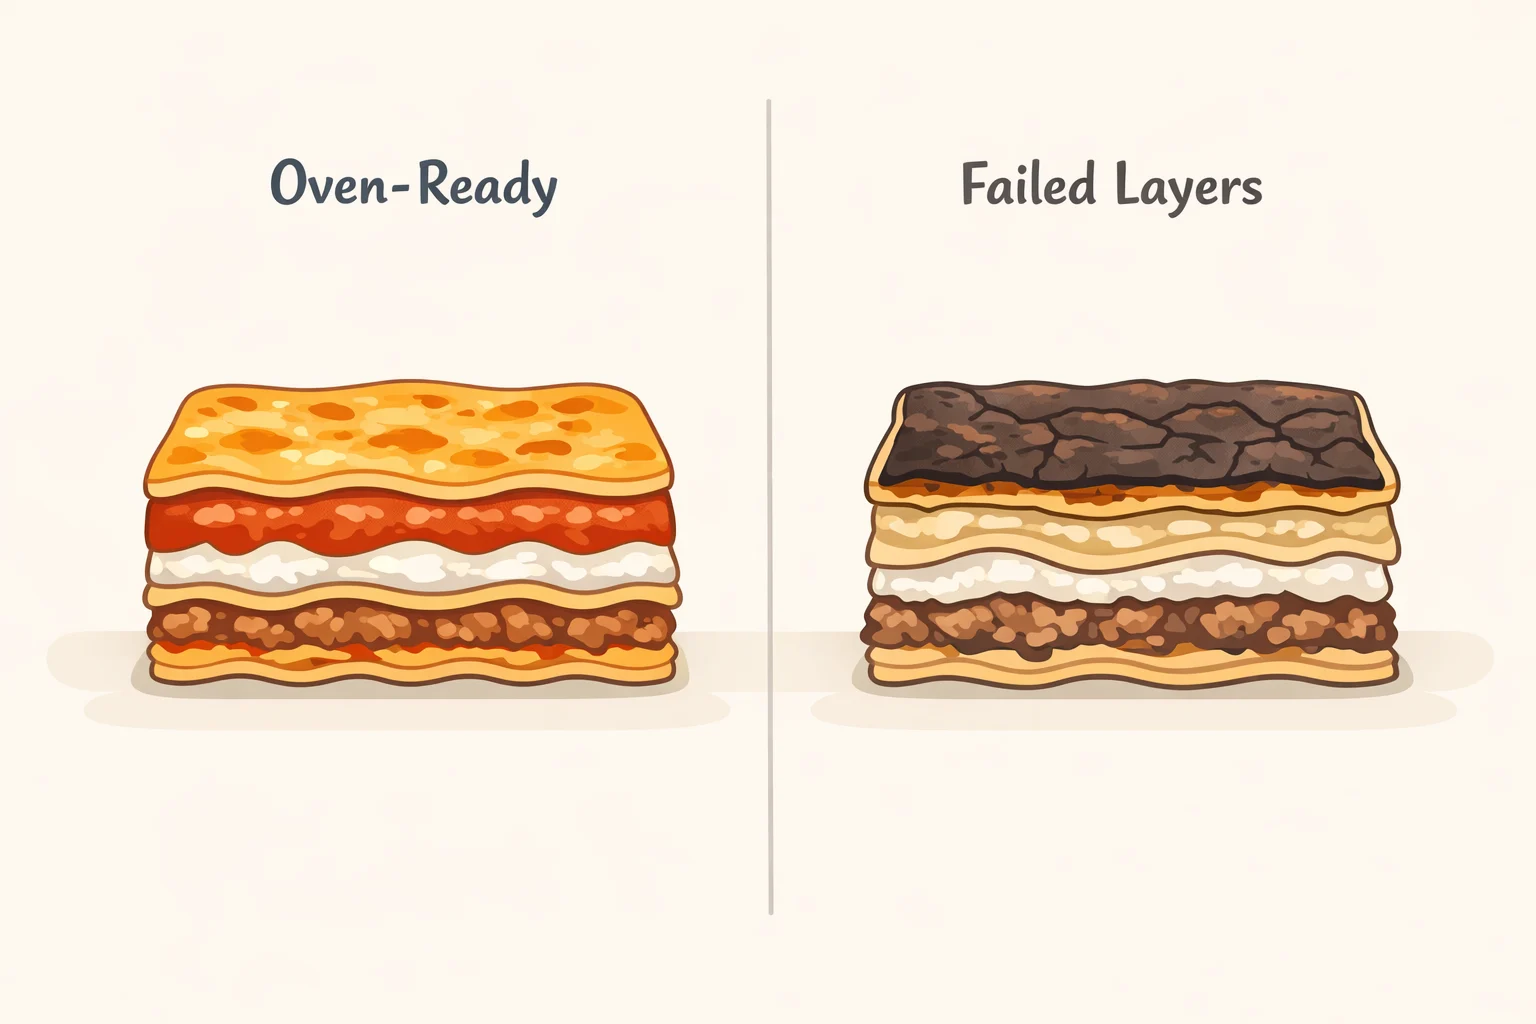
- No distinct sauce layer at all, just a uniform cake. PastryWiz points to three usual suspects: stirring after the water went in, water that wasn't actually at a full boil, or a batter that got overmixed and trapped too much air.
- Sauce seems thin right out of the oven. Sugar Maple Farmhouse's version rests just 5 minutes before serving. If the sauce still looks loose at that point, PastryWiz's version rests longer, 10 to 15 minutes, and reports that the extra time thickens it further. Either is fine; it's a matter of how loose you want the sauce.
- Sauce has vanished on the second helping an hour later. That's expected, not a failure; more on the timing tradeoff below.
Serve now or later
Decide before you bake how you plan to serve it, because the window is short. For the classic flowing-sauce effect, spoon it into bowls within 15 to 20 minutes of pulling the pan from the oven, topped with vanilla ice cream, whipped cream, and a cherry if you're feeling nostalgic (PastryWiz). Wait longer than that and the sauce reabsorbs into the cake within an hour or two, leaving a denser pudding-cake texture instead of two distinct layers. It's still good. It's just a different dessert.
For leftovers, refrigerate in an airtight container. How long it holds up depends on which source you trust. PastryWiz says 2 to 3 days refrigerated. Sugar Maple Farmhouse never got the chance to find out, since theirs was gone within 24 hours; treat 2 to 3 days as the outer edge rather than a guarantee. To reheat, microwave individual portions for 30 to 45 seconds with a splash of milk or water to loosen the sauce back up (PastryWiz).
Not everyone chases the flowing-sauce version, either. Vintage Kitchen Notes prefers a related brownie pudding cake the next day, once the sauce has thickened into something closer to dense pudding, rewarmed before serving. That's a legitimate alternate texture, not a botched batch.
One add-in, and two other recipes worth trying
The one variation that doesn't touch the water or the baking method: fold ½ cup of chopped pecans, walnuts, or peanuts into the batter before spreading it in the pan. It changes the texture, nothing else (PastryWiz).
Beyond that add-in, two related desserts are worth knowing about, though they're separate recipes rather than swaps for the one above. A coffee-based brownie pudding cake skips the boiling-water-on-top trick entirely. Instead, brown sugar, cocoa, salt, and hot coffee get simmered into a sauce on the stovetop, then poured gently over brownie batter and baked at 350°F for about 40 minutes in an 8x8 pan (Vintage Kitchen Notes).
The other is a vegan version built on browned vegan butter, dairy-free yogurt and milk, and no eggs at all. It keeps the same boiling-water, no-stir principle as the base recipe, just with a different ratio: 1½ cups of boiling water poured over batter in a larger pan, baked for 35 to 40 minutes and yielding about 12 servings (Cravory Cooks).
The self-saucing trick clearly travels across formulas. What doesn't travel is the exact recipe; each of these produces its own result, and none of them is a shortcut through the other.
Where to go from here
Get the base version reliable first: genuinely boiling water, no stirring, a properly deep pan, and a fudgy toothpick as the sign to pull it. Once that's second nature, the coffee-based and vegan versions are worth making on their own terms, as complete recipes rather than substitutions layered onto this one.