How to Make Ice Cream Delight: Step-by-Step Layering Guide
Ice Cream Delight takes the flavor of a Drumstick cone and turns it into something you slice instead of scoop. The build is straightforward: a buttery crushed-cone crust, two layers of vanilla ice cream, a thin chocolate shell, and roasted peanuts, all frozen flat in a 9x13 pan until firm enough to cut into clean bars. This guide walks through how to make ice cream delight from the first layer to the final cut, including ingredient amounts, build order, and what actually happens to the finished pan if it sits in a home freezer for a while.
This is a no-bake ice cream delight, so there's no oven involved and no melt-and-refreeze guesswork. Follow the layering and freezing steps below and the pan lifts out, slices, and serves on a plate rather than in a bowl with a spoon chasing it around.
Before you start: pan size, yield, and timing
Video of the Day
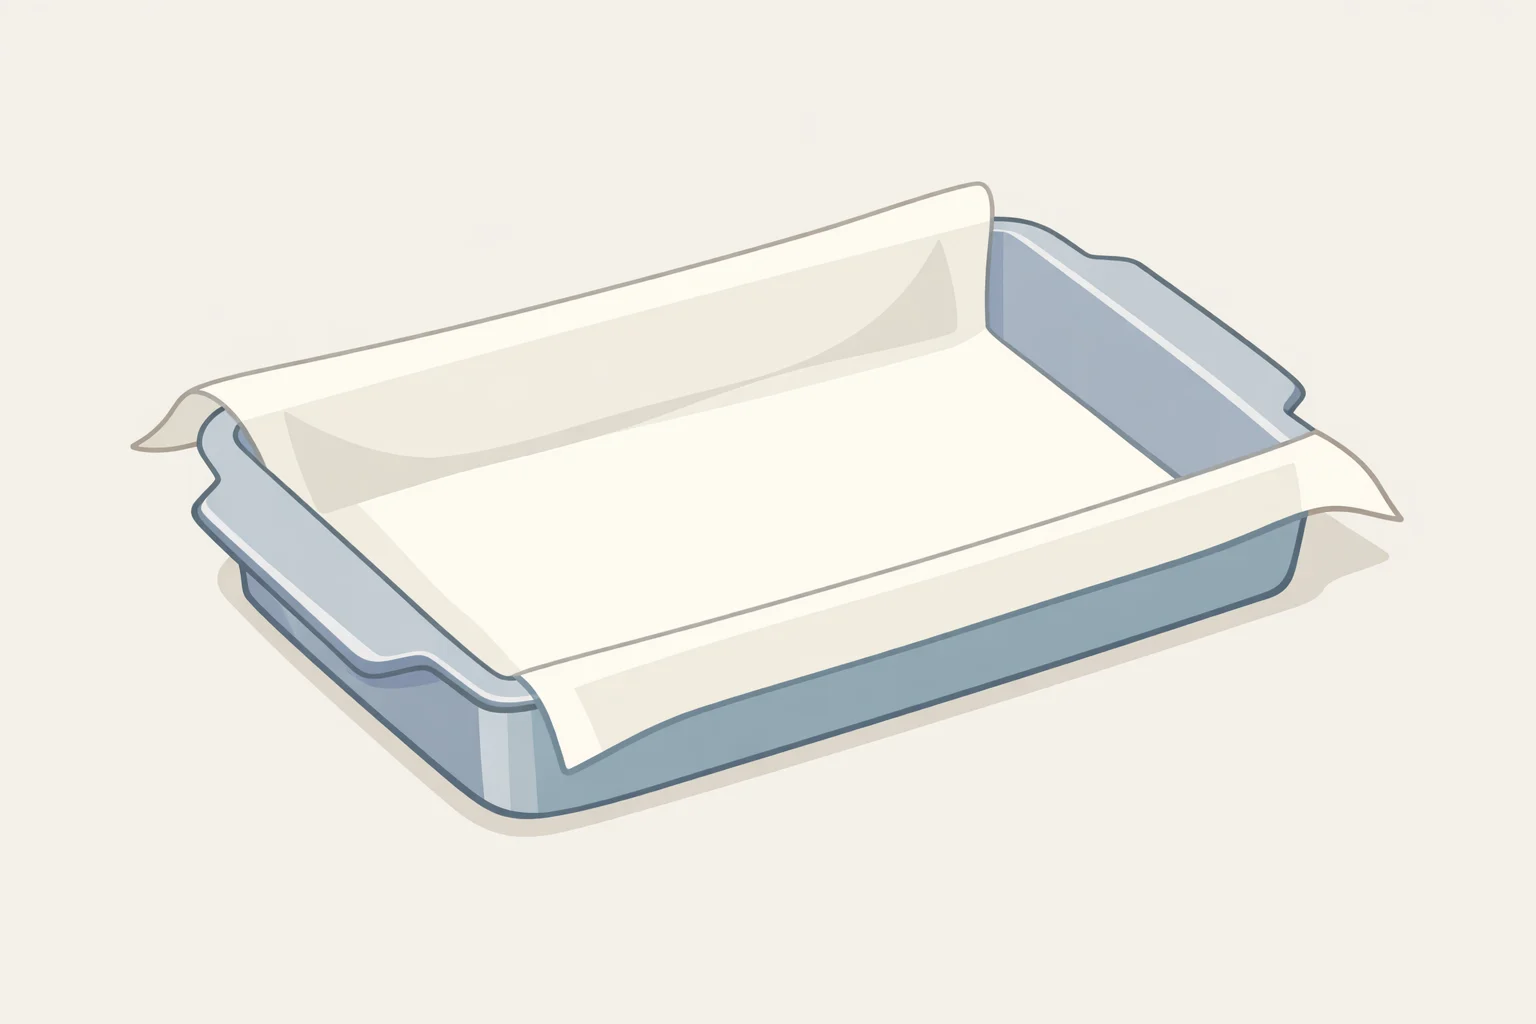
Use a 9x13-inch pan and line it with parchment paper, leaving enough overhang on two sides to lift the whole slab out later. Cutting it into a 3x5 grid gives 15 bars, each roughly 3 by 2.6 inches; cut a 3x4 grid instead and you get 12 slightly larger bars, each around 3.25 by 3 inches. Either works for a family cookout, though a bigger gathering probably calls for doubling the recipe rather than cutting the bars any thinner.
Plan for about 20 minutes of active building, plus a minimum six-hour freeze before the first cut. This recipe is built to be made the night before serving. An overnight freeze gives the chocolate layer more time to set, which in testing this method made for a cleaner cut the next day, though a freezer running colder or warmer than average will shift that timing somewhat.
Let the ice cream sit at room temperature for 10 to 15 minutes before spreading it. It should feel soft enough to spread like frosting, not runny. Pull it from the freezer early and check it every few minutes rather than waiting for it to look perfectly smooth; ice cream that gets too soft and starts to liquefy won't hold clean layers once it refreezes.
Crush the waffle cones into fine crumbs rather than chunks. A food processor gets there fastest, but a rolling pin over a sealed bag works nearly as well if a slightly less even texture doesn't bother you. Larger cone pieces leave gaps in the crust that make it harder to hold together once sliced.
Video of the Day
Ice cream delight recipe: what you'll need
This ice cream delight recipe uses four components, plus the pan itself:
- Crust: about 1.5 cups crushed waffle cones, mixed with 4 tablespoons melted butter
- Ice cream: 1.5 quarts vanilla ice cream, softened and split into two layers
- Chocolate shell: about 1 cup chocolate chips (semi-sweet or dark both work), melted with 2 tablespoons of a liquid neutral oil, such as vegetable, canola, or melted refined coconut oil
- Topping: about 1 cup chopped roasted peanuts, split into two portions
- Pan: a 9x13-inch pan lined with parchment, overhanging on two sides
The oil is what keeps the chocolate shell soft enough to cut through at freezer temperature, instead of setting into a hard, glossy slab. If using coconut oil, make sure it's fully melted and liquid before mixing it with the chocolate; solid coconut oil won't blend smoothly and can leave streaks. Skip the oil and use straight melted chocolate or a thick ganache instead, and the shell sets up much harder, which in this build tended to crack unevenly under a knife rather than breaking cleanly with each bite.
Melt the chocolate and oil together while the first ice cream layer is in the freezer setting up. Set the mixture aside to cool for a couple of minutes before using it; it should feel barely warm, not hot. Poured straight off the heat, it's warm enough to soften the ice cream surface underneath it, which blurs the line between layers once everything refreezes.
How to make ice cream delight: step-by-step
-
Build the crust. Melt the butter, then stir it into the crushed cones until the mixture looks like wet sand and holds together when pressed between your fingers. Press it firmly and evenly into the bottom of the parchment-lined pan, using the bottom of a measuring cup to compact it into a uniform layer. Freeze for 10 minutes to set. A crust that's pressed loosely or left unfrozen crumbles apart at the first cut instead of holding together as a base.
-
Add the first ice cream layer. Drop softened vanilla ice cream over the crust in small spoonfuls, spacing them out before spreading, rather than dumping it in one spot and dragging it across. This keeps the weight of the ice cream from disturbing the crust underneath. Spread it evenly with an offset spatula, working quickly since softened ice cream loses its shape fast at room temperature. Return the pan to the freezer for about 15 minutes, just long enough for the surface to firm up before anything goes on top. Use this time to melt and cool the chocolate-oil mixture, as described above.
-
Pour the first chocolate layer. Pour about half of the cooled chocolate-oil mixture, roughly 1/2 cup, over the ice cream in a thin, even layer, spreading it quickly before it firms up against the cold surface. Scatter half the peanuts, about 1/2 cup, over the wet chocolate so they stick as it sets rather than sliding off later. Because the oil keeps this layer more pliable than a straight chocolate or ganache shell, it cracks into smaller pieces as you cut through it rather than snapping across the whole bar, though thickness matters too: pour it too heavy and it behaves more like a solid chocolate bark.
-
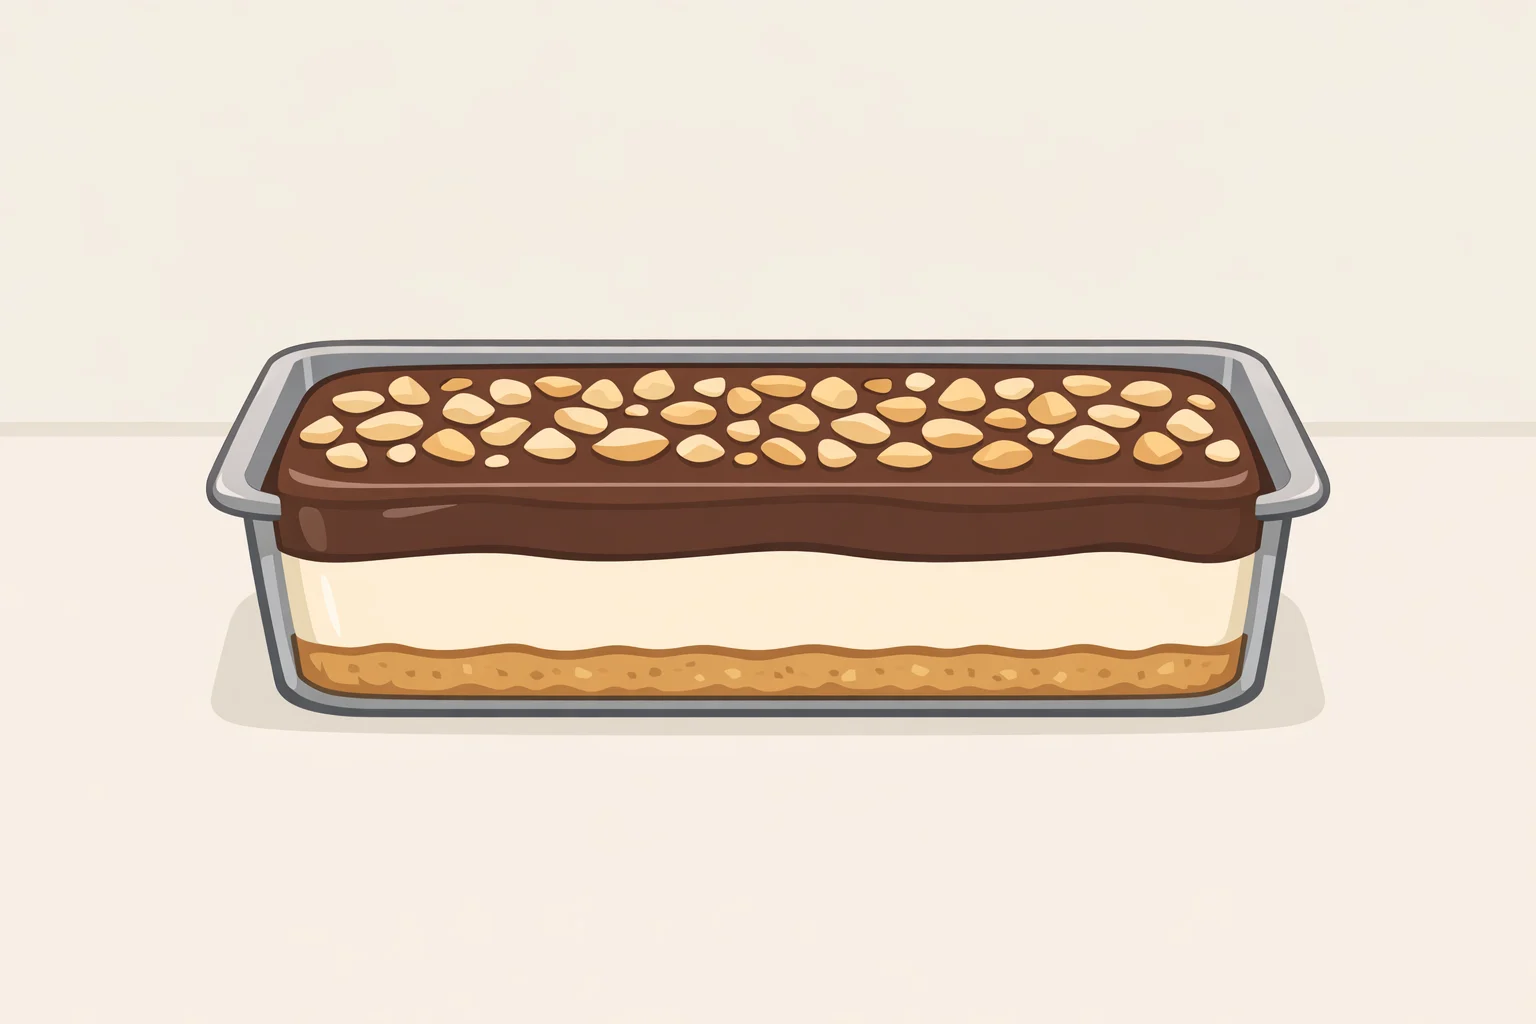
Repeat the layers. Add the second half of the softened ice cream using the same small-spoonful method, then top it with the remaining chocolate-oil mixture and the rest of the peanuts, using the same amounts as before. The finished pan should show five distinct bands when viewed from the side: crust, ice cream, chocolate and peanuts, ice cream again, chocolate and peanuts on top.
-
Freeze until firm. Freeze the pan flat and uncovered for at least six hours. Overnight gives the cleanest slices, since the extra time lets every layer, especially the chocolate shell, set fully rather than staying slightly soft in the middle.
-
Let it sit, then slice with a hot knife. Pull the pan out and let it stand at room temperature for 3 to 5 minutes before cutting; a rock-hard block resists the knife and can crack the crust unpredictably. Run a knife under hot water, wipe it dry, and cut straight down through the pan. Wipe and reheat the blade between cuts. A cold, dry blade drags the chocolate layer through the ice cream instead of cutting through it cleanly, leaving a torn-looking edge. Serve the bars within 10 to 15 minutes of cutting, or slide them back into the freezer for a few minutes if they start to soften on the plate.
A crust that turns soggy or crumbly usually points to the ice cream going on before the crust had time to set, so don't skip that first 10-minute freeze even if the mixture looks firm already. A chocolate layer that shatters instead of cracking cleanly often means the oil got left out, or a thicker ganache or hot fudge was swapped in, both of which harden into something closer to a candy shell than a soft one.
Storing ice cream delight and handling a power outage
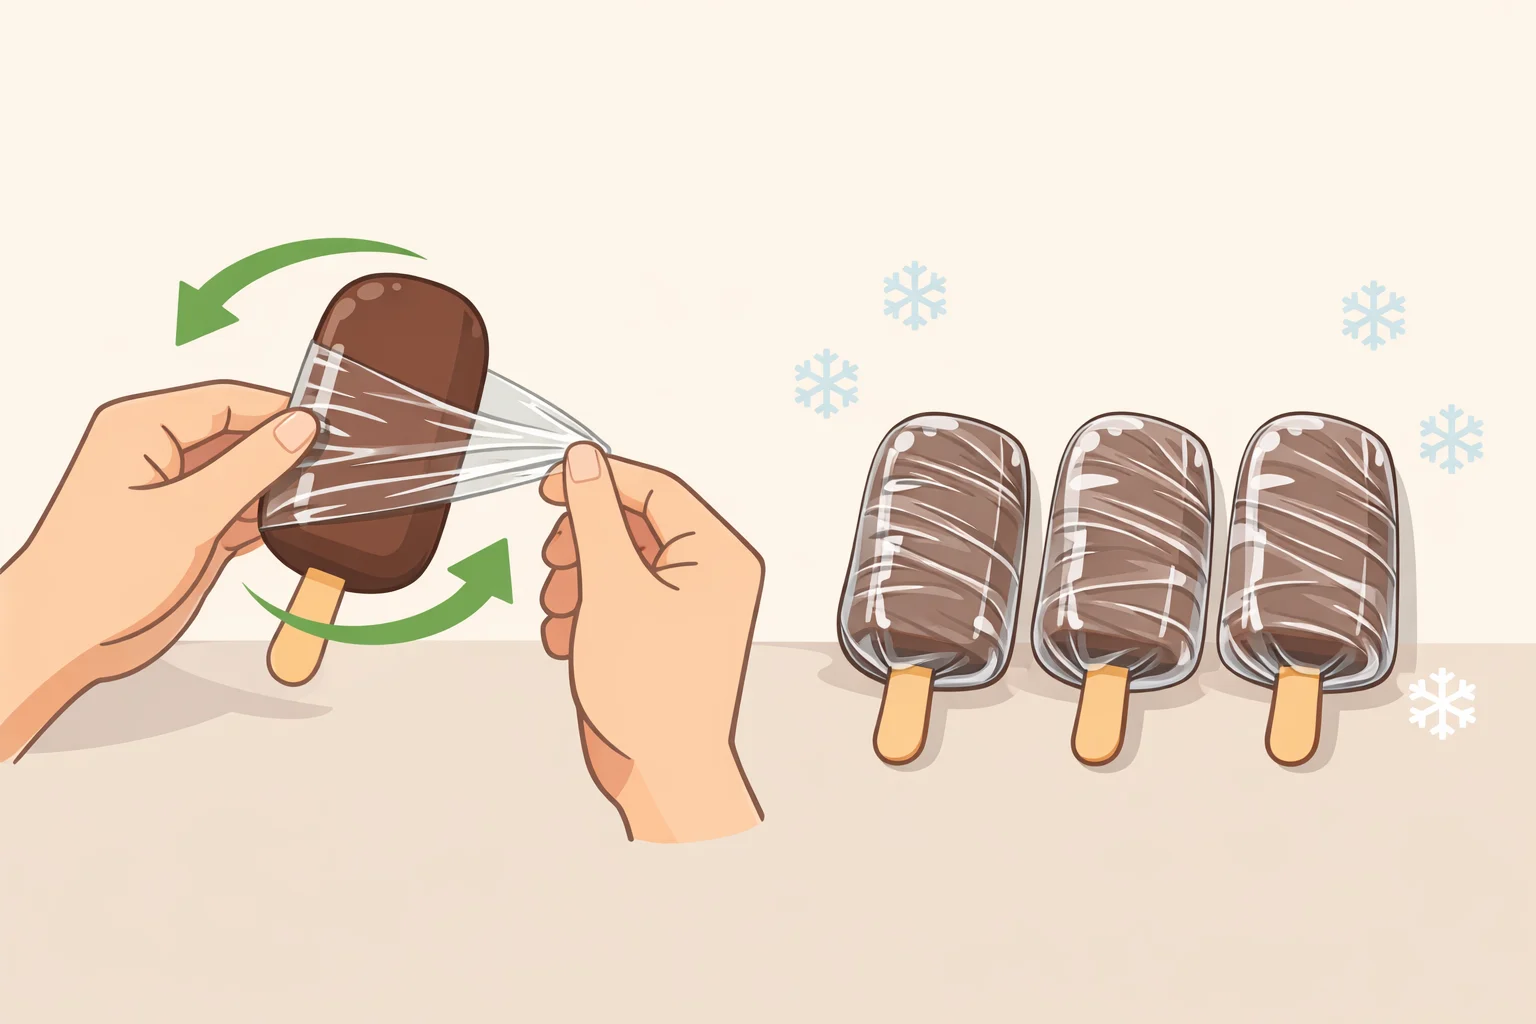
Under normal conditions, keep the finished pan tightly wrapped in the freezer. For leftovers cut from the pan, wrap individual bars in parchment or wax paper before placing them in an airtight container; this keeps them from fusing back together and makes it easier to grab one bar at a time. As with most home-frozen desserts, ice crystals build up gradually the longer it sits, so it's best served within the first week or so rather than left for weeks at a time.
A genuine power outage is a different situation from routine storage, and it's worth treating separately. According to food-safety guidance from UConn Extension's Extension Disaster Education Network, ice cream and frozen yogurt fall into the discard category after a power outage, not the refreeze-and-use category that applies to some other foods.
If a power outage affects the freezer holding this pan, follow the EDEN chart and discard the ice cream rather than refreezing it. The guidance doesn't offer a visual test or a specific outage length to work from, so when there's any doubt, a local extension office can walk through the specifics.
Outside of an actual outage, the more common risk to a good slice is freezer burn from loose or incomplete wrapping, not food safety. Press plastic wrap directly against any cut surface, or store bars in an airtight container, and that risk mostly takes care of itself.
Make-ahead variations
Once the crust-and-shell method feels familiar, swapping in other ice cream flavors is the easiest change to try. Chocolate, strawberry, or coffee ice cream should spread and freeze in roughly the same way vanilla does, though mix-ins and fat content vary by brand, so softening time and texture can shift a little depending on what's in the carton.
Peanuts can likely be swapped for other chopped nuts, like pecans or almonds, without changing the structure of the bars. Chocolate hazelnut spread is a different case: drizzling it between layers instead of scattering peanuts changes the texture of that layer from crunchy to soft, and a thicker drizzle behaves more like the ganache mentioned earlier, so keep it thin if clean slices still matter. Crushed graham crackers can stand in for the waffle cones in the crust, though the flavor shifts away from the Drumstick-style profile that gives this dessert its name.
Whatever flavor ends up in the pan, the ratios and freeze times in this guide don't need to change. Only the crust flavor and the layers between the shells are really up for grabs.