How to add charm to your garden with structure, mood, and life
Most gardens become more charming through edges, paths, light, and places to sit before they improve through more planting. That's the thesis here, and it runs counter to most gardening advice, which defaults immediately to nursery lists and plant combinations.
Knowing how to add charm to your garden means working through three layers in sequence: structure (the bones that hold the space together year-round), mood (the sensory details that make people want to stay), and life (the plants and wildlife that keep it interesting across seasons). The 13 ideas below follow that order. Skip to the third category without the first two in place, and even beautiful plants will read as clutter.
Before you start, a quick effort guide: Each item is labeled (Easy / Moderate / Major) based on typical DIY labor and cost. Easy means a weekend, no professional help required. Moderate means a full day or two, some physical effort, and probably a hardware store trip. Major means real budget, possibly a contractor, and more than a weekend. Start with Easy items unless you're already planning a larger project.
One honest caveat: A charming garden is not a zero-maintenance garden. Edging needs re-cutting. Mulch breaks down. Native plantings require active care for two to three seasons before they earn any claim to being lower-effort. These ideas will shift the type of work over time, not eliminate it.
How to add charm to your garden with structure first
Video of the Day
Structure is what most gardeners skip and what pays off longest. Good structure gives a garden visual clarity in every season, including January, when there's nothing blooming and only the framework is left.
Think of it as setting the stage. Mood and life elements read better against a clear structural backdrop. A birdbath in a vaguely defined bed looks like clutter. The same birdbath placed against a clean edge and a low wall looks intentional.
Sharp edges and orderly frames don't just look tidy they make looser, more naturalistic plantings read as designed rather than neglected. Researchers at UGA CAES noted that maintaining a mowed edge along wilder plantings is one of the most effective signals that a space is cared for rather than abandoned. Structure does social work as well as aesthetic work.
Step 1: Install an ornamental gate or arched entry (Moderate)
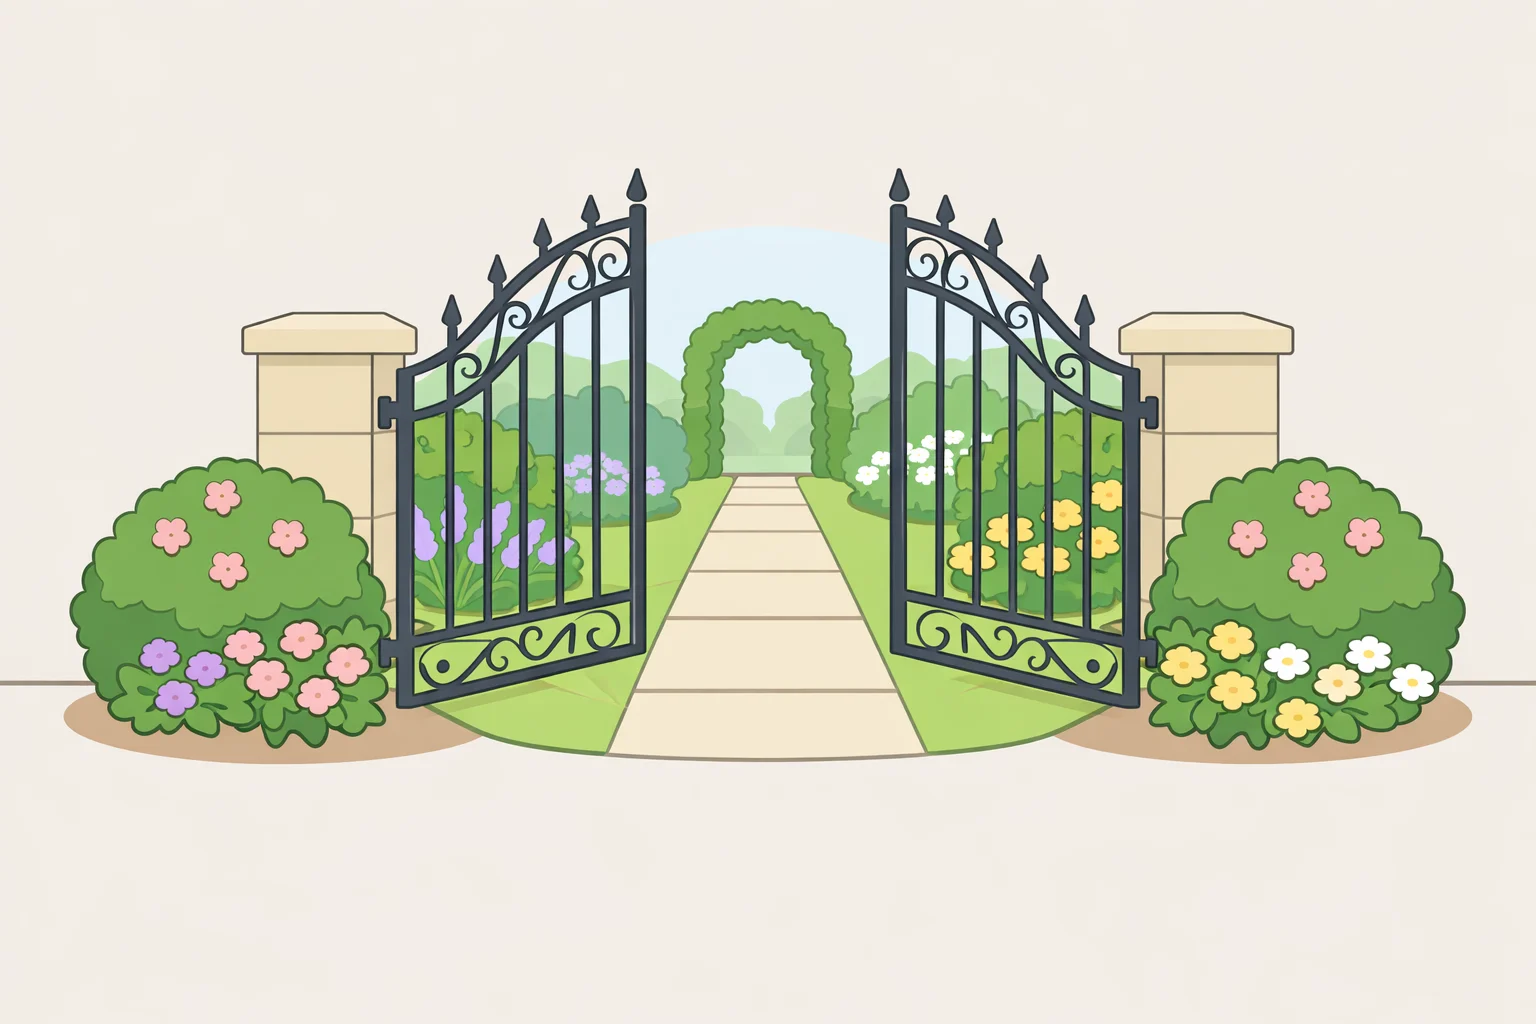
A gate or arched entry gives the garden "a sense of arrival and separation from the rest of the yard," according to Kevin Lenhart, design director at Yardzen, speaking to Martha Stewart earlier this year. It functions as a threshold, telling visitors the garden is a distinct place, not just a patch beside the lawn.
Fine Gardening describes this kind of element as a "unifying gateway": a visual marker that signals transition between areas, whether it's a pair of trimmed boxwoods or a rose-covered arbor.
- What comes next: The entry works without climbing plants, but clematis, star jasmine, or climbing roses will deepen the effect substantially over time. Install the structure first; let the plants follow.
- Distinction from Step 4: A gate marks the threshold into the garden. A trellis (Step 4) creates vertical structure within it. They serve different spatial functions.
Step 2: Edge your beds cleanly and choose the right material (Easy to Moderate)
Edging can be as simple as a clean spade cut or as formal as a cobblestone border. The material matters: plastic edging undercuts any investment around it. Steel, natural stone, and wood hold their quality and their lines, according to Lenhart via Martha Stewart.
For many gardens, clean edging is the quickest visible upgrade available. Crisply edged beds, along with sharp stone walls, are among the elements that keep a garden looking designed even in winter, when most plantings have gone dormant, as Fine Gardening notes in its study of year-round architectural gardens.
- Gotcha: Edging is a recurring commitment. Budget time at the start of each growing season to re-cut or reset it, or the edge erodes back to looking accidental within a year.
Step 3: Add a path matched to the mood you want (Easy to Moderate)
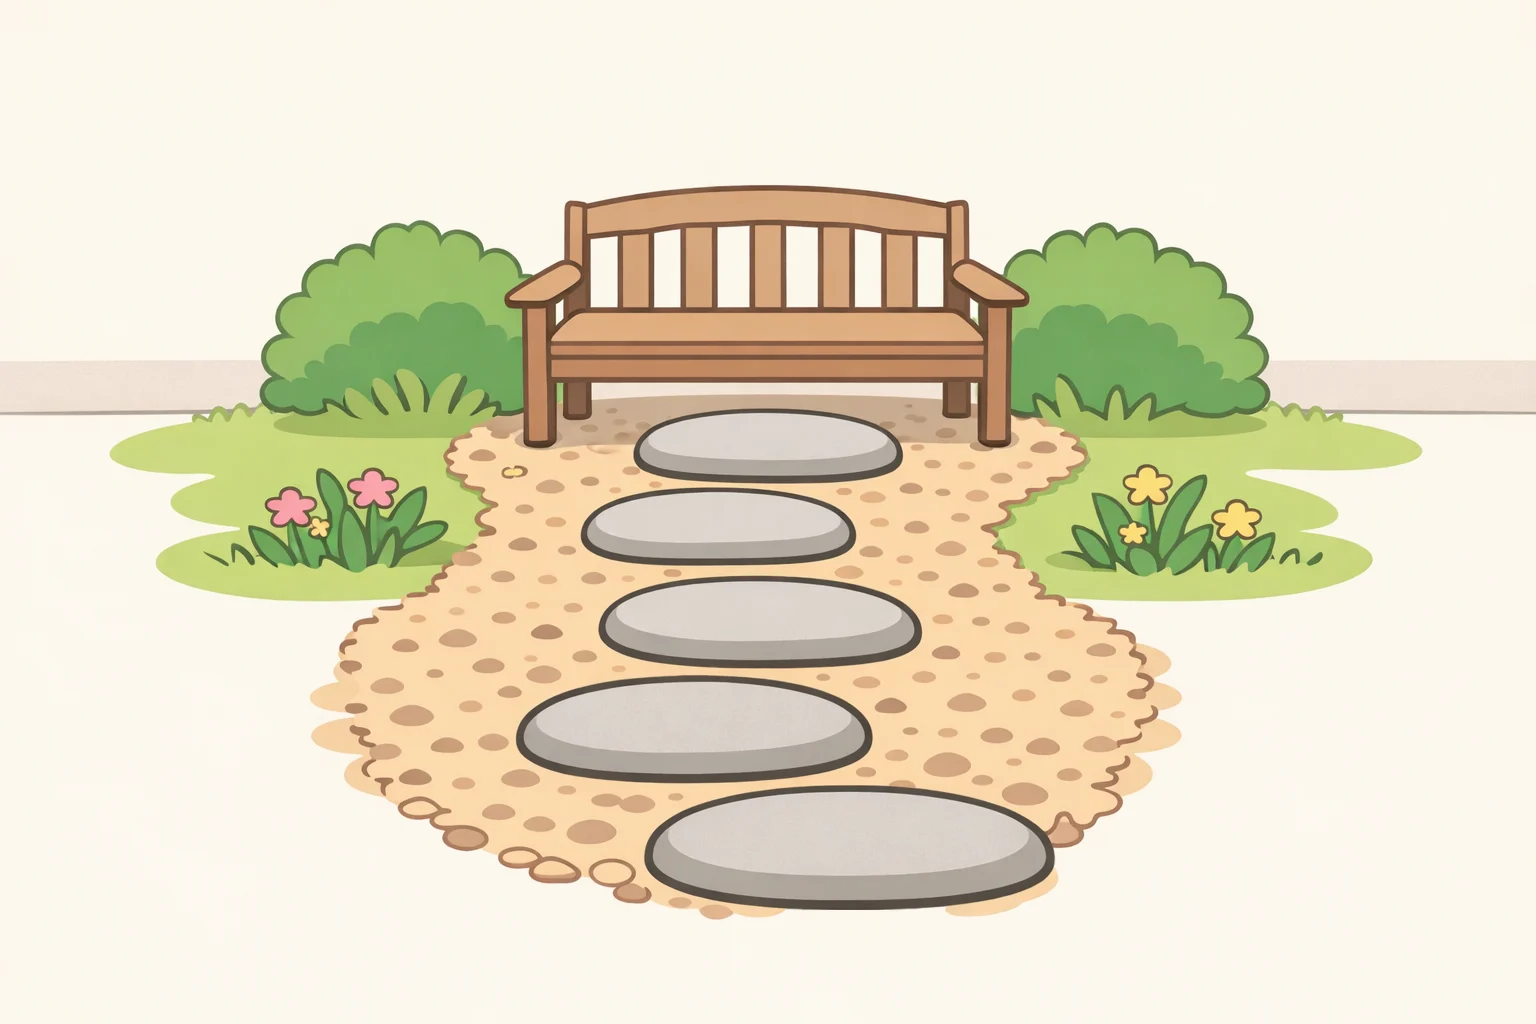
A path changes how people move through and experience a garden, not just how it looks. Material sets the register: mulch reads naturalistic, pea gravel suggests a classic English garden, natural stone is formal. "Natural stones or precast pavers are beginner- and budget-friendly," Lenhart told Martha Stewart.
A path is most effective when it leads somewhere tangible a bench, a birdbath, a focal planting. Even a short one, three or four stepping stones connecting two points with clear purpose, changes how a garden feels from inside it. Without a destination, a path is just decoration.
Step 4: Add a trellis for vertical structure within the garden (Easy)
Trellises add height and architectural presence regardless of whether anything is growing on them. As designer Alexander Betz notes via Martha Stewart, these structures "create height and architectural beauty, acting as focal points in the garden" even before climbers arrive.
If you have clematis, roses, or star jasmine, position the trellis nearby so structure and plant grow into each other. If you don't, the trellis functions fine on its own and gives you something to work toward.
Step 5: Refresh mulch or top-dress beds with gravel (Easy)
Fresh mulch suppresses weeds, aids drainage, and makes beds look deliberately maintained. Lenhart puts it plainly via Martha Stewart: it gives a "new, cost-efficient look" to any space. No technical skill, no lead time, and the before-and-after difference is visible the same afternoon.
Gravel or pea stone works as a stylistic alternative to bark mulch, particularly beneath trees or in areas where a more European garden aesthetic fits. Skip gravel in hot, sunny beds where it amplifies heat, leaf-heavy spots where it becomes a maintenance problem, or anywhere it might migrate into a lawn.
Step 6: Consider a low garden wall (Major)
A wall built from stacked stone, brick, or concrete can define a planting zone, highlight a key shrub, or provide meaningful sound and visual buffering if built taller, according to Martha Stewart. Fine Gardening documents over 200 linear feet of carefully squared-off stone walls as one of the primary year-round structural anchors in a mature architectural garden elements that remain readable even under snow.
This is not a weekend project for most people. It belongs here because it's structurally powerful, but it's a phased investment, not a quick fix.
Video of the Day
Easy garden decorating ideas that add mood fast
Once the bones are visible, the next job is making the space pleasant to spend time in. Mood is everything that makes a garden feel like somewhere rather than just something to look at. These upgrades extend the garden's hours, engage sound and touch, and signal through seating, light, and water that the space is meant for people.
Most of the following are Easy to Moderate and can be layered in across one or two weekends.
Step 7: Add outdoor lighting (Easy to Moderate)
String lights, solar path lights, and lanterns extend a garden's usability past sunset and reshape its character entirely after dark. "Pathway lights, uplighting on trees, or string lights over a seating area can dramatically enhance the mood and usability of your garden after dark," Lenhart told Martha Stewart.
- Practical specifications: Choose warm-toned LEDs, not cool white. Look for IP-rated waterproof fixtures in rust-resistant materials. Solar options work well for path lighting; wired connections are better for permanent uplighting.
Step 8: Install a recirculating fountain (Moderate)
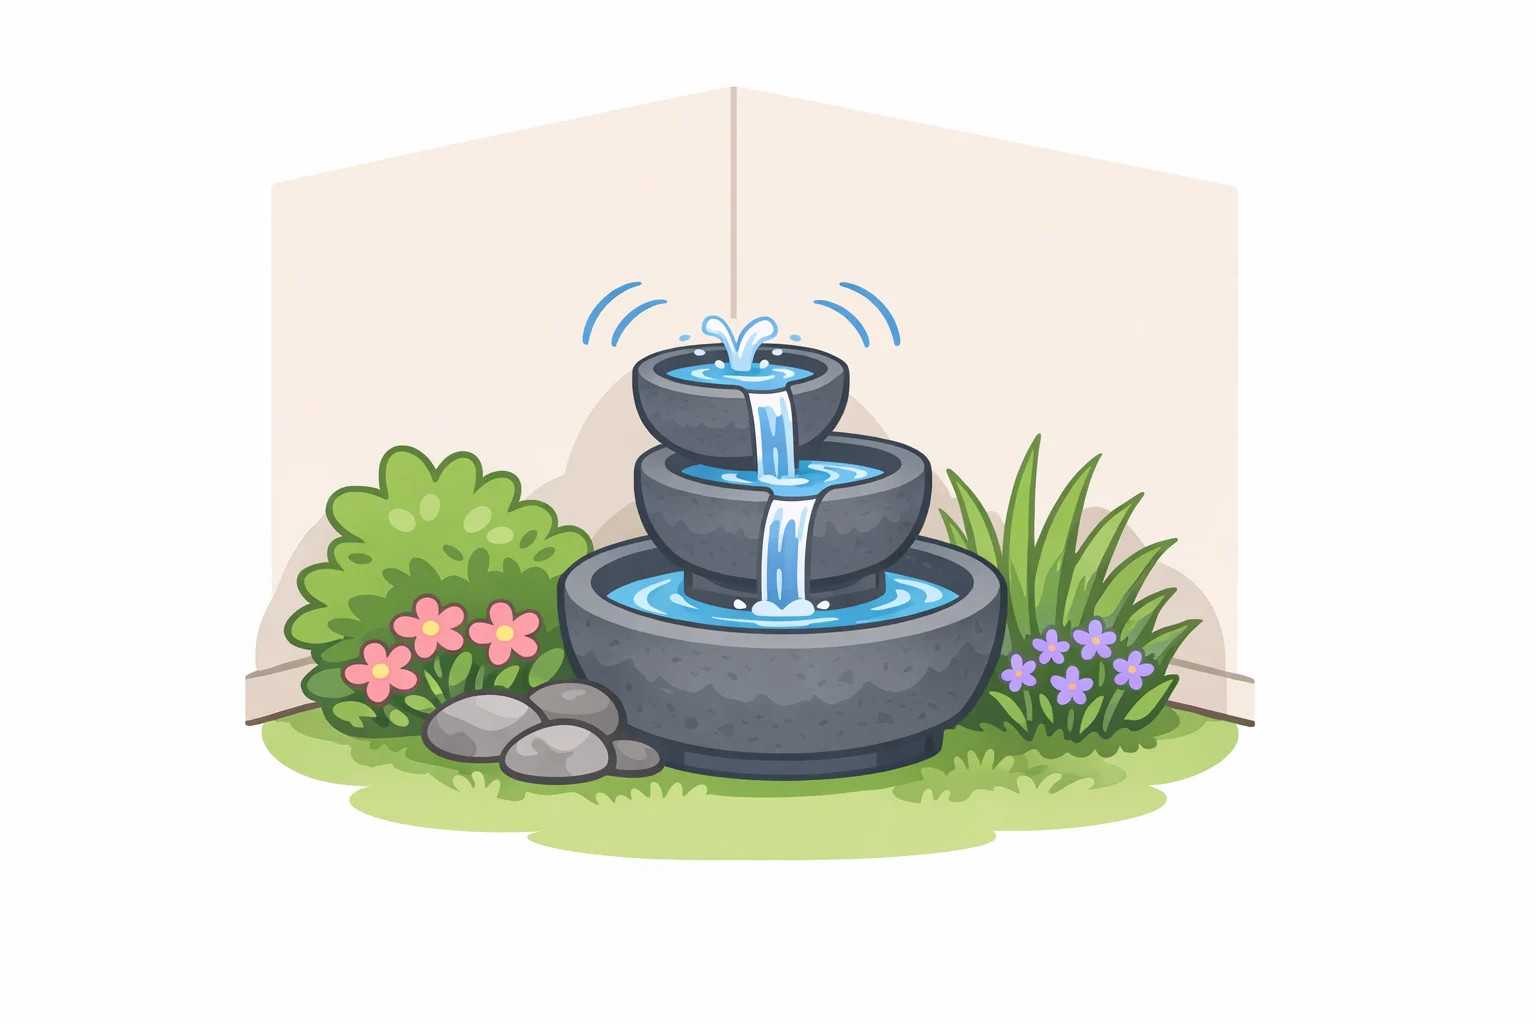
Moving water can turn a noisy urban or suburban garden into something that feels genuinely quiet. As Pete Cadieux, ASLA, puts it via Martha Stewart, recirculating fountains offer "a great way to turn a noisy space into a serene respite by masking surrounding sounds with white noise."
- Gotcha, don't skip this: Fountains require power (or solar), periodic cleaning to prevent algae buildup, and winterizing in cold climates. A fountain that isn't maintained quickly becomes an eyesore. Factor in the ongoing commitment before purchasing.
Step 9: Set up seating and make it comfortable (Easy)
A bistro set or lounge chairs signals that the garden is a place to stay. "Adding textiles, like outdoor pillows and throws, turns the space into a destination for people to enjoy and spend time in," Lenhart told Martha Stewart. Cottage garden designers describe benches as creating "little vignettes" that draw people in and give them a reason to stay long enough to notice the birds and bees passing through, per Martha Stewart.
Step 10: Add a garden art piece or sculpture (Easy)
Statues, wind chimes, and metal art introduce visual punctuation and personality to a planting scheme that might otherwise read as undifferentiated green, according to Betz via Martha Stewart.
Scale matters here. One larger focal piece generally reads more intentionally than several small accents scattered around the space. Position it at an entry, on a low wall, or at the end of a clear sightline. Art placed randomly throughout a garden reads as accumulated rather than chosen.
Naturalistic garden ideas that still look intentional
Structure and mood are largely static. This section covers what moves, blooms, migrates through, and changes with the seasons. It's also the most nuanced part of the list and the one most prone to overselling.
Adding native or wildlife-friendly plants is the upgrade with the strongest long-term case on this list, per Illinois Extension and UGA CAES. It's also the one that demands the most patience and the most site-specific thinking. It doesn't belong first on the to-do list. It belongs after the structural framework is in place, both practically and aesthetically.
Step 11: Attract birds with a birdbath or feeder (Easy)
A birdbath or feeder positioned 5 to 10 feet off the ground, in a quiet spot with some natural cover nearby, brings genuine movement and sound to a garden that plants alone can't supply, per Betz via Martha Stewart. Place birdbaths near flowering shrubs or perennials to reinforce the habitat. The birds follow the food source; give them a reason to stay where you can see them.
This is the only "life" upgrade with no meaningful establishment time. It works the same week.
Step 12: Layer plants for variety across textures, heights, and bloom times (Moderate ongoing)
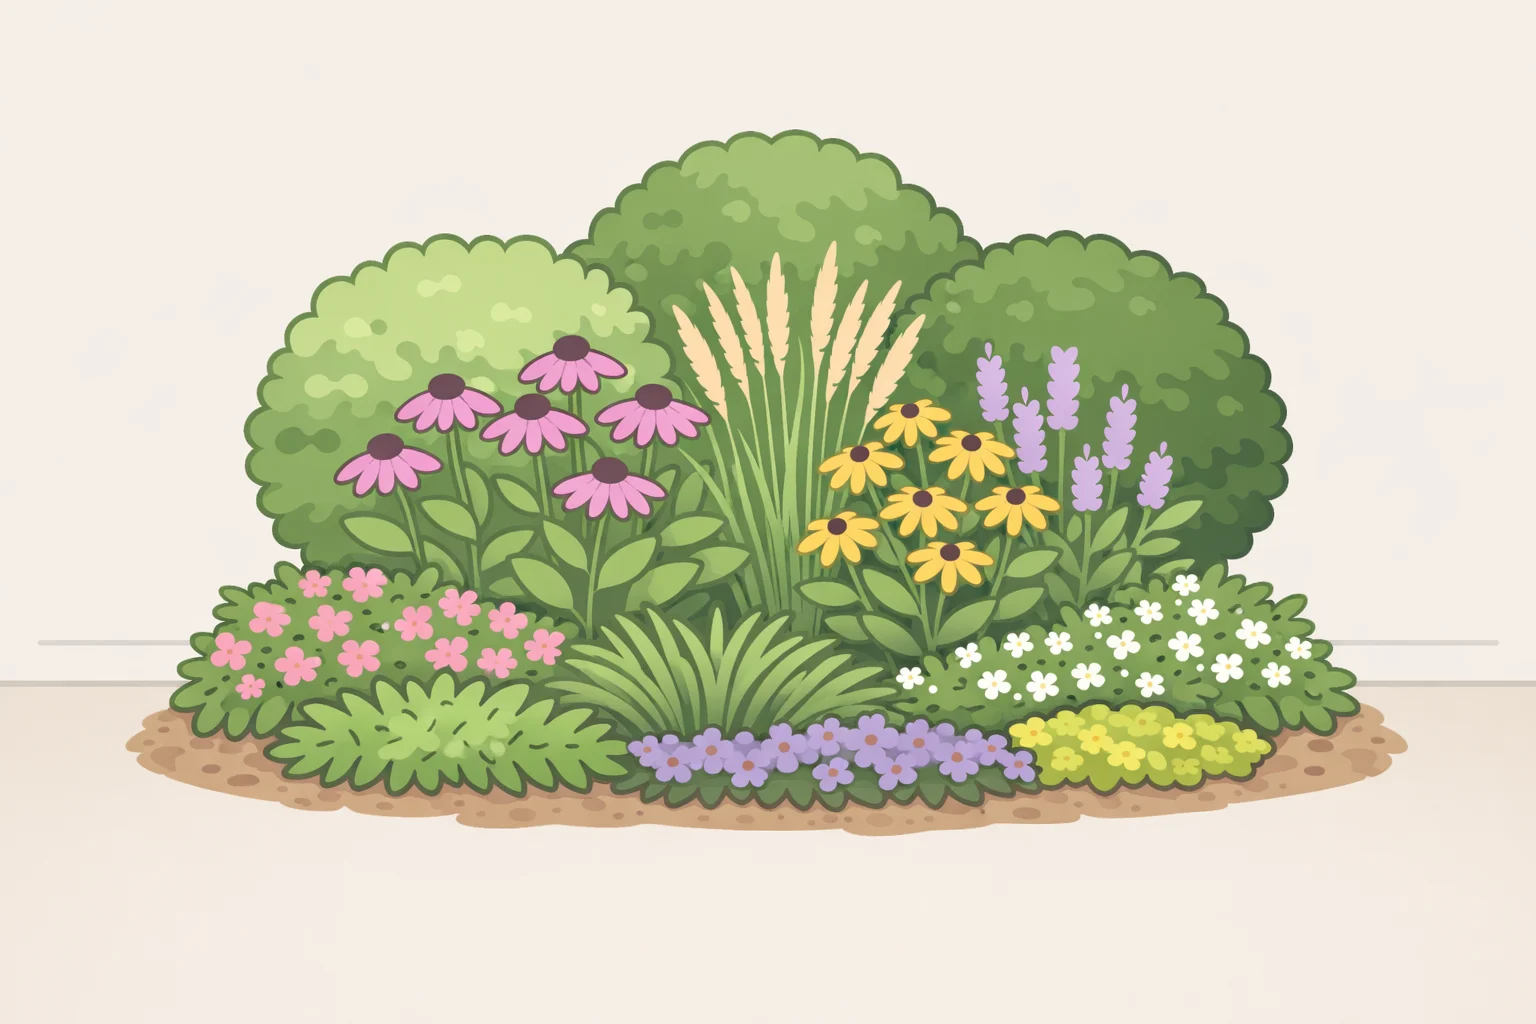
If there's one word that characterizes charming, naturalistic planting, Illinois Extension says it's "variety" not just flower color, but size, form, texture, and bloom succession throughout the year. A well-layered planting provides shifting points of interest for people and visiting wildlife across every season.
Using plants at different heights, from groundcovers through perennials to shrubs, also makes more efficient use of available water, light, and nutrients, as UGA CAES notes. Pick one bed to start. Aim for at least three distinct heights and two different bloom periods. That's a meaningful start without overcommitting.
Step 13: Add native or regionally adapted species matched to your specific site (Moderate to Major multi-season)
Native plants have developed natural resistance to pests and tolerance to drought and other environmental extremes, according to UGA CAES. They also support the specific insects and birds in your region in ways that non-native ornamentals typically can't. Landscapes designed with the local ecosystem as their guide are better suited to respond to climate extremes over time, as Illinois Extension observes.
This is not a one-size-fits-all recommendation. Naturalistic planting must match actual site conditions: sun exposure, soil type, drainage, and local climate. Contact your regional extension service for site-appropriate species lists before purchasing.
- Set realistic expectations: Prairie-style natives follow what horticultural professionals call "sleep, creep, leap." Minimal visible growth in year one while root systems establish, modest top growth in year two, abundant bloom by year three (Illinois Extension). Years one and two require weeding, deep watering, and patience. Year three pays it back.
- Managing appearance during establishment: Maintain a clean, mowed edge around any wild or naturalistic planting. A sharp border signals intention; without it, even a well-designed native planting can read as neglected to neighbors (UGA CAES). This loops back to Step 2: structure is what makes the living layer look purposeful.
- Small space note: A smaller area can actually be easier for homeowners to manage and control, as UGA CAES points out. A single well-chosen bed of native perennials, edged cleanly and matched to site conditions, outperforms a large native planting done without proper site preparation.
Where to start this weekend
Pick one item from each category: one structural fix, one place to sit or see after dark, one habitat element sized to a single bed. That combination of hard, sensory, and alive is the underlying logic of every garden that looks like it was meant to be there.
The fastest returns this weekend are edging, fresh mulch, and a warm-toned light over a seating area, per Martha Stewart. None require professional help. All produce visible results before Monday. Native plantings may reduce supplemental watering and intervention once established, Illinois Extension notes, though the establishment period demands consistent care and varies considerably by site. Start with the bones. The rest follows.