Flowers add such beauty to our world, but it's inevitable they'll eventually wilt. You can, however, preserve their loveliness by pressing them. While there's a variety of ways you can press florals (such as under a heavy book or by using a hot iron), I've found the best results when using a flower press.
It's easy to make your own flower press, and the biggest advantage is that you can press (and store) many different florals at the same time. Kids can also join in the fun by gathering various botanicals and arranging them. Once your florals have been pressed, there are lots of different ways that you can use them.
Video of the Day
Below, we share an easy DIY flower press tutorial and show you how to frame them and how to make paper luminaries.
Video: Flower and Plant Pressing Kit
Things You'll Need
Two 9-in. by 12-in. wood plaques (or plywood cut to size)
Painter's tape or masking tape
Ruler or tape measure
Pencil
Power drill
Scissors
Scrap cardboard
Printer paper
Four 1/4-in.-20 by 3-in. machine bolts
Four 1/4-in.-20 wing nuts
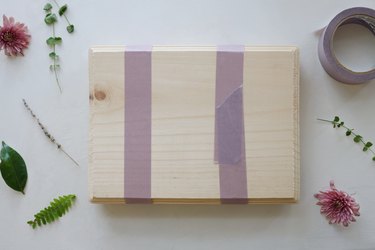
1. Tape the wood plaques together
Place the back sides of the wood plaques against each other and tape them tightly together with masking tape or painter's tape.
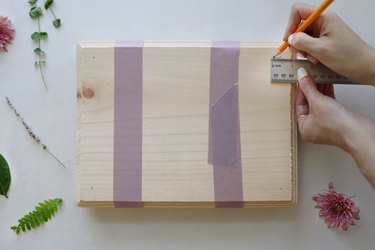
2. Measure and mark each corner
Use a ruler or tape measure and a pencil to make a mark 1 inch in from the two side edges at each of the four corners.
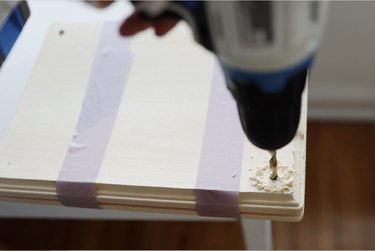
3. Drill a hole in each corner
Using a power drill and a drill bit that's slightly larger than the 1/4-in.-20 machine bolts, drill a hole through the mark at each corner. Be sure to drill through both boards.
Tip
A 1/4-in.—20 bolt is 1/4 inch in diameter and has 20 threads per inch. When you're buying the hardware, make sure the wing nuts thread properly onto the bolts to confirm that the threads match.
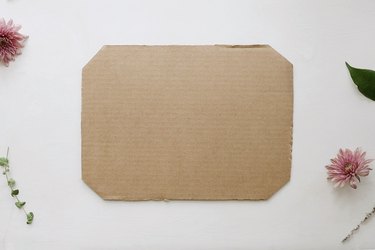
4. Cut the cardboard pieces
Remove the tape from around the wood plaques and trace one of the plaques onto a piece of scrap cardboard. Cut inside the lines so that the cardboard piece is slightly smaller than the wood plaque. Then clip each of the corners diagonally, removing about an inch from each corner. Repeat to make several cardboard layers for the flower press.
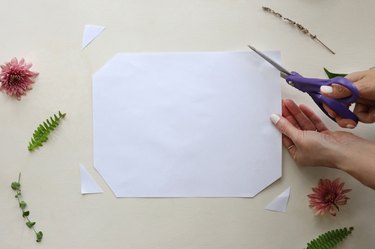
5. Cut the printer paper
Clip the corners from several pieces of printer paper, removing about an inch from each corner so that they're the same size and shape as the cardboard pieces.
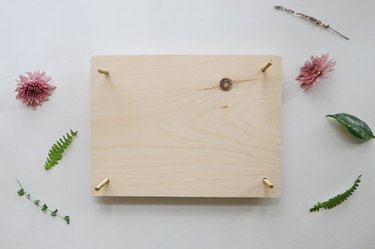
6. Insert the bolts
On one of the wood plaques, insert the four bolts through the holes in each of the four corners.
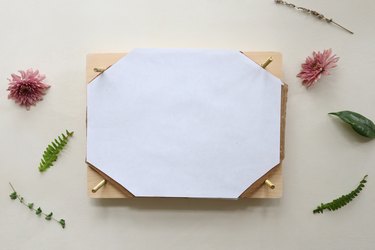
7. Start the first pressing layer
Place a piece of cardboard onto the plaque with the bolts. Place a piece of paper over the cardboard.
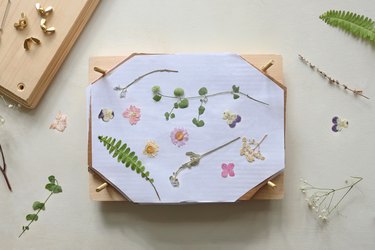
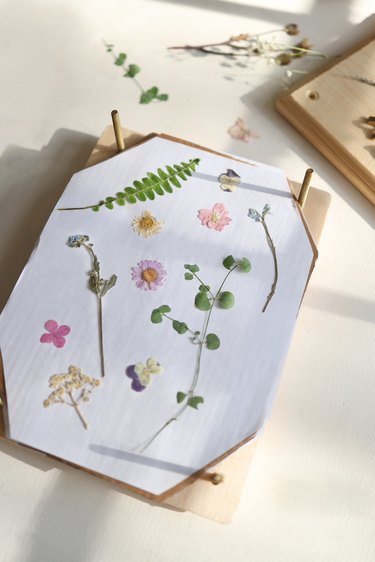
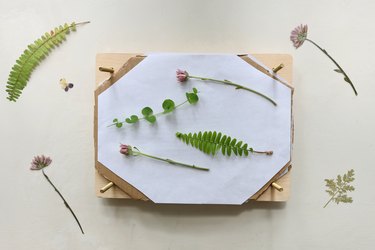
8. Add your plants
Place your florals (flowers, leaves, stems, or any other plant parts you want to press) onto the paper. Give each piece a little bit of space around it so nothing overlaps.
Tip
It's best to pick your florals in the early morning or evening so they are as fresh as possible and not wilted from the sun. If they have any moisture or dew on them, gently blot them with a paper towel before pressing.
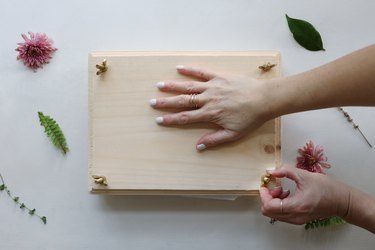
9. Complete the layer
Place a second piece of paper over the florals, then place a second piece of cardboard over the paper. Finally, place the second plaque on top of the cardboard, fitting the holes in the plaque over the four bolts.
Twist a wing nut onto each of the bolts until it's just snug. Then, move from nut to nut, tightening a little bit each time until all of the nuts are tight and the two plaques provide constant, firm pressure on the florals.
Tip
You can build up as many layers inside the press as the bolt lengths allow. Just be sure to use two pieces of cardboard and two pieces of paper for each layer.
10. Let the florals dry
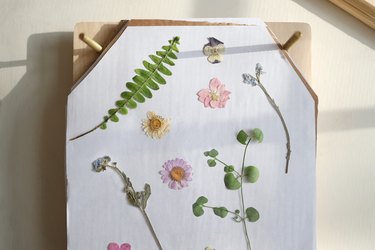
Let the florals dry for 2 to 4 weeks (and up to 8 weeks for larger flowers). Once dry, remove the wing nuts and top wood plaque and gently peel back the layers to reveal your beautifully pressed plants.
Two Fun Ways to Use Your Pressed Florals
There are lots of creative ways to use your pressed florals. Here are two very easy projects to give you a bit of inspiration.
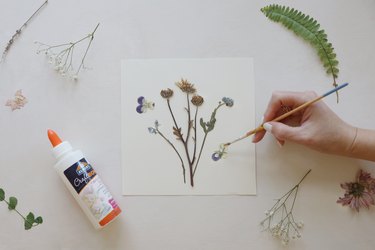
Frame Your Florals
Arrange your pressed florals on top of a piece of card stock. Once you've finalized your design, apply a small bit of acid-free craft glue to the back side of each floral to secure it in place.
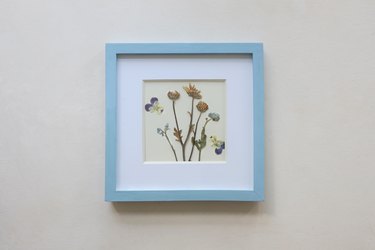
Once the glue has fully dried (about an hour), place the pressed floral art inside a frame and hang.
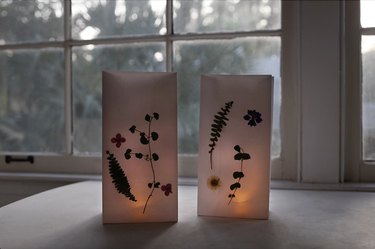
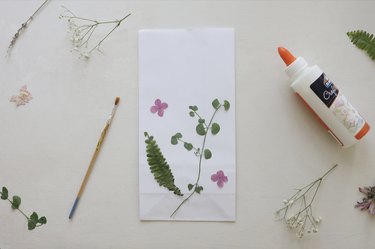
Create Floral Luminaries
Arrange your pressed florals on top of a flattened paper bag. Once you're happy with the design, apply a small amount of acid-free craft glue on the back side of each floral to secure it in place.
After the glue has dried for about an hour, add a flameless votive candle inside each bag and behold the beauty of your florals alongside the cozy flickering glow of candlelight.