Are you on a mission to reduce plastic waste in the kitchen? We've got your back with a DIY project that's sure to generate buzz. Thanks to our simple step-by-step tutorial, you can swap plastic wrap for reusable beeswax wraps that call for cotton fabric, beeswax pellets and an oven to make food-safe wraps that can be used over (and over) again.
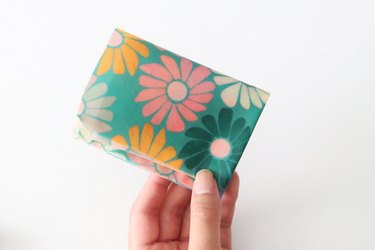
What's more, beeswax food wraps can replace more than just cling wrap. Thanks to their natural stickiness, they can be folded into pouches, allowing you to ditch single-use plastic bags. That's right—if you want to easily transport a handful of crackers or chopped veggies, you can carry them in a homemade beeswax wrap!
Video of the Day
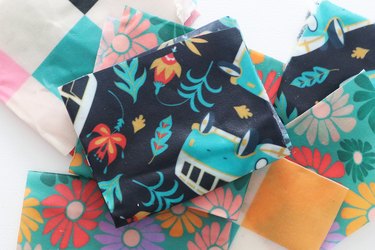
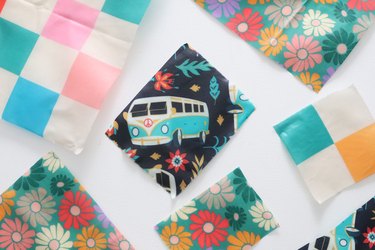
The best part is that you can use any fabric print you'd like, so you can be sure that each homemade wrap will match your kitchen and aesthetic. We chose a retro '70s theme for a pop of color and fun (especially for school lunches!), but you're welcome to select your own prints and patterns. If that weren't enough, each beeswax wrap can be any size you want—and even leftover cotton scraps are usable, making this a great zero-waste project.
Whether you're wrapping sandwiches for school, covering the end of a cheese block, topping off a Mason jar or protecting utensils on the go, these reusable food wraps will become a staple in your kitchen. Read on to learn how to make beeswax wraps, with tips and tricks galore.
Video: Homemade Beeswax Wraps to Keep Your Food Fresh
Things You'll Need
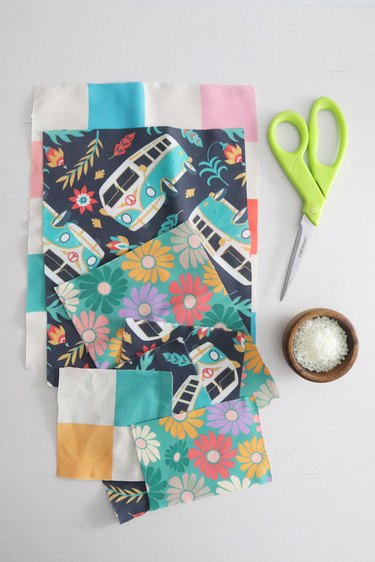
100% cotton fabric scraps (we used these prints from Etsy: Retro Checkerboard, Retro Van, Retro Florals)
Fabric scissors
Aluminum foil
Baking sheet
Tip
You can use grated beeswax instead of pellets.
How to make DIY Beeswax Wraps:
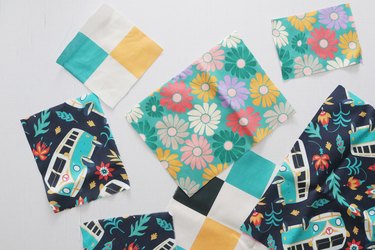
1. Cut fabric
Preheat oven to 180°F.
If you haven't already, cut fabric into squares or rectangles in desired sizes. They can be as small or big as you'd like but keep in mind that they should be able to fit on your baking sheet(s).
Tip
Use pinking shears if you want to avoid fraying along edges. Another option is to repurpose cotton napkins with finished edging for larger wraps.
2. Prepare fabric and beeswax
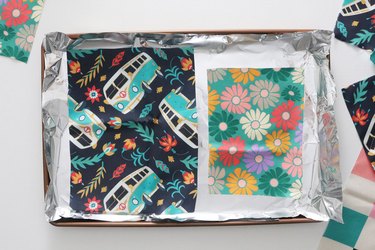
Line a baking sheet with aluminum foil. Place each piece of fabric on the sheet, leaving about 1 in. between them.
Cover about 60% of fabric with beeswax pellets, making sure to spread in an even layer.
Tip
It doesn’t matter which side of the fabric you add the beeswax on. The wax will melt through fabric and coat both sides.
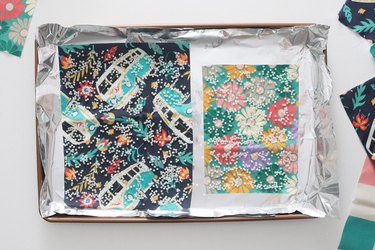
3. Melt beeswax
Place baking sheet in oven for 10 minutes. After removing sheet from oven, carefully pick up fabric. Let excess melted wax drip back onto foil.
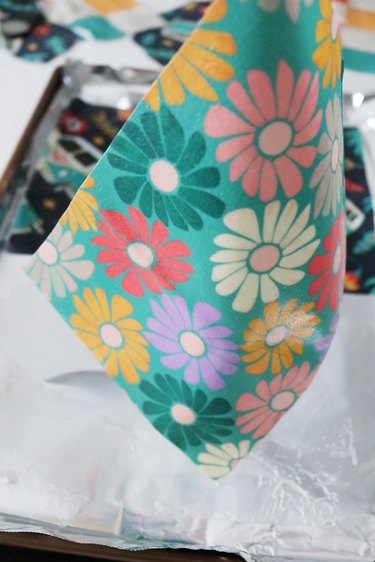
Once fabric is mostly dry, lay it on top of a bowl or jar. The total time it takes to fully dry will depend on fabric size.
Another option is to hang fabric on a clothesline with clothespins. If you choose to use this method, note that clothespins might leave indents on the beeswax.
Tip
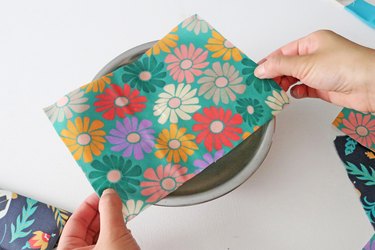
If remaining wraps dry on the foil before you’re able to pick them up, simply pop them back in the oven for a few minutes. This will re-melt beeswax so you can pick them up again.
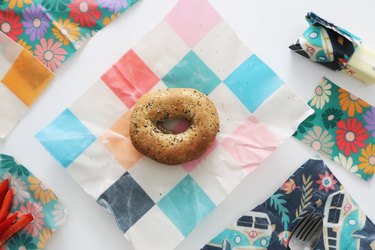
And just like that, you've made your very own beeswax wraps! Use them to cover containers, dry foods and utensils. You're not limited to food storage, though—they're great for wrapping nonkitchen items, like bars of soap while traveling.
Warning
Never use beeswax wraps for raw meat. Since the wraps aren’t airtight, juices from the meat might leak and potentially contaminate other foods and surfaces.
How to Clean Beeswax Wraps
To clean and reuse your beeswax wraps, wash them with mild soap and cold water. Avoid using hot water, which might melt the wax.
Over time, beeswax-coated fabric will naturally crack. To freshen, simply place wraps on a foil-lined baking sheet, sprinkle beeswax pellets on top and heat for 10 minutes at 180°F, just like you did when you first made them.
That's a wrap!