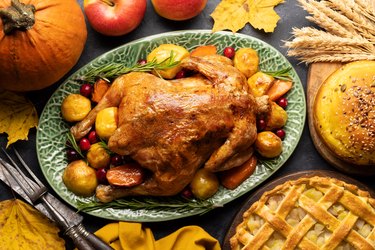
As holiday meals go, the classic, golden-roasted turkey is probably the most iconic. But there's a lot to be said for ham, as well, and it's got its own legion of fans whether it's a second option alongside the bird or as the standalone centerpiece of a meal in its own right. If you're new to preparing the big feast all by yourself, relax. Ham recipes tend to be pretty straightforward—they're mostly concerned with the kind of glaze you use, rather than the ham itself—and you need only a handful of tools to turn out a perfectly glorious baked ham. Let's take a look at what they are (and why you need them).
First, a Quick Look at the Types of Ham
Video of the Day
There are a few different kinds of ham you'll need to choose between for your meal. To begin with, there are both city (wet-cured in a brine) and country (air-cured after a dry rub) hams. The kind you probably think of automatically, unless you're from the South—the kind you'll usually find at the grocery store—is a city ham. They have a firm but moist texture and can be sold either raw or, more commonly, fully cooked and ready to eat. Spiral-cut hams are this kind but have been pre-sliced so they're easy to serve. Boneless hams are essentially a city ham with the bone removed and then molded into a sort of football shape. They're easy to slice and easy to serve, though many cooks prefer a bone-in ham.
Video of the Day
Country hams are funkier and have a much more concentrated flavor. You can thin-slice them and serve them raw, like prosciutto, but for a big Easter meal (or another get-together), you'll soak them first for a day or two in several changes of water to remove the excess salt. Once you've done that, they can be prepared like any other baked ham. There are a couple of other "hams" you may encounter, as well. A picnic ham is a pork shoulder (a true ham is the hind leg, a shoulder is the front leg), cured in the same way as a true ham. It tastes the same, is generally a bit cheaper and takes longer to cook. A "fresh ham" is just a pork roast taken from the hind leg, and not the same thing at all.
Whole hams tend to be pretty large, often 20 pounds or more, so they're typically cut into "butt" and "shank" halves. The butt is the upper part of the leg including the hip: It's leaner and gives you bigger slices, but it's more difficult to carve. The shank is the lower part of the leg: It's fatter and easy to carve because it contains only a single large bone, the femur.
Uncooked vs. Fully Cooked Ham
Your goal in preparing the meal will vary depending on whether your ham is uncooked or ready-to-eat. An uncooked ham must be treated like any other piece of raw meat and brought to an internal temperature of 145 degrees Fahrenheit in order to become food-safe. A ready-to-eat ham is already fully cooked (you can slice it for sandwiches without reheating it at all), and all you need to do is bring it up to an appropriate serving temperature. Your big goal with a ready-to-eat ham is just to keep it from drying out, which is especially a concern with spiral-cut hams (all of those cuts can let a lot of moisture evaporate).
You'll need to monitor your cooking time closely, especially if you plan a glazed ham. The glaze will need a few minutes at high heat in order to harden and caramelize, and often that's all the time necessary for your ham to dry out. Don't worry, there are ways to make sure this doesn't happen and we'll touch on them as we go.
The Tools You’ll Need
Ready to start? There are only a half-dozen tools you'll need for a successful holiday ham, and it's the tools—rather than the process—that make up the focus of this article. That being said, if you don't want to look up a separate "how to cook a ham" article, we'll have enough tips along the way that you should be able to still get the job done without needing to open another tab.
Here, then, are those half-dozen tools:
A Roasting Pan With Rack
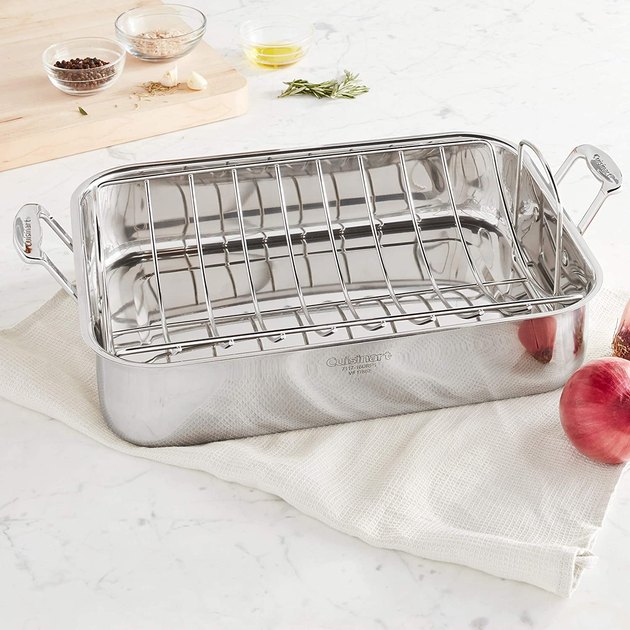
Your first necessity, obviously, is a pan to roast your ham in. It doesn't need to be elaborate: A large casserole dish will do, or a sheet pan, or the traditional enameled steel roaster. The best option, though, is a shallow, rectangular roaster—the kind restaurant kitchens use—with a rack to hold the ham. The rack allows heat to surround the ham evenly and also keeps the meat above the fat and drippings that will come out of it as it cooks (some hams have a fairly high water content, and you want it to bake rather than simmer in its own juices).
Before you position your ham on its rack, you might want to use a sharp knife to score the fatty side into a diamond pattern, which allows the fat to render more quickly and creates those crispy, browned edges that everybody will fight over.
A Good Meat Thermometer
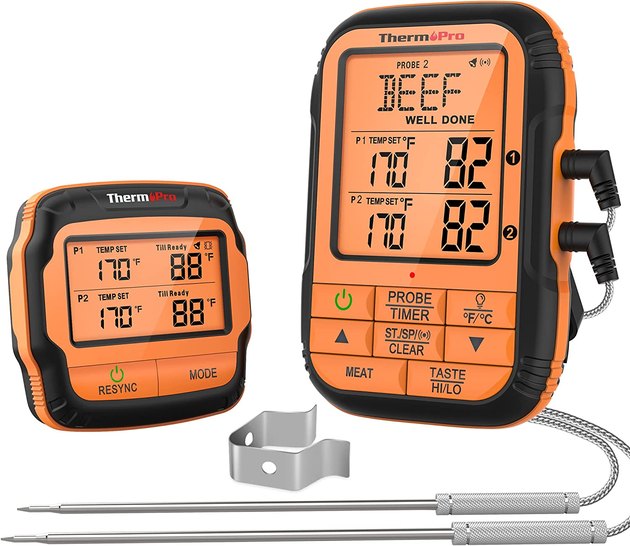
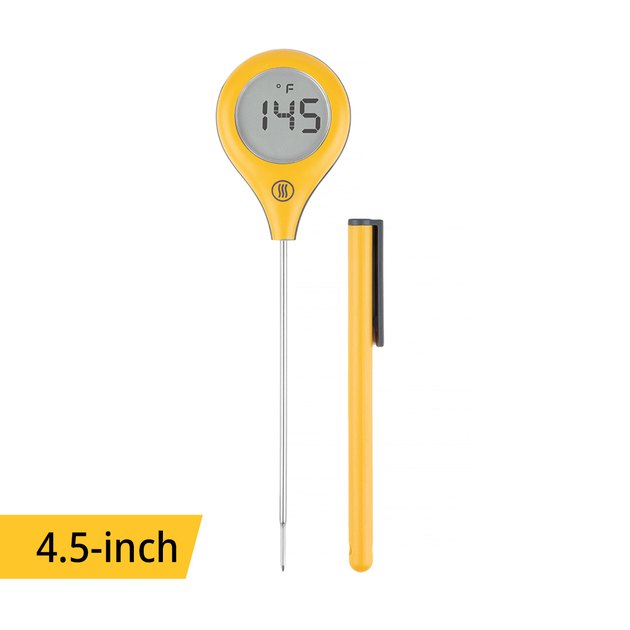
Whether you're bringing an uncooked ham up to a food-safe temperature, or heating up a precooked ham without overheating it and drying it out, having a way to accurately measure its internal temperature is absolutely crucial. There are a couple of different kinds of thermometers you can use for this purpose. One is the kind that you leave in the ham while it's in the oven and monitor the temperature continuously as it cooks. The other is an instant-read thermometer, the kind you use to check the ham at a given point in time.
ThermaPro's wireless meat thermometer is an excellent leave-in: You can use both probes in your ham to check for even cooking or use the second probe for a side dish, and the wireless receiver will still let you keep an eye on the ham's temperature wherever you are in your home. If you'd rather use an instant-read thermometer, ThermoWorks' improved Pop 2 is about the best on the market. It'll give you a temperature that's accurate to less than 1 degree, and it's faster than most other brands—just 2 to 3 seconds for a reading—so you won't need to keep the oven door open as long.
Heavy-Duty Aluminum Foil

How does foil come into the process? Well, you're going to want to trap moisture inside your roasting pan. Some roasters have a lid, but you'll get a better seal by using heavy-duty aluminum foil like this. Pour 2 cups water (or apple juice, or beer, or whatever your recipe calls for) into the bottom of the roaster, where it will create steam as the ham cooks, and then position your ham on the rack. Then cover the entire top of the roaster with aluminum foil, sealing it well on all four edges, to retain that moisture. The moist air does two things: First, it conducts heat better than dry air, so your ham will cook more evenly. Second, in that humid environment, your ham will be slow to dry out, even if you do overcook it a little. It's nice to have that bit of extra runway, just in case you lose track of time or forget to look at your thermometer.
Tip
Baked hams are pretty forgiving and you can cook at temperatures of 300 to 350 degrees Fahrenheit, or reheat at temperatures as low as 250 Fahrenheit (though you’ll need to be patient). Lower temperatures aren’t advisable because the ham will spend too long in the food-safety “danger zone” and will increase your risk of foodborne illness. You can usually allow 15 to 20 minutes per pound for your ham to cook, or roughly 3 to 3 1/2 hours, for an average butt or shank cut of 10 to 12 pounds or so.
A Saucepan and Whisk for Your Glaze
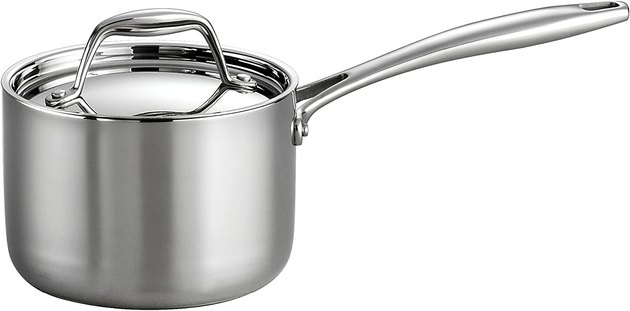
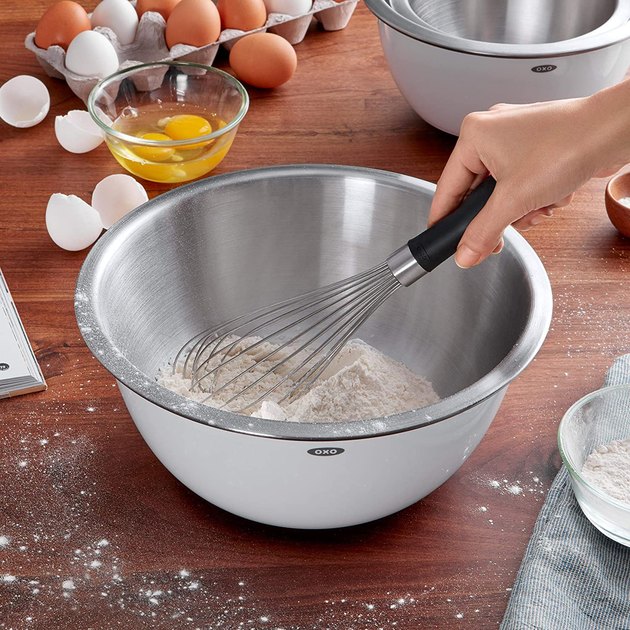
If someone were to ask you for your favorite ham recipe, what would your answer be? Honey-glazed ham? Maple syrup-glazed? Your grandma's brown sugar glaze, or the ever-popular cola glaze? It's not hard to spot the common denominator here. It's not that buying a good ham isn't important—it is, very much so—but it's often the glaze that people remember, rather than the ham itself. Whichever ham glaze you prefer, you're going to want a good saucepan to cook it in and a decent whisk to bring all of the ingredients together.
This tri-ply saucepan from Tramontina offers excellent heat transfer, so you won't get the "hot spots" that can cause your glaze to stick and burn to the pot, and the high, straight sides reduce the risk of your sugary glaze boiling over and sticking to your stove. The OXO whisk has a comfortable handle (OXO's specialty), is dishwasher-safe, and won't accumulate food debris in that tough-to-clean spot in the middle of the wires. What more could you ask for?
A Good Basting Brush
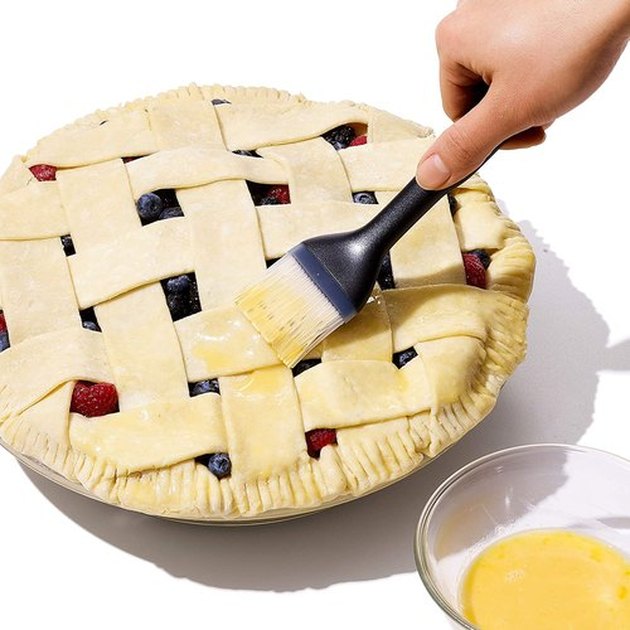
Depending on the glaze recipe you've chosen, you might glaze your ham before baking or baste it with glaze as it nears doneness (or maybe both). So having made your glaze, how will you put it on your ham? Forget your turkey baster, most glazes—with their high sugar content—will get hot enough to melt one. A spoon or ladle will work, but you'll get better coverage by using a silicone basting brush like this well-designed one from OXO. The angled head makes it easy to get your glaze into every nook and cranny of the ham's surface, even down into the areas where you've scored the ham to help the fat render. The angled handle also means you can set your brush down between uses without it leaving sticky glaze all over your countertop. You're welcome.
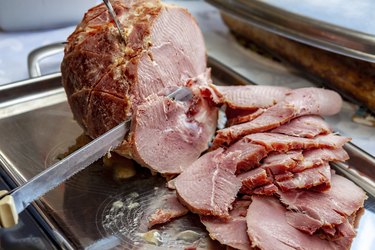
A Good Slicing or Carving Knife
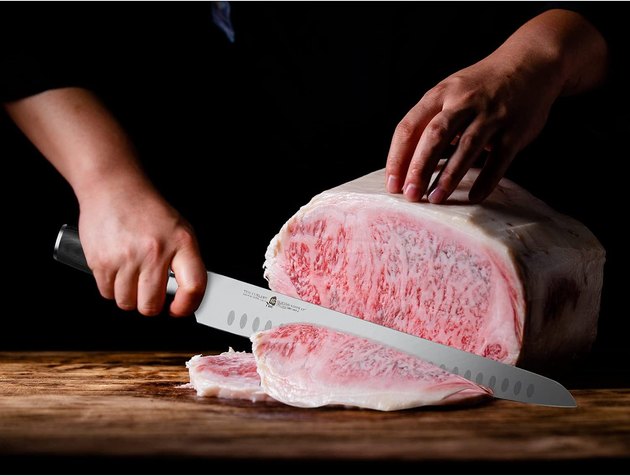

It'd be a real shame to pull off the perfect baked ham, only to ruin the effect—once it hits your cutting board—by not having a knife that's up to the task of making smooth, even slices. Sure, you can use a chef's knife, but they're not the right shape and usually aren't long enough to cut smoothly through a big ham. For that, you'll want a proper carving knife or slicing knife. Both are extra-long—typically 10 to 14 inches, with 12 being a good average—and have thin, narrow blades so they'll glide easily through a big piece of meat.
Modern versions usually have what's called a Granton blade, meaning the sides have pockets ground into them so the blade won't stick. So what's the difference between a carving knife and a slicing knife? Well, a carving knife comes to a sharp point and a slicing knife usually has a rounded tip. That's ... about it. Either kind will work well with ham, and both knives suggested here offer excellent-quality steel and a fine edge at a modest price point.