
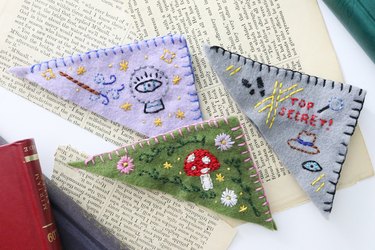
Calling all bookworms! Have we got a fun and useful craft project for you. It's time to toss the random receipts and old grocery lists you've been using as bookmarks and trade up for whimsical bookmarks that will amp up any reading experience. Enter: embroidered corner bookmarks that'll take your dog-eared books to the next level. These colorful felt creations are loaded with charm and are totally easy to make thanks to our helpful templates. We've created three corner bookmark designs that pay homage to favorite literary genres: fantasy, fairy tale and mystery.
Video of the Day
As with all crafty projects, take time to customize the designs based on your preferences. Feel free to change the shape, size or position of an image and get creative with colors! You could even swap the felt for another fabric, like canvas or cotton (though felt is great because it's inexpensive and easy to work with).
With these fabric corner bookmarks on your shelf or bedside table, closing a book after a good reading session will be that much more satisfying. Read on for all the splendid DIY details.
Video: Embroidered Corner Bookmarks with Whimsical Vibes
Corner Bookmark #1: Magical Fantasy
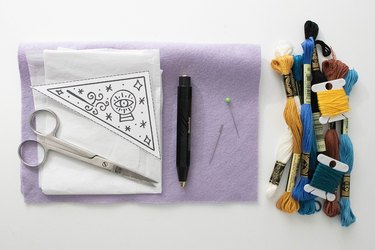
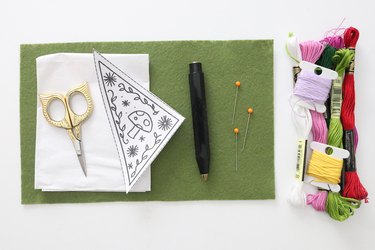
Things You'll Need
Printer paper or card stock
Embroidered corner bookmark template
Light purple felt
White tissue paper (or any light-colored tissue paper or tracing paper)
Pen
Scissors or rotary cutter
Straight pins
Sewing needle
Embroidery thread
How to make a Magical Fantasy Bookmark:
1. Prepare template
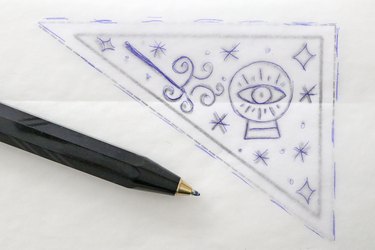
If you haven't already, print the bookmark template on printer paper or card stock. The latter is a better option if you plan to reuse the template. Next, cut out the template along the dotted lines using scissors or a rotary cutter. Place white tissue paper on top, ensuring the paper layers are on a flat surface. Trace the pattern with a pen.
2. Stitch magic pattern
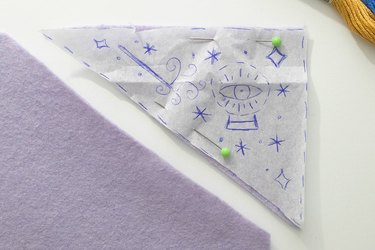
Cut out the design along the dotted lines and then pin it to felt. Next, cut out the felt.
Tip
Pin the design to the corner of the felt so you only have to cut the long side.
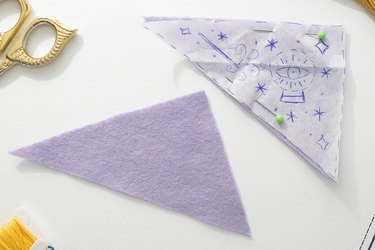
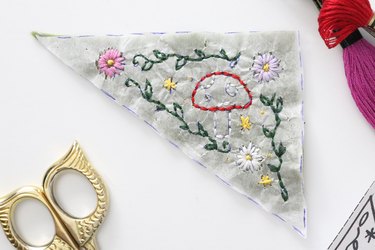
Use the pattern to cut out a second felt triangle. Set it aside. Without removing the tissue paper from the felt, embroider the design, stitching straight through the paper.
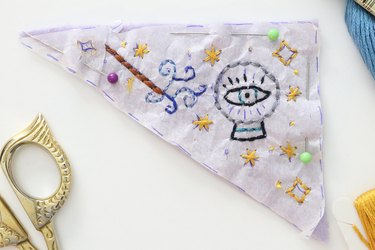
Remember that the colors are up to you! For our magic-themed embroidered corner bookmark, we used cool tones and yellow-gold for the stars.
3. Remove paper
Carefully tear away the tissue paper from the felt. For tighter spots, use a pin to pry out the paper. You can also clean up any motifs with additional stitches or redo them as needed.
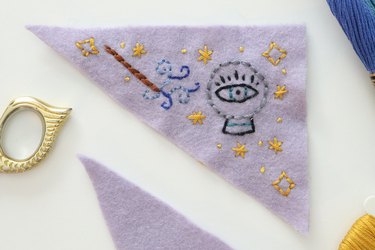
4. Stitch felt triangles together
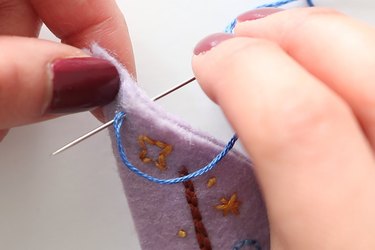
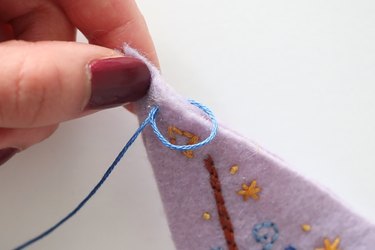
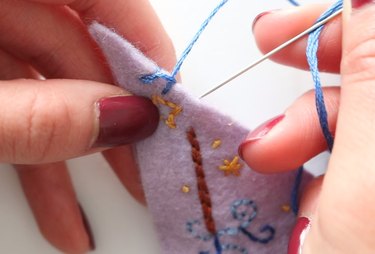
The last step is to attach felt triangles using a blanket stitch. To do this, place the embroidered triangle atop a plain triangle. Thread a needle with a strand of embroidery thread and tie a knot at one end. Starting at the left corner along the top of the triangle, insert thread through the top layer only. Pull all the way through so that the knot is hidden between two triangles.
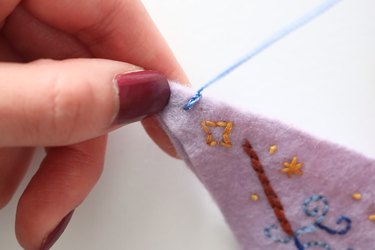
Bring the needle up and back through the same hole you just created. Pull the needle until there's a small loop left along the top.
Bring the needle through this loop, moving from right to left.

Pull the needle upward, creating the first stitch.
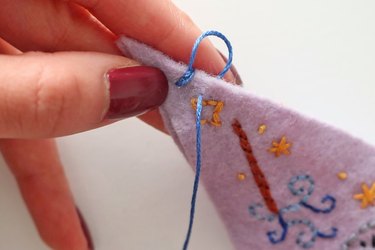
For a blanket stitch, you'll always be inserting the needle back to front. So, insert the needle through both layers of felt about 1/4 in. (or a bit less) from your first stitch, coming in from the back.

Pull the needle through until there's a small loop along the top.
Again, insert the needle through the loop right to left.
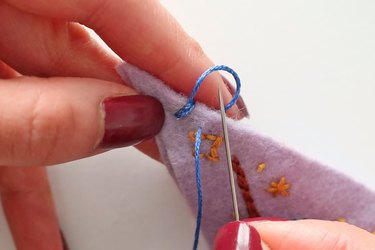
Pull the thread upward to close the stitch. This will create a decorative edge along the top of the triangle.
Repeat the blanket stitch until you reach the right side and then continue until you reach the bottom corner. Tie off the thread and trim the excess.

Tip
Turn this bookmark into a sewing project by using a sewing machine to connect the triangles.
To use your whimsical Magical Fantasy Corner Bookmark, simply slip it onto the right corner of the page. It's just like magic!
Corner Bookmark #2: Enchanting Fairy Tale
Things You'll Need
Printer paper or card stock
Embroidered corner bookmark template
Olive green felt
White tissue paper (or any light-colored tissue paper or tracing paper)
Pen
Scissors or rotary cutter
Straight pins
Sewing needle
Embroidery thread
How to make an Enchanting Fairy Tale Bookmark:
1. Prepare template
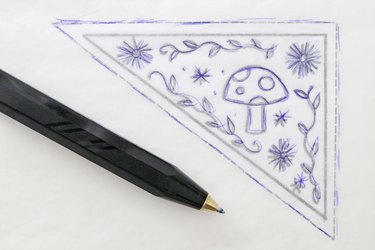
Place tissue paper atop the mushroom pattern and then trace with a pen. The thick outline along the perimeter is optional.
2. Stitch mushroom pattern

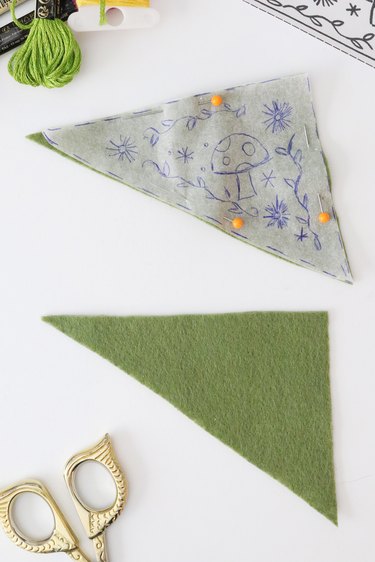
Cut out the paper pattern along the dotted lines. Pin a piece of paper to the felt and then cut out the felt. Cut out the second felt triangle using the pattern and then set it aside.
Stitch the design straight through the paper.
3. Remove paper
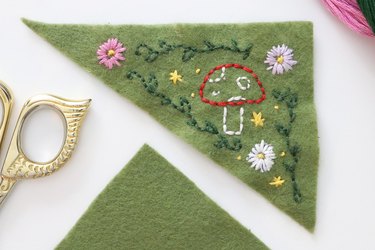
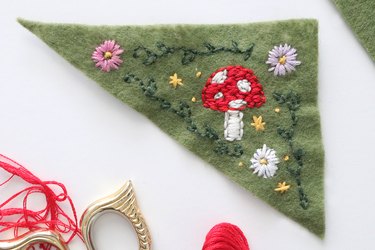
Gently tear away the tissue paper using a pin to remove it from smaller spots. If you'd like, fill in the mushroom with additional stitches. This is easier to do without paper (and is completely optional). It will increase the total project time, but it's certainly worth it!
4. Stitch felt triangles together
Place the embroidered triangle on top of the plain piece. Next, using a blanket stitch along the top and right side, stitch the triangles together. (You can find instructions for a blanket stitch in step 4 of Bookmark #1 above.)
Your embroidered mushroom bookmark is ready to mark any page. So dreamy!
Corner Bookmark #3: Top-Secret Mystery
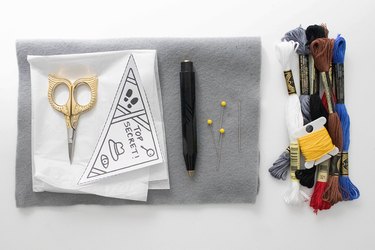
Things You'll Need
Printer paper or card stock
Embroidered corner bookmark template
Gray felt
White tissue paper (or any light-colored tissue paper or tracing paper)
Pen
Scissors or rotary cutter
Straight pins
Sewing needle
Embroidery thread
How to make a Top-Secret Mystery Bookmark:
1. Prepare template

Print the bookmark template on paper and then cut it out along the dotted lines. Lay a sheet of tissue paper on top and trace it with a pen.

Cut out the template along the dotted lines. Next, pin it to felt and cut out the felt. Using the same template, cut out a second felt triangle. Set this piece aside.
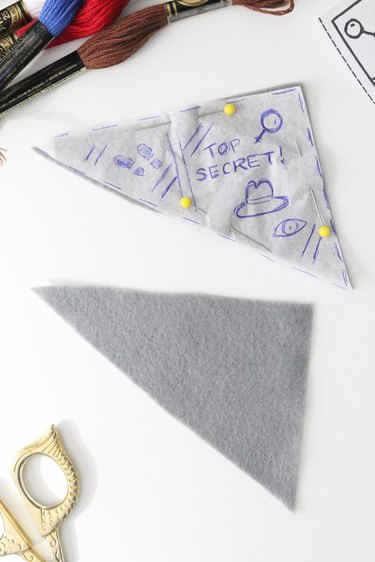
2. Stitch mystery pattern
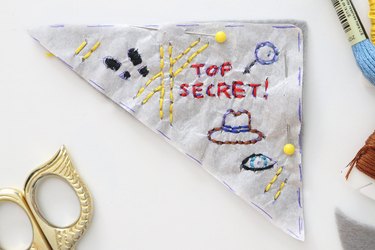
Stitch the design straight through the paper.
3. Remove paper
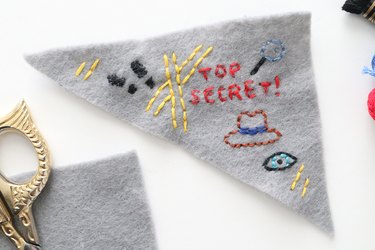
Carefully tear away the paper using caution around tighter stitches. The tip of a pin might be helpful for removing paper from tight spots.
4. Stitch felt triangles together
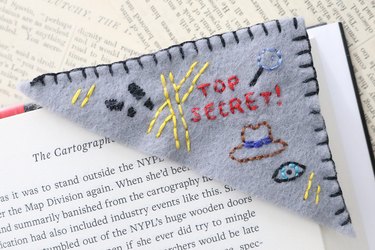
To finish your mystery-inspired bookmark, stack the felt triangles together, embroidered side up. Stitch a blanket stitch along the top and right side. You can find instructions for this stitch in step 4 of Bookmark #1 above. When it's time to take a break from solving mysteries, slip the finished bookmark onto the corner of your page.
If you're like us, you'll never look forward to putting down a good book, but with these DIY embroidered bookmarks, you can make the experience of pulling yourself away from a good read slightly more fun!