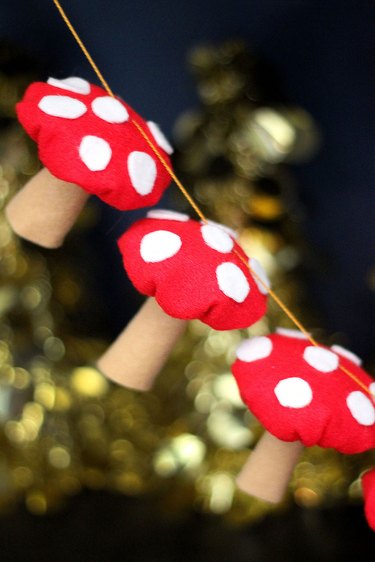
When it comes to decor ideas, one motif that always brings a smile is garden mushrooms. Their whimsical appeal makes mushroom decorations perfect for both home decor and garden decor. And while colorful toadstools are a cheerful decoration throughout the year, they are especially festive during the holidays as Christmas ornaments or when strung together as a garland. Best of all, they're an easy DIY craft that you can make with your family and friends.
Follow this easy tutorial and these DIY mushrooms will be popping up all over your house!
Video of the Day
Video of the Day
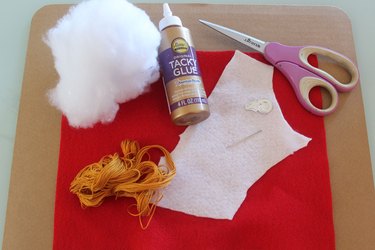
Things You'll Need
Felt in three colors
Scissors
Embroidery floss
Embroidery needle
Needle threader
Glue
Cardboard
Hobby knife
Polyester fiberfill
How to make a mushroom garland:
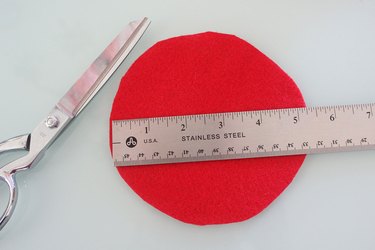
1. Cut a circle out of felt
The DIY mushrooms will feature three colors of felt: one for the mushroom cap, one for the stem and one for the polka dots on the mushroom cap. Let's start with the felt for the mushroom cap. We're using red felt for this. With scissors, cut a circle that's about 5 inches in diameter.
2. Sew a basting stitch around the perimeter
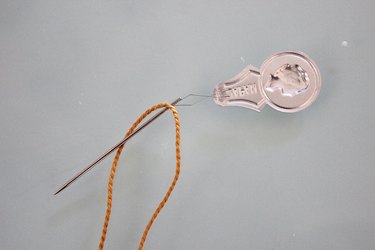
Thread an embroidery needle with embroidery floss using a needle threader. The needle threader definitely helps here because embroidery floss is so thick. You can use regular thread, but embroidery floss is much stronger and will work better for our purposes.
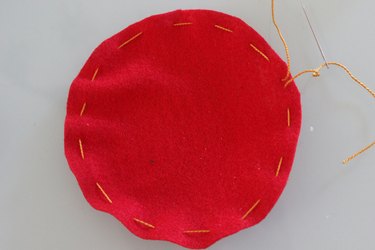
Stitch the embroidery floss around the perimeter of the circle about a quarter inch from the edge. Make each stitch about a half inch apart. It's like a basting stitch except you're not removing the thread afterward.
3. Make the mushroom stem
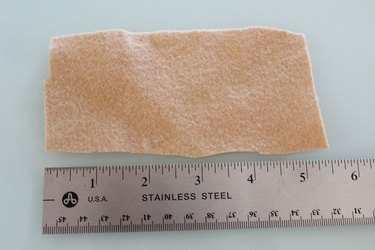
With your second color of felt, cut a rectangle that is about 3 by 5 inches.
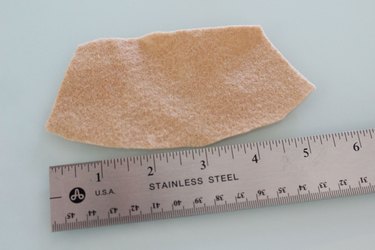
Then, cut angles at the left and right edges so that the top is narrower than the bottom. Round out the bottom corners as well to resemble the curve of a smile.
Apply craft glue along the edges and the inside of the felt piece. I would advise against using hot glue for this step because it will burn your fingers.
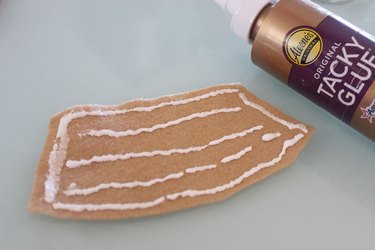
Roll the piece of felt tightly to form the mushroom stem. Because of the way the felt was cut, the top of the stem will be narrower than the bottom. Allow the glue to dry.

4. Connect the stem to the mushroom cap
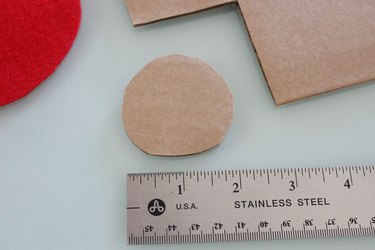
Cut a 2-inch circle out of cardboard. There's no need to buy new cardboard. It's always a good idea to have some old cardboard boxes handy for DIY projects (says the craft supplies hoarder in me).
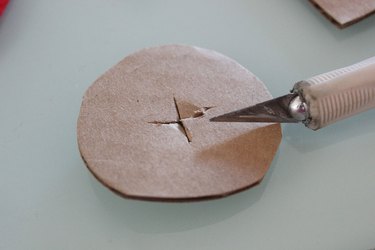
With a hobby knife, cut a "X" in the middle of the cardboard circle.
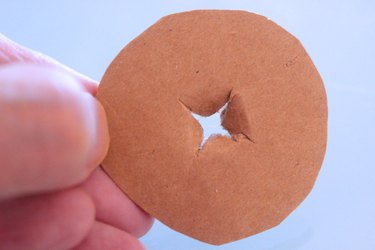
Use a pencil or other thin object to poke a hole through the "X."
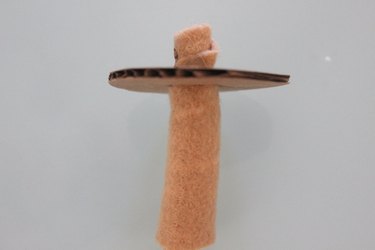
Insert the narrow end of the felt stem through the hole in the cardboard circle. Leave about 1/2 inch poking through the top of the cardboard. The part sticking up will help give shape and height to the mushroom cap.
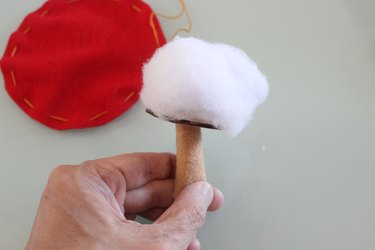
Ball up a piece of polyester fiberfill and place it on top of the cardboard circle.
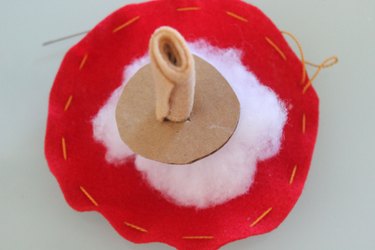
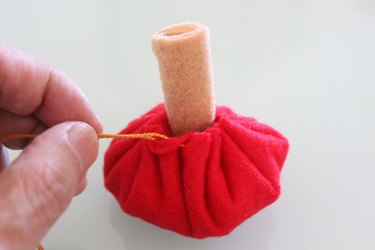
Remember that round piece of felt with the basting stitch? Place the stem upside down in the middle of that piece of felt. Yes, it's all making sense now, isn't it?
Apply glue to the cardboard circle.
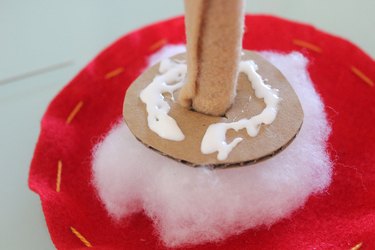
Pull the two ends of the embroidery floss that's been stitched around the felt circle. When you pull the ends tightly, the felt will gather around the piece of cardboard. The folds in the felt actually resemble the folds, or gills, underneath real mushrooms. Tie a knot to secure the ends of the embroidery floss and cut off any excess. Press the felt folds against the cardboard to flatten them and make contact with the glue.
5. Decorate the mushroom top
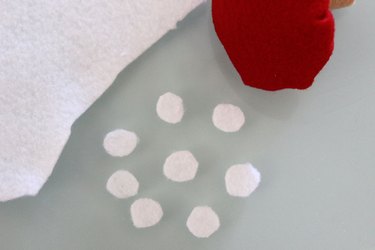
Cut out 1/2-inch circles of a third color of felt. I used white. You can even use multiple colors if you're looking to make some groovier felt mushrooms.
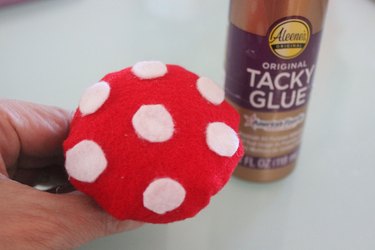
Then, glue these felt polka dots to the mushroom cap.
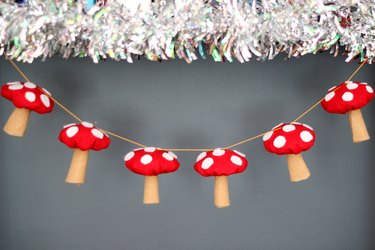
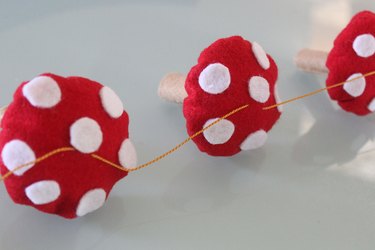
6. Connect the mushrooms to create a garland
These felt mushrooms make adorable DIY Christmas decorations that you can make for your Christmas tree. But besides becoming mushroom ornaments, they're also easy to string together to make a garland that can adorn your tree, mantel or wreath.
Thread an embroidery needle with a length of embroidery floss that is long enough for your decor purposes. I'd recommend at least a 20-inch length. Then, run the floss through the middle of the mushroom cap at the top.
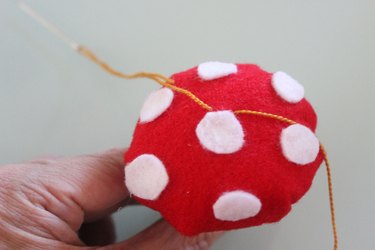
Do this for all your felt mushrooms. You can space the mushrooms as close to each other as you'd like, and because the embroidery floss is not knotted at each mushroom, you can move them around as needed.
These creative mushrooms will add a fairy tale feel to your Christmas tree or any home decor project throughout the year. It's a fun craft project to share with the kids as well since it's such a simple DIY idea. And if a few garden gnomes want to come inside and get crafty with you—well, the more the merrier!