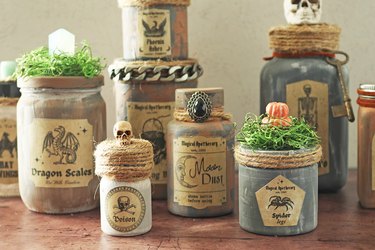
Double, double, toil and trouble...these Halloween potion bottles will put a spell on you! Featuring an exclusive eHow printable and upcycled bottles, this DIY tutorial is perfect for creating a magical apothecary that even Professor Snape would love.
For this Halloween decor project, you'll need a variety of clean containers. Plastic, metal and glass bottles or jars work great, including those that once held spices, sauces, pills or shampoo. Simply soak the containers in hot and soapy water, remove the labels; and apply paint. From there, you can adorn each bottle with eHow's whimsical potion labels along with embellishments, like fake moss, twine and stone beads. The possibilities are boo-tifully endless.
Video of the Day
Video of the Day
Once you've made a set of DIY Halloween potion bottles, display them on your mantel, bookcase or dresser. They'd also look great in a Harry-Potter-inspired setup or even in the kitchen or bathroom with your "everyday" potion ingredients.
Ready to get crafty? Read on to learn how to make easy DIY potion bottles and find our free printable below.
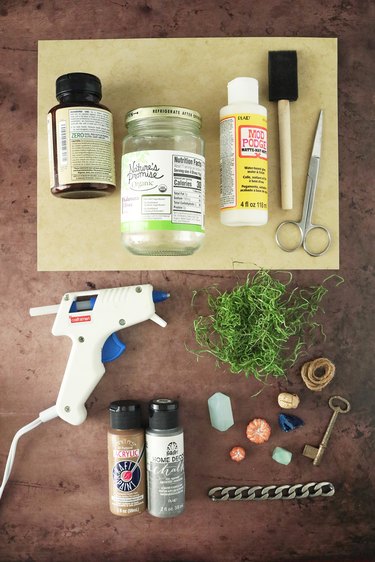
Things You'll Need
Empty plastic, metal or glass bottles or jars
Hot water, soap and large bowl
Cloth or paper towel
Foam paintbrush
Chalk or matte paint
Parchment-colored paper (8.5 by 11 inches)
Printer
Scissors
Decoupage glue, like Mod Podge
Hot glue gun
Embellishments (fake moss, twine, dollhouse miniatures, etc.)
How to make DIY potion bottles:
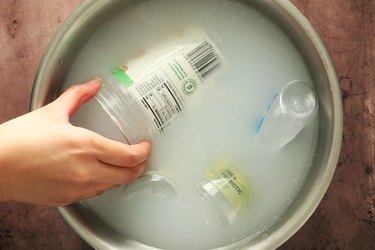
1. Prepare your potion bottles and jars
To remove the labels from your containers, fill a large bowl with hot water. Add a few drops of soap. (Castile soap works best for this purpose.)
Soak the bottles for at least one hour.
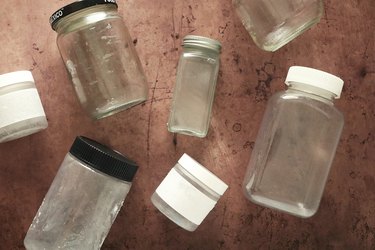
2. Remove the labels
After the containers have soaked, remove the labels as best as you can. Keep in mind that some might come off easier than others depending on the specific label and adhesive. That being said, it's OK if there's some adhesive left over. In fact, you might want to leave some on the containers for texture.
Before moving on to the next step, dry the containers with a cloth or paper towel.
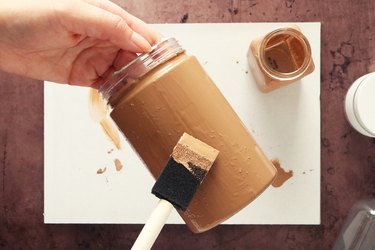
3. Paint your DIY potion bottles
Using a foam brush, coat the bottles and jars with a layer of chalk or matte paint. Feel free to use colors that work with your style or decor. Just be sure to use matte paint, which clings better to smooth surfaces.
Once the first layer of paint has dried, it's time to "age" the bottles with matte paint in a contrasting color. To do this, dip a dry foam paintbrush into the paint and then swipe it across random areas to create texture and depth.
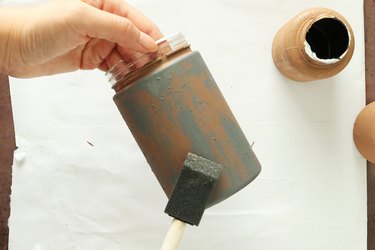
Tip
It’s best to use a dry foam brush for this technique. Otherwise, the moisture of a wet brush will make it harder for the paint to stick.
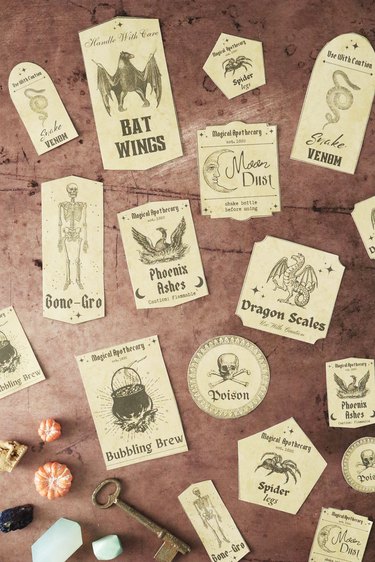
4. Print and cut out potion labels
Next, print our potion bottle labels on a sheet of parchment-colored paper. You can download the free printable right here.
When scaled to 100 percent, the labels are ideal for containers like large pill bottles and peanut butter jars. If your containers are smaller, you'll need to scale down before printing. We recommend printing a few test sheets on scrap paper to determine the best size for your bottles.
Tip
Parchment-colored paper is available in the scrapbook section of a craft store. Here, you’ll find letter-size papers with different prints.
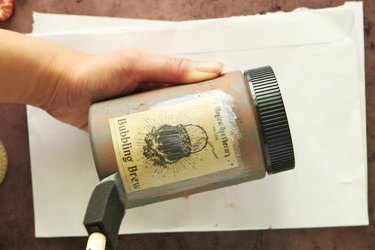
5. Add labels to your DIY magic potion bottles
Using a foam brush, apply a thin layer of Mod Podge to front of the bottle. Add a potion label and smooth it down with your fingers.
Next, apply a layer of Mod Podge over the label until all of the corners are glued down. Set it aside to dry.
6. Decorate your potion props with embellishments
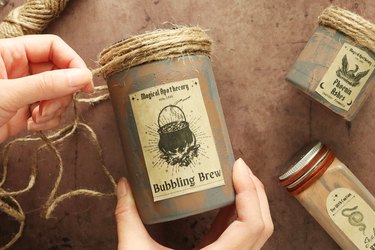
Now, here's where your own potion bottles really come to life. Using hot glue, adhere a strand of twine, jute cord or leather cord to the lid. Continue wrapping until the lid is covered, occasionally adding hot glue to secure the material.
From here, anything goes! Use hot glue to add embellishments, like faux moss, creepy dollhouse miniatures, chunky stone beads, charms, chains and plastic skulls.
If you're an avid crafter, look through your supplies for potential embellishments. You can really let your creativity run wild with this step, so don't be afraid to experiment. Other options for decorations include broken or thrifted jewelry, crystals and random items around the home.
Happy Halloween crafting!