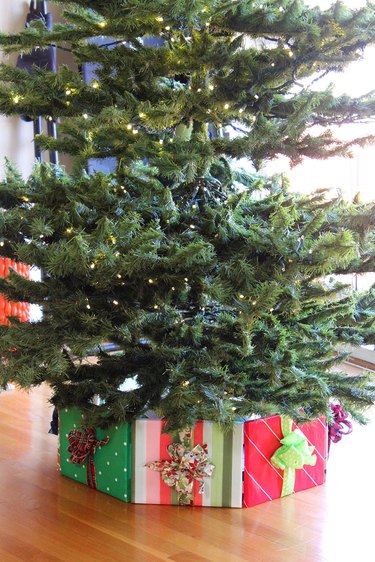
Christmas skirts are so last season. To truly cover an unsightly tree base, including the bottom of the trunk, you need a Christmas tree collar. This festive tree collar made with stretched canvases makes it look like your tree is surrounded by brightly wrapped presents before Santa even makes a visit. Making this faux gift tree collar would be a fun activity to get the whole family into the holiday spirit. It will certainly get everyone excited about the real presents to come.
Video of the Day
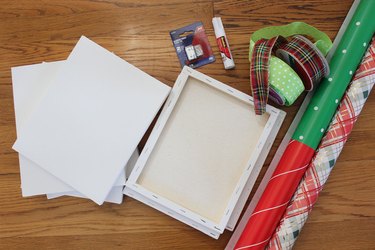
Things You'll Need
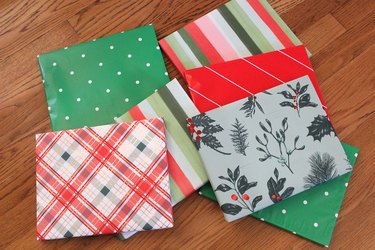
Wrapping paper
Scissors
Glue stick
Screwdriver
Ribbons and bows
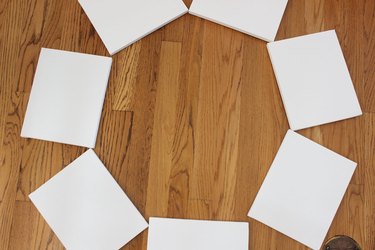
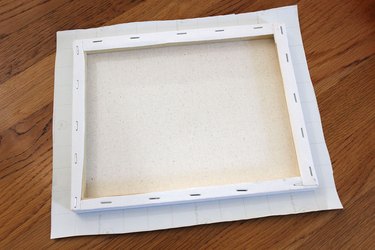
Step 1: Decide On the Size of Your Collar
Measure the circumference of the tree base you want to cover. Position enough stretched canvases on the floor in a circle large enough to wrap around the tree base. I used 8 x 10 canvases, and I needed seven of them. The number needed will also depend on whether you orient the canvases vertically or horizontally.
Video of the Day
Step 2: Cut Wrapping Paper
Cut pieces of wrapping paper so that they extend about an inch beyond the edges of every side of the canvases. Place the canvas face down on the paper.
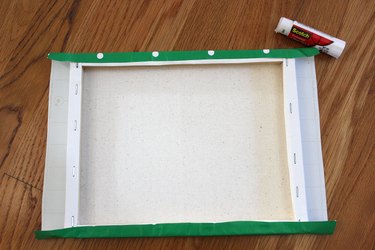
Step 3: Glue the Paper to the Canvases
Using a glue stick, adhere the paper to opposite edges of each canvas. Apply the glue stick on the frame portion of the stretched canvas as well as the paper. Do not apply the glue stick to the front of the canvas because it will make the paper wrinkle.
Tuck in the corners of the paper on the other two sides.
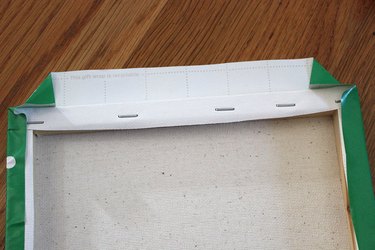
Then, use a glue stick to adhere the paper to those edges of the stretched canvas.
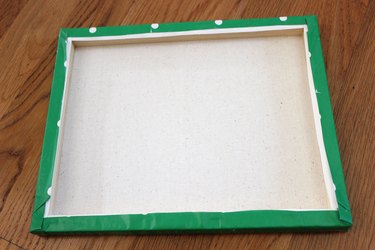
Repeat the process until you've wrapped all the canvases.
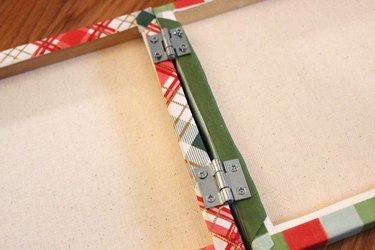
Step 4: Connect the Canvases
With the wrapped canvases face down, line them up evenly. Screw in a pair of hinges between every two canvases to connect them. Position each hinge about 1 to 2 inches from the edge of the canvases. There's no need to create a closed loop to connect the two canvases at the ends. By keeping it open, you will have more flexibility in fitting the collar around the tree.
Step 5: Add Ribbons and Bows
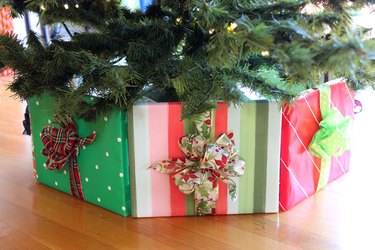
While it's not necessary to decorate the wrapped "gifts" with bows, they do add a glorious touch. Plus, the simple technique I'm showing for creating a bow will be one of the most useful skills you'll ever learn. Seriously. Start by tying a ribbon around each wrapped "gift," securing it with a single knot. Make sure you leave several inches of ribbon at the ends — you'll need them later.

Accordion-fold a second piece of ribbon so you have three loops on both sides.
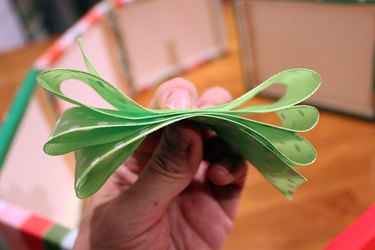
Cut two slits at an angle parallel to each other in the center of the folded ribbon. Each slit should be about 1/2 inch.

Tuck the ends of the first ribbon into the slits of the accordion-folded ribbon and tie another knot.
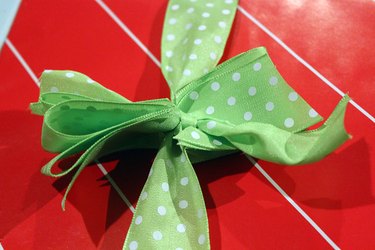
Fluff the loops and marvel at your beautiful bow. Continue until each of your "gifts" has a bow.

Arrange the tree collar around the base of your tree. The gifts may be fake, but the holiday spirit is real.