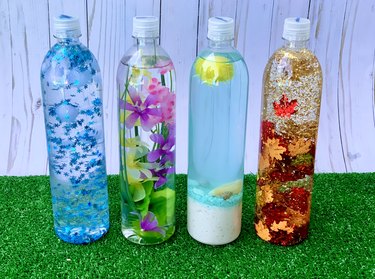
A sensory bottle is a container filled with liquid and various types of materials to stimulate a child's senses and inspire curiosity and exploration. These DIY sensory bottles are a great way to introduce kids to the four seasons! They'll discover something new each time they pick up a sensory bottle, turn it upside down, and shake it all around. With a few water bottles and supplies from your craft box along with our detailed tutorial, you'll be well on your way to learning how to make sensory bottles.
Things You'll Need
4 clear water bottles
Waterproof adhesive
Funnel
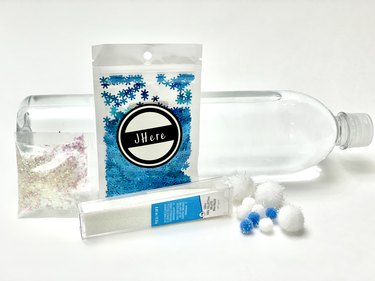
Extra-fine white glitter
Snowflake confetti glitter
White sparkle pom poms
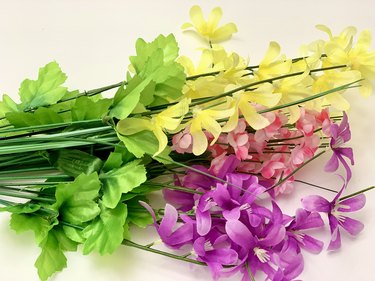
Artificial flower stems
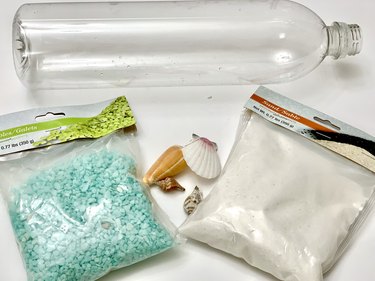
White sand
Blue pebbles
3-4 small sea shells
Drop of blue food coloring
Large yellow sparkle pom pom
Gold glitter
Foil metallic sequin confetti
Maple leaves
Video of the Day
1. Create a winter sensory bottle
Remove all labels from the water bottle. If there is sticky residue, remove it using a cotton ball soaked in rubbing alcohol.
Video of the Day
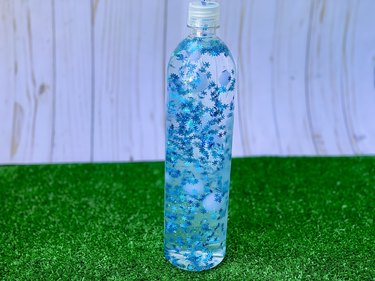
To make a winter sensory bottle, first add the materials to an empty water bottle using a funnel. Snowflake confetti glitter helps to create the perfect winter effect, and white iridescent glitter will make everything sparkle as it moves all around.
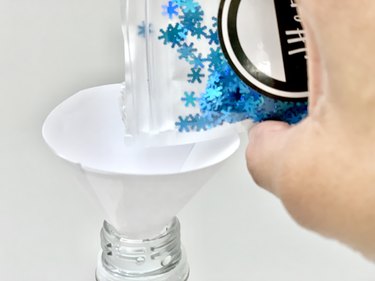
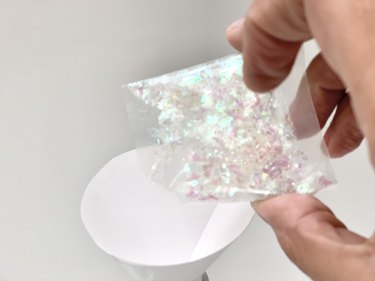
Then, add a few white sparkle pom poms for snow.
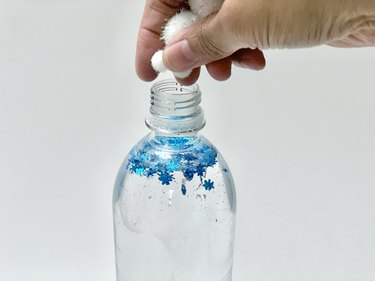
Fill the bottle with water and seal the top with a waterproof adhesive. Enjoy your magical winter wonderland sensory bottle.
2. Create a spring sensory bottle
Remove all labels from the water bottle. If there is sticky residue, remove it using a cotton ball soaked in rubbing alcohol.
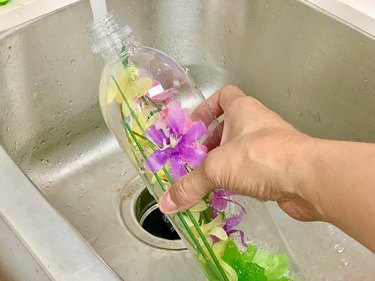
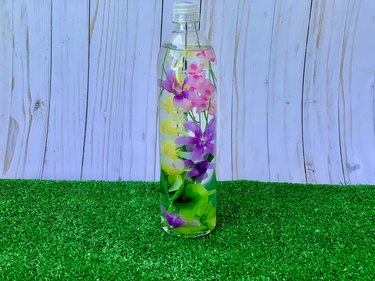
To make a spring sensory bottle, insert a few artificial flowers into the empty water bottle. Use just a few stems in multiple spring colors as well as some tall greenery.
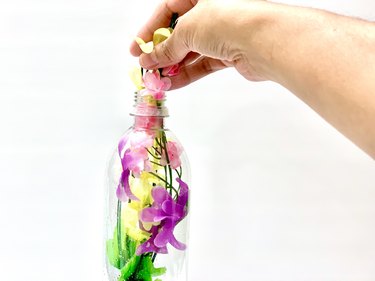
Add water and seal the bottle cap with a waterproof adhesive.
3. Create a summer sensory bottle
Remove all labels from the water bottle. If there is sticky residue, remove it using a cotton ball soaked in rubbing alcohol.
Fill an empty bottle with 2 inches of sand and then add a few colorful rocks and seashells.
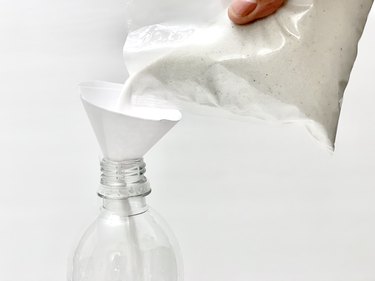
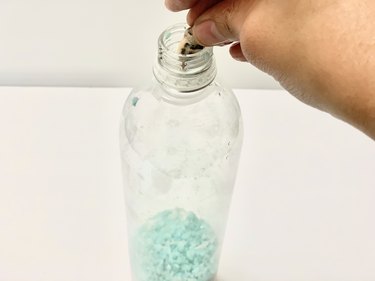
Fill the bottle with water, leaving half an inch empty at the top. Add a drop of blue food coloring (or you can use the ink from a blue marker) to create an ocean effect.
Tip
The more blue food coloring you use, the darker your sensory bottle will be, so start with just a little and add more bit by bit until you reach your desired color.
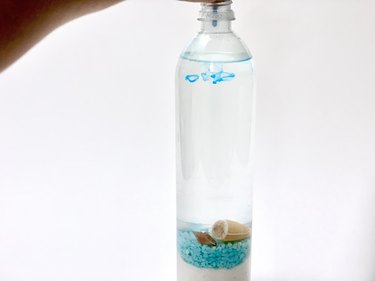
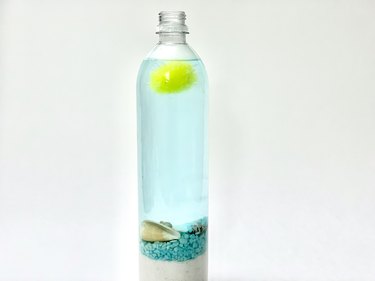
Lastly, add a large yellow sparkle pom pom for the sun. Fill it with water and seal the bottle cap with waterproof adhesive. Summer never looked this good in a bottle!
4. Create a fall sensory bottle
Remove all labels from the water bottle. If there is sticky residue, remove it using a cotton ball soaked in rubbing alcohol.
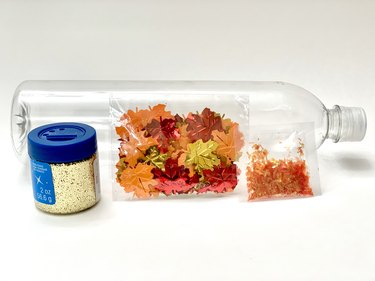
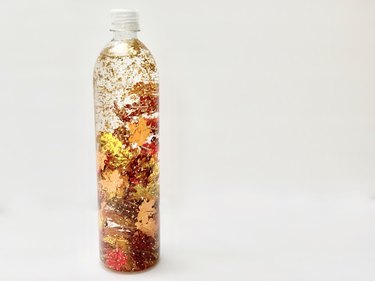
Fall is probably the easiest of all the seasons to create. Add some foil metallic sequin confetti and gold glitter to an empty water bottle. Don't use too much confetti or it will all clump together and fall to the bottom of the bottle.
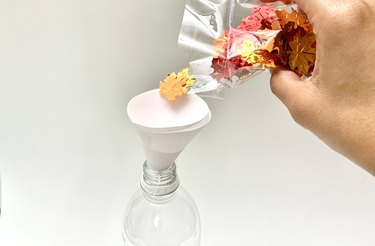
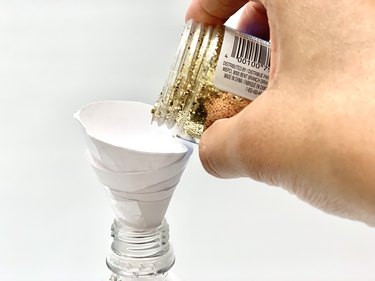
Fill it with water and seal the bottle cap with waterproof adhesive.
Tip
When sealing the sensory bottles, make sure that the area around the top of the bottle and inside the cap is totally dry before applying the waterproof adhesive. Allow it to dry overnight before putting your sensory bottle to use!

The Many Benefits of Sensory Bottles
Besides looking beautiful and inspiring wonder and awe in children, sensory bottles provide a host of benefits for youngsters!
- Holding the bottles, turning them upside down, and shaking them helps with the development of motor skills.
- Children who are experiencing anxiety or fear may find the bottles to be soothing and relaxing.
- They're a great tool for teaching toddlers about different shapes, textures, and colors.
- Sensory bottles inspire creativity, exploration, and curiosity.