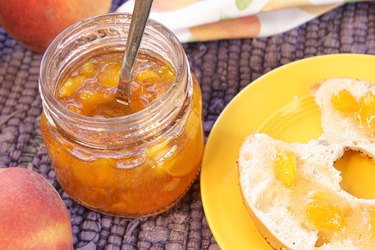
If you've always wanted to learn how to make and preserve your own jam, this easy step-by-step will show you how. In this tutorial, we're featuring everyone's favorite summer fruit: peaches. This homemade jam is full of the vibrant flavor of a freshly picked peach, and is perfect on a bagel or a warm roll right out of the oven. But honestly, we won't blame you if you just want to eat it straight from a spoon. Even if you're not a canning expert, peach jam is an excellent introduction to the world of homemade preserves. While you'll want to hold onto a few jars for yourself, be sure to share some with your friends and family, too. They are quite the treat!
Video: How to Make & Preserve Homemade Peach Jam
Video of the Day
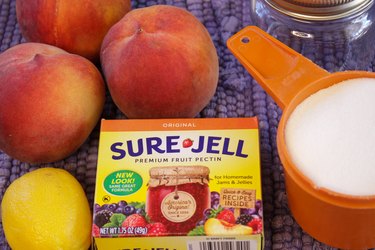
Things You'll Need
3 lbs. of peaches (4 cups of frozen diced peaches)
1 box of Sure Jell fruit pectin
1/2 tsp. butter
2 Tbsp. lemon juice
5 1/2 cups sugar
Steamer canner (or hot water bath canner)
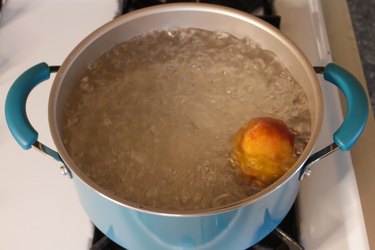
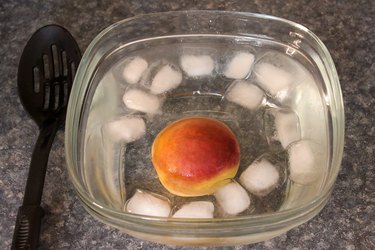
1. Remove the skin of the peaches
If you're using fresh peaches, wash and scald them by dipping a few peaches at a time in boiling water, then dunk quickly in ice water. The loosened skins will then slip off easily. Cut in half and remove the pits. You can skip this step if you are using frozen peaches.
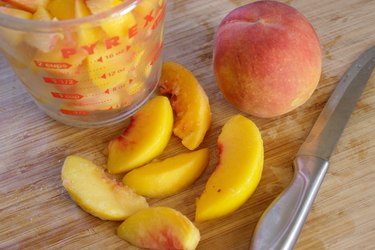
2. Chop the peaches into small pieces
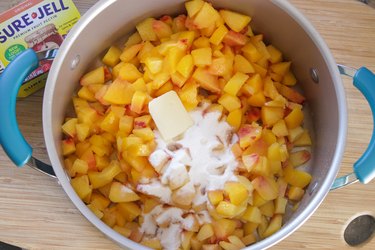
Finely chop 4 cups of peaches and place them in a large saucepan.
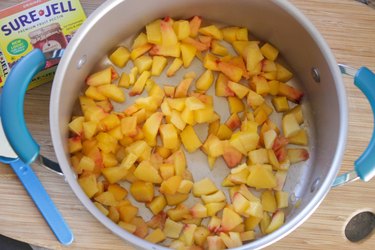
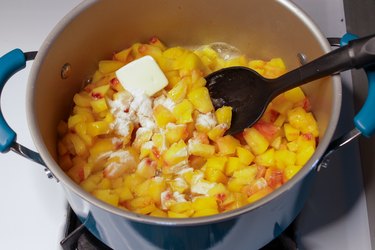
3. Mix in fruit pectin, butter, and lemon juice
Add a box of Sure Jell, 1/2 teaspoon of butter (to keep the jam from foaming), and 2 tablespoons of lemon juice. Stir constantly while bringing this mixture to a full rolling boil over high heat.
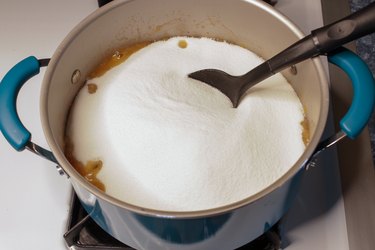
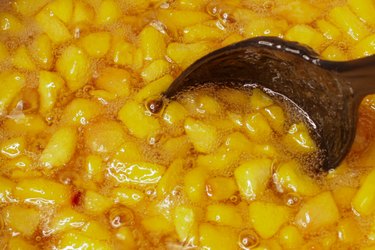
4. Add sugar and bring to a boil
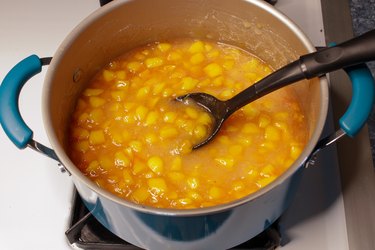
Stir 5 1/2 cups of sugar into the peaches. Continue stirring and return it to a full rolling boil for exactly one minute. Remove it from the heat.
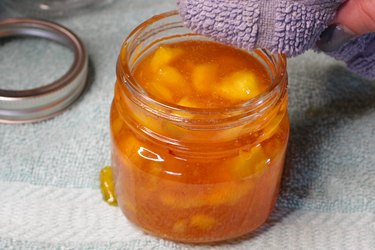
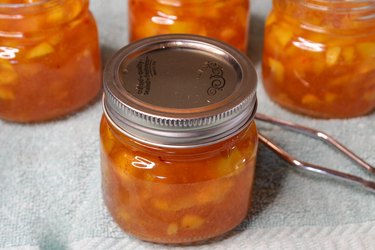
5. Add the jam to jars
Use a wide mouth funnel to ladle the jam into the sterilized jars.
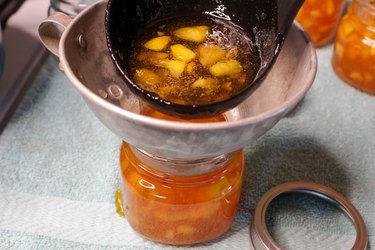
Wipe off any jam that may have gotten on the rim of the jar with a damp cloth.
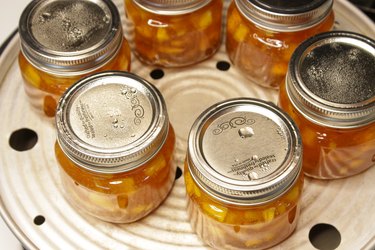
6. Top the jars with lids
Using sterilized tongs, place a hot, sterilized lid on top of the jar and secure it with a sterilized ring.

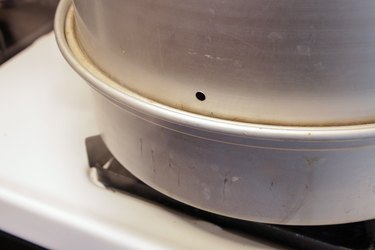
7. Add jars to the steamer canner
Place jars on the rack in the steamer canner, and then place the canner lid over the jars.
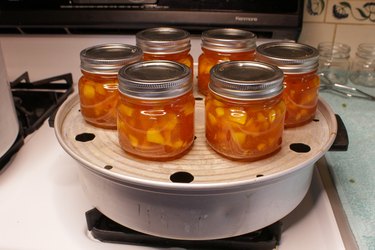
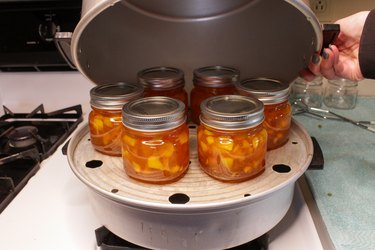
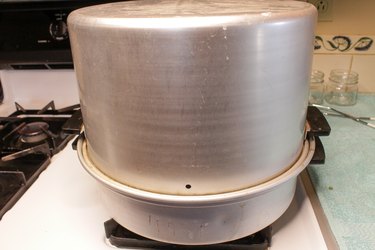
8. Steam the jars in the canner
Turn on the heat and process the jam for 10 minutes. Start the timer when you see visible steam escaping through the hole in the canner lid.
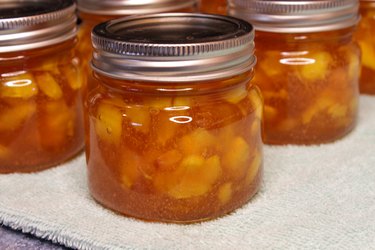
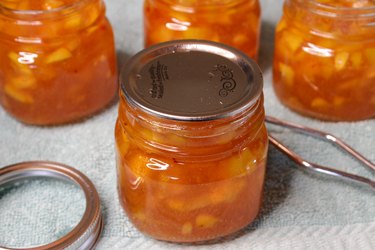
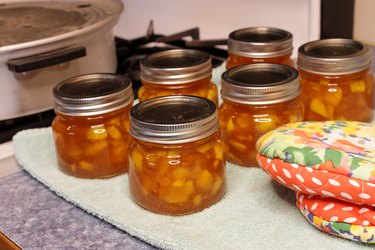
9. Cool and store the jars
After 10 minutes of processing, carefully remove the canner lid. Place the jars on a towel to cool for 24 hours. You will hear a slight popping sound as the jar lids seal. After 24 hours, check to make sure the lids have sealed by running your finger over the center of the lid. It should be tight. If you can push it down and hear a click, then the jar didn't seal. Place this jar in the refrigerator. The sealed jars of jam will last in a cool dry place for up to a year. An unsealed jar of jam will last in the refrigerator up to 3 weeks.
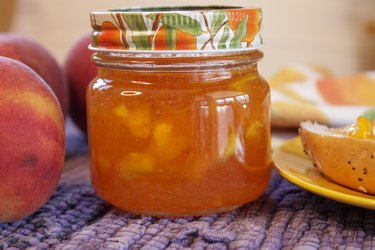
Looking peachy!