eHow may earn compensation through affiliate links in this article.
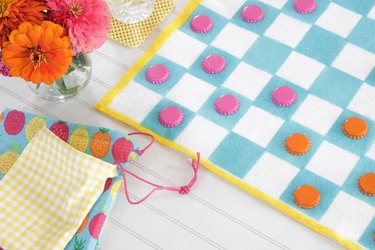
One of the beauties of traveling or camping is becoming unplugged from our electronic devices long enough to reconnect with the joys of playing those simple but fun board games again. Create this travel checkerboard that's lightweight and convenient enough to throw in a drawer of your camper or even tote along in your backpack. No matter where you are — the mountains, the river, the waiting room or even grandma's house — you'll never be without a fun game to pass the time when you have this little beauty tucked away.
Video of the Day
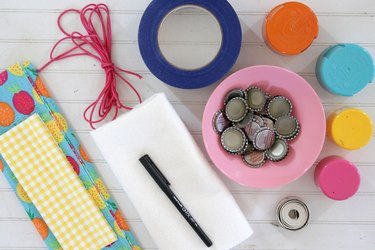
Things You'll Need
A 17 x 17-inch piece of white felt
Measuring tape or straight edge ruler
Spray paint (4 different colors)
Bottle caps or small rocks
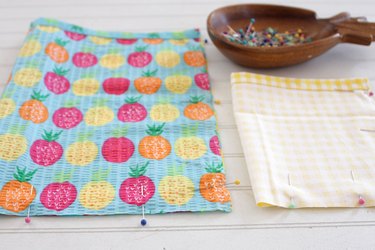
16 x 13-inch piece of fabric
11 x 7 1/2-inch piece of fabric
Sharp scissors
Safety pin
30-inch piece of cord or ribbon
22-inch piece of cord or ribbon
Step 1
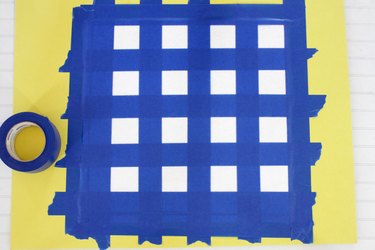
Draw a line a 1/2-inch in around all four sides of the felt. Mark every 2 inches on these lines with a disappearing ink pen.

Step 2
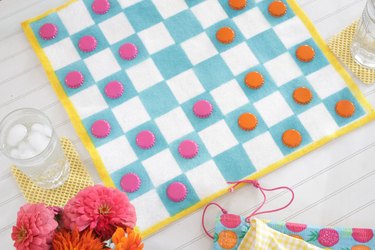
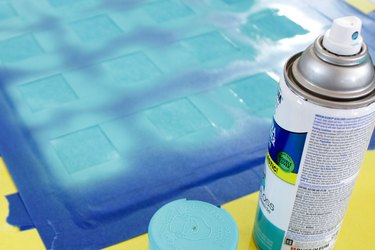
Place 2-inch painter's tape in between the marks to form a grid. Tape off the 1/2-inch edges also. Spray the open areas with spray paint. When the paint is dry, remove the tape.
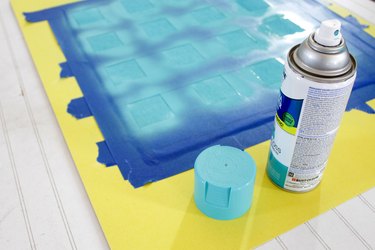
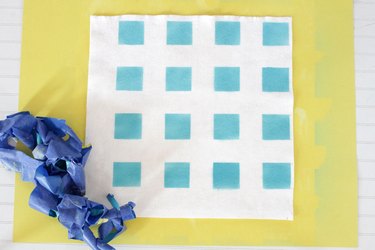
Step 3
Place the 2-inch painter's tape over the painted areas to form another grid. Again, tape off the 1/2-inch area around the edges. Spray the open areas with paint, let it dry and remove the tape.
Step 4
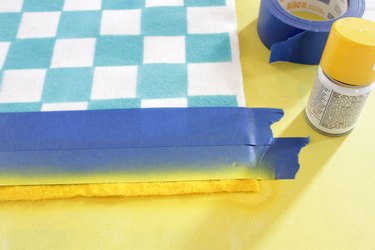
Place two strips of 2-inch painter's tape across the edge with a 1/2-inch showing. Use another color to spray paint the edge. Repeat this on all four edges.
Step 5
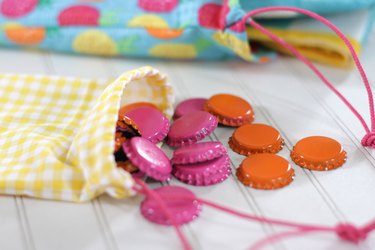
Spray paint twelve bottle caps (or small rocks) one color, and paint twelve caps another color to create the playing pieces.

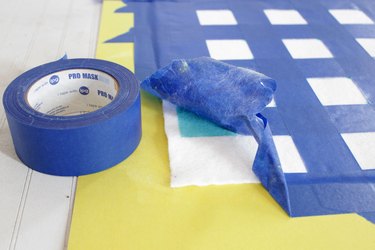
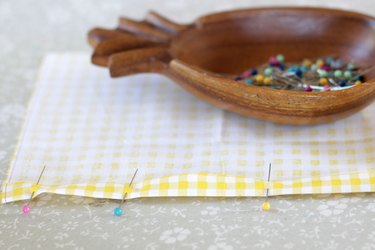
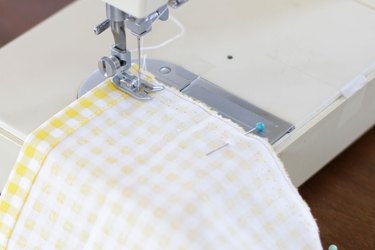
Step 6
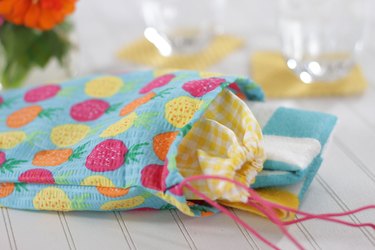
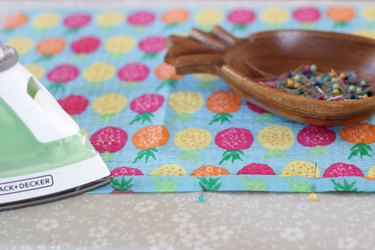
While the game pieces are drying, fold and press a 1/2-inch on one of the long edges of each of the fabric pieces. Fold, press and pin 1/2-inch again. Sew to form casings for the drawstrings.
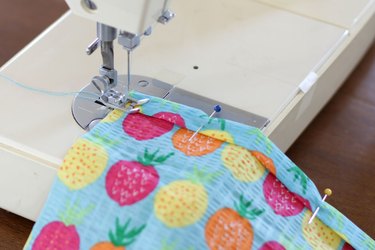

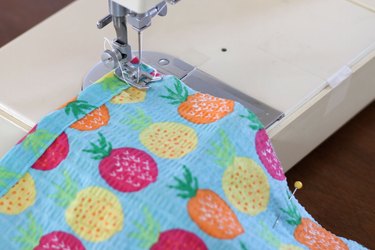
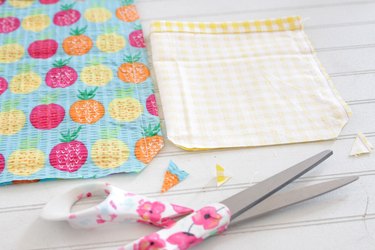
Step 7
Fold and pin the fabric pieces in half with the right sides together and the drawstring casing at the top. Start the seams below the drawstring casings and sew along the side and bottom edges.
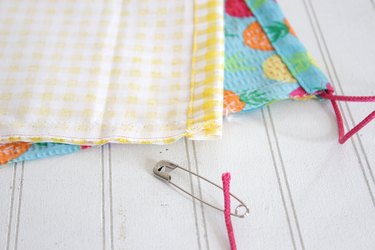
Step 8
Clip the bottom corners on each of the bags.
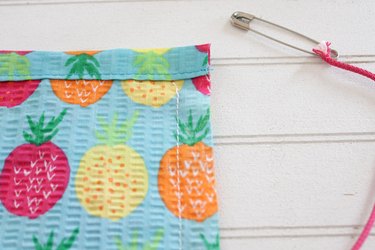
Step 9
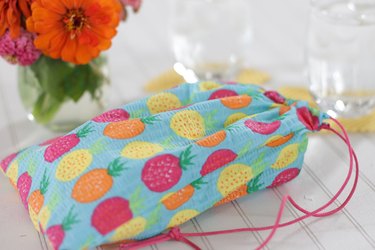
Use a safety pin to thread the cord or ribbon through the casing. Pull the cord or ribbon all the way through and tie a knot in the ends.
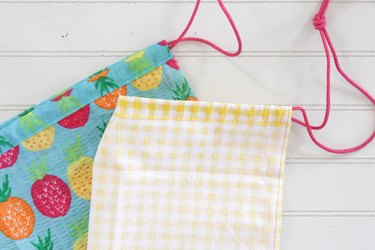
Step 10
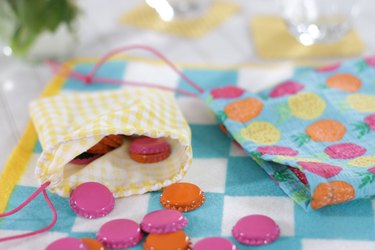
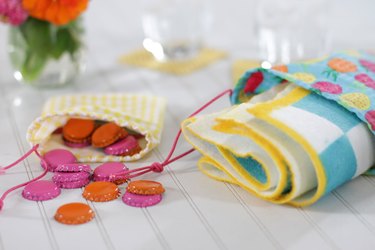
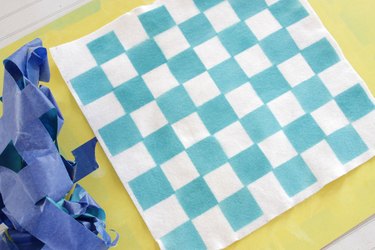
Turn the bags right side out. Load up the bags with the playing pieces and the felt game board, pull the string, and away you go — ready for some fun on the road!