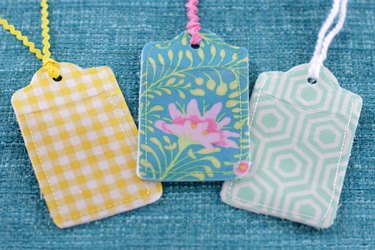
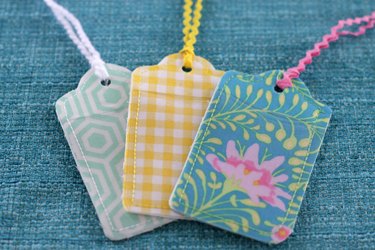
When it comes to gathering up your luggage after a long flight, there's nothing quite like spotting your special bag right away so you can get on with your adventure. These bright and custom luggage tags will make your baggage noticeable from far away so there is no doubt about the whereabouts of your luggage. A few scraps of fabric, a little vinyl and a ribbon is all you need to make these colorful tags to separate your gear from all the rest.
Video of the Day
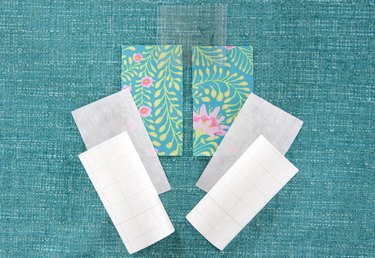
Things You'll Need
Two 2 1/2 x 4 1/2 inch pieces of cotton fabric
Two 2 1/2 x 4 1/2 inch pieces of iron-on vinyl
Two 2 1/2 x 4 1/2 inch pieces of heavy fusible interfacing
One 2 1/2 x 3 1/2 inch piece of clear vinyl
Wonder clips
Ribbon
Step 1
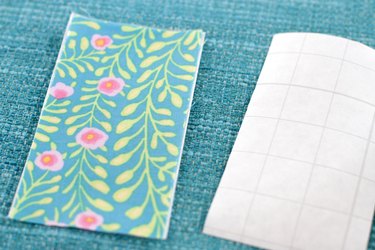
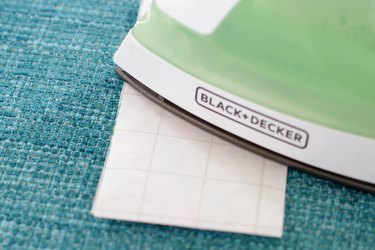
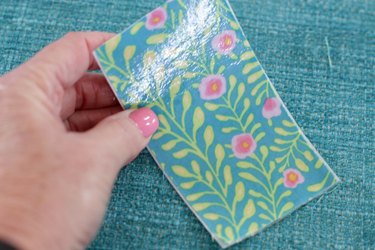
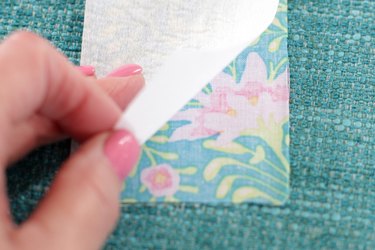
Peel the paper from the iron-on vinyl. Place the vinyl with the sticky side down on the right side of the fabric. Place the paper back over the vinyl with the grid side up. Make sure the paper is lined up so no vinyl is showing. Use a medium heat iron with no steam to adhere the vinyl to the fabric. After pressing, remove the paper. Repeat with the other piece of fabric.
Step 2
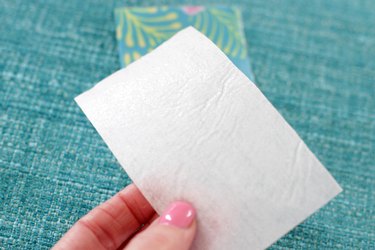
Turn the fabric over so the wrong side is facing up. Place the fusible side (it is the side that has a glossy sheen) of the interfacing down onto the wrong side of the fabric. Press with an iron to adhere the interfacing to the fabric. Repeat with the other piece of fabric.
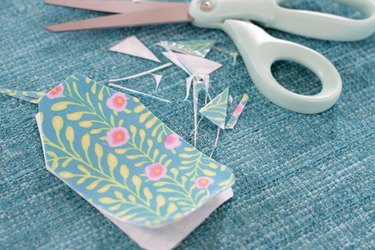
Step 3
Place the two pieces with the interfacing together and trim the tag to your desired shape.
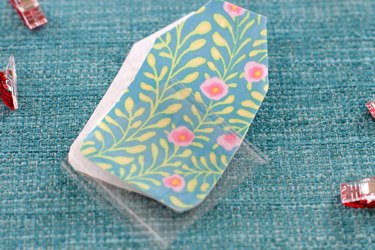
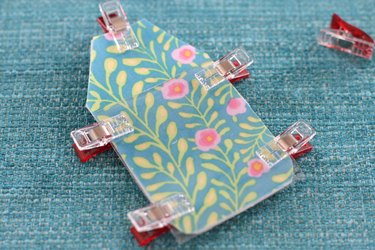
Step 4
Place the clear vinyl piece at the bottom of the top piece with the sides and the bottom lined up. Use clips to hold the three layers together.
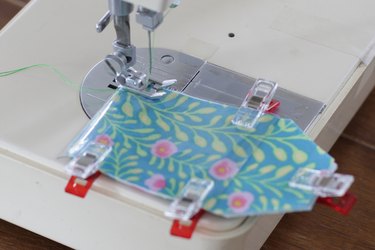
Step 5
Use the longest stitch to sew the layers together close to the outer edges.
Step 6
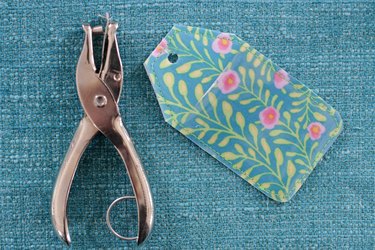
Use a paper punch to punch a hole in the top of the tag.
Step 7
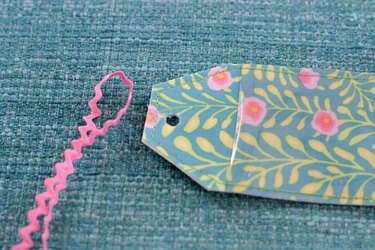
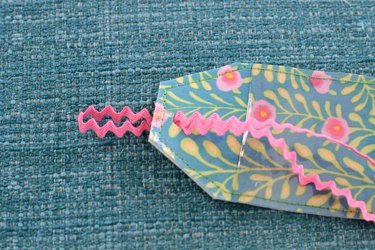
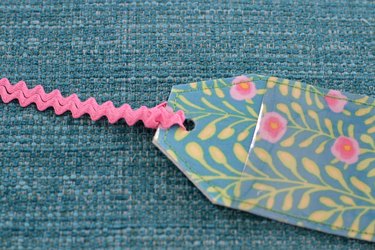
Fold a 14-inch piece of ribbon in half and thread the folded part through the hole. Pull the ends of the threads through the folded part of the ribbon and pull tight.
Step 8
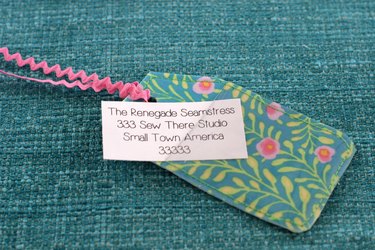
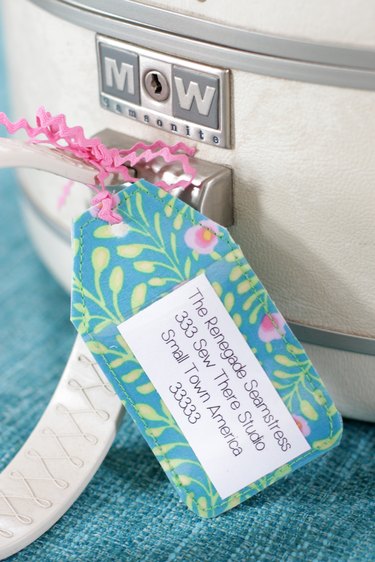
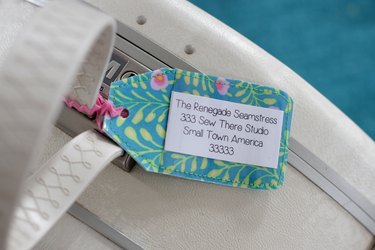
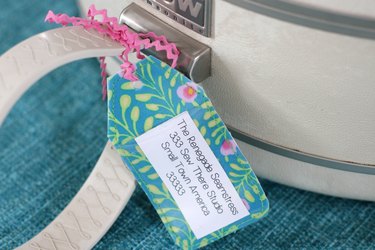
Insert your address card into the clear vinyl, tie the tag onto your luggage and you're all set to go on your next adventure. Safe travels!