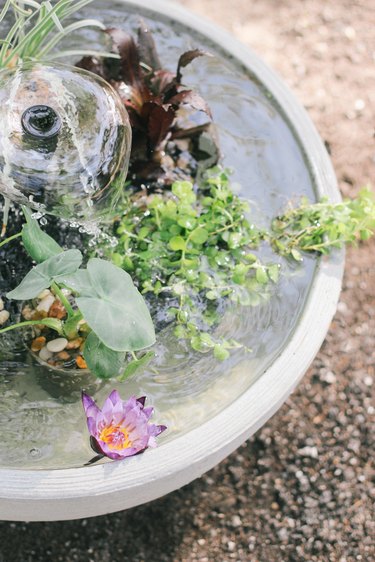
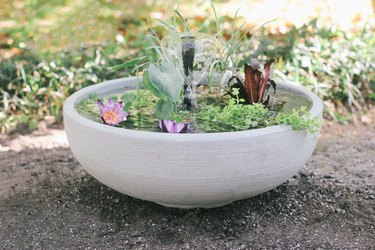
Looking to up your garden game? Try a container water garden, also known as a pond in a pot. Ideal for city dwellers or those who lack gardening space, you'll reap all the benefits of a traditional water feature–soothing sounds, rippling water, floating plants–but with the added convenience of placing it on your patio, deck or balcony, or anywhere else you'd like.
Video of the Day
Things You'll Need
Large planter (preferably with no drainage hole)
Outdoor extension cord
Pebbles
Water plants
Bricks or large rocks (optional)
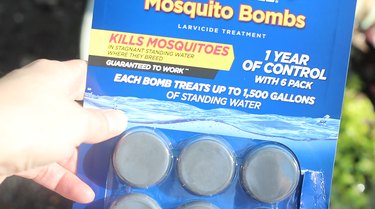
Mosquito dunks or goldfish (optional)
Step 1
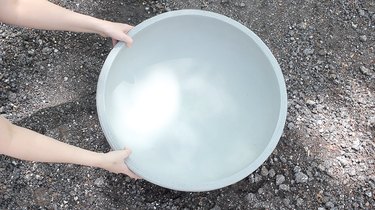
Place your plant container in the location you'd like the water garden to be permanently (it'll get quite heavy once you add the plants and water). Choose a location that will get partial sun a few hours a day. You'll also need to have access to an electrical outlet, or run an extension cord to the location.
Tip
Planter bowls with large openings (diameter of 21" or more) are ideal for this project, as they have more surface space for the plants to float. If your planter pot has a drainage hole, you'll need to seal it first. Try a wine cork with plumber's putty or bathroom sealant.
Step 2
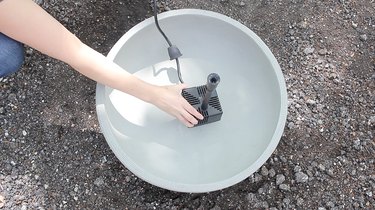
Place the fountain pump in the container and position the power cord so it drapes towards the back of the container.
Step 3
Place your water plants in the container, making sure to vary the heights. 'Thrillers, fillers and spillers' is a common garden phrase that applies here–the thrillers are tall plants that add height and catch your attention, the fillers are medium height plants that fill up the arrangement, and the spillers are low plants that spill over the sides of the container.
If needed, you can place bricks or large rocks in the bottom of the planter to create a "shelf" so that some of the plants sit higher than others. Be sure to strategically place the plants to hide the power cord in the back of the pot.
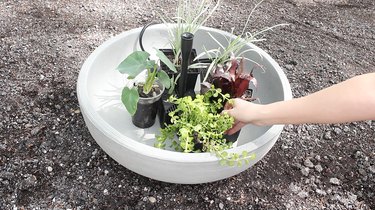
Step 4
To keep your plants weighted down in the water, and to prevent their soil from muddying the water, place pebbles on top of each plant pot.
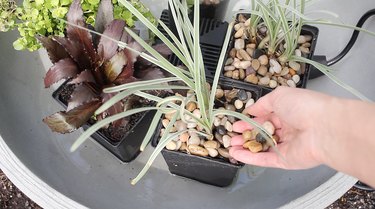
Step 5
Fill your container with water to the very top to give the plants lots of depth and surface area to float.
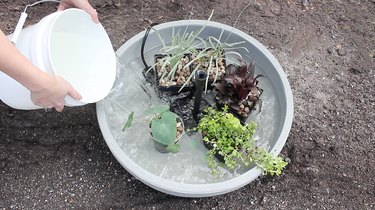
Step 6
Plug in your fountain pump and make sure water is cycling through it properly. Some fountain kits come with several nozzle options, so you can use whichever water pattern you'd prefer.
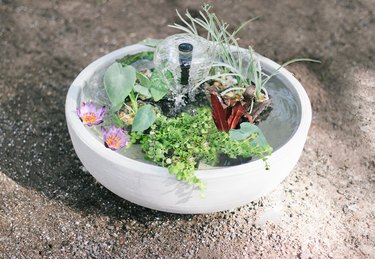
Step 7
Since the pump keeps water circulating, it should keep mosquitos from breeding on the water. However, if you plan to turn the pump off for long periods, you should treat the water with a mosquito dunk each month. Another option is to add a couple of goldfish to the pond, as they'll eat the mosquito larvae. Be sure to properly acclimate your fish to the water first.
Step 8
You'll need to add water to your container garden anytime the water level gets low. Every month about 15-20% of the total water should be changed out for fresh water. Also, every so often, you may need to empty the container completely to replace the water and scrub down the sides of the pot from any algae or decomposed plant material.
Note: If you live in a cold climate, you'll need to bring your container water garden indoors during the colder months of the year.
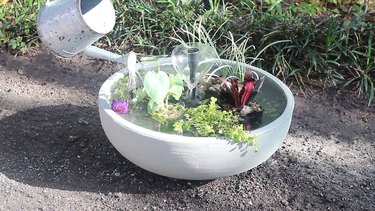
Now all that's left to do is pull up a lawn chair, settle in with a refreshing beverage, and relax to the sounds of your very own pond.
