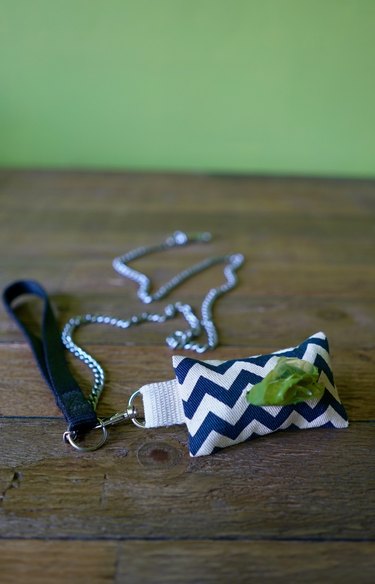
Hey, DIYers! Your pup's potty experience is gonna get a whole lot cuter after you whip up this easy-to-make doggie poop bag dispenser. When it's walk time, just clip it onto your pooch's leash and you'll both be strutting around the neighborhood in style. It's the perfect project if you need to make use of any scrap fabric, and it's also a really fun gift to give to dog-owning friends and family.
Video of the Day
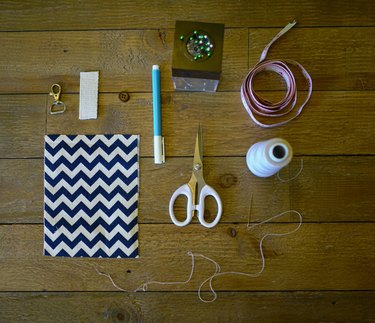
Things You'll Need
5 inches x 6.5 inches piece of woven fabric (stain-resistant canvas or outdoor fabric recommended, but any woven fabric will do)
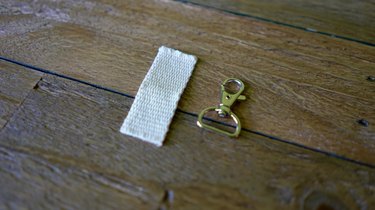
2.5 inch-long piece of belting, any material/width (we used cotton, 1" wide)
Lobster clasp with D-ring or carabiner
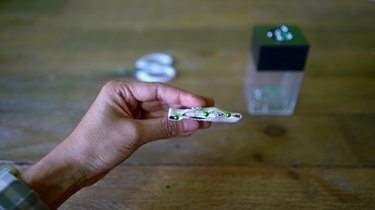
Button
Water soluble pen or tailor's chalk
Basic hand sewing supplies (sewing needle, thread in complementary color, straight pins, measuring tool)
Sewing machine (optional, but it'll make for speedier work!)
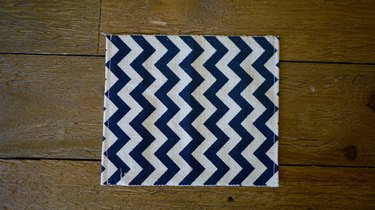
Step 1: Hem Short Edges
Using your preferred hemming method, hem the shorter sides of your fabric. We simply rolled over 1/4-inch and topstitched.
Video of the Day
Tip
PLEASE READ before proceeding to the next step. If you don't have a sewing machine and aren't crazy about the idea of creating buttonholes by hand, we've got your back! Instead of using a button as a closure method, attach hook and loop tape or sew-on snaps in the areas where the buttonhole and button will be placed. Instead of using a buttonhole as your waste bag dispense opening, you can create one using a grommet with an opening around 1/2 - 1 inch in diameter.
Step 2: Mark Hole Placement
Now, you'll use your water soluble pen or tailor's chalk to mark the placement of both the dispenser hole and the buttonhole–both will be created in the style of a standard buttonhole. First, fold the fabric in half widthwise and slightly crease to find the midpoint.
Along the crease, make a 1-inch long mark two inches from the top and two inches from the bottom, as indicated by the light blue line in the following image. This is where your dispense hole will be.
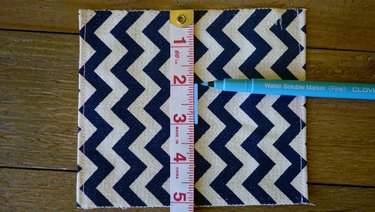
Similarly, make a second mark about 1/4 inch in from one of the side edges, and equidistant from the top and bottom edges, as indicated by the light blue line in the following image. The length of your second mark depends upon the size of your button, as this will be your buttonhole.

Step 3: Create Buttonholes at Marks
Now here's where having a sewing machine will make things a bit easier. You're going to create buttonholes at your marked lines using your sewing machine or by hand, as shown below. (For options other than buttonholes, see the tip box above, between steps 1 and 2).
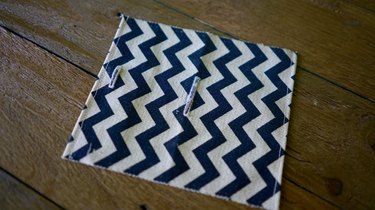
Step 4: Pin on the Belting Loop & Clasp
Insert the 2 1/2 inch piece of cotton belting into your clasp's D-ring to create a loop.
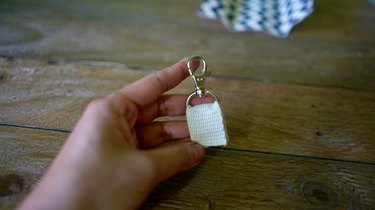
If using a carabiner, you can simply pin on the belting loop without it and attach it after you've finished sewing.
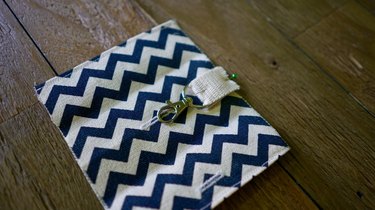
With the *front side *of the fabric facing up, place the looped belting with clasp along the top center of the fabric, using the center crease and dispense hole as a guide. Ensure that the open edges of the loop are aligned with the edge of the fabric. Pin it into place, as shown in the image below.
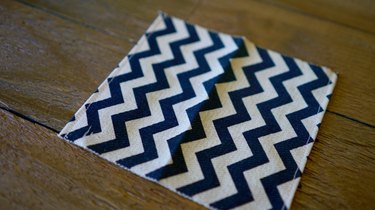
Step 5: Pin Shut
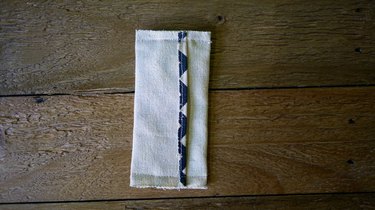
Now that the belting loop is in place, fold the sides in on top of it, starting with the buttonhole side so that the hole is underneath and not visible when you're sewing it together. The two side flaps should overlap in the center by 1 inch. Now, pin it all together at both edges as shown.
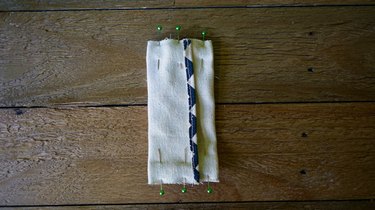
Here's what the pinned piece should look like from the side where the belting loop and clasp is sandwiched in between the fabric.
Step 6: Sew it Shut
Sew the pinned edges shut. It's a good idea to stitch over the edge with the belting twice, to reinforce that seam.
Now, invert it right side out.
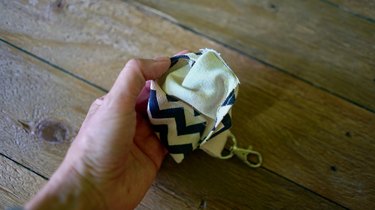
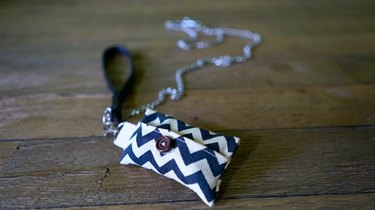
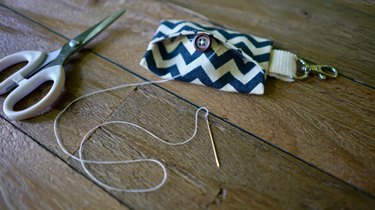
Step 7: Sew on Button
Your handmade dog bag dispenser is nearly done! All it needs now is a button on the inner flap. Lift the outer flap and sew the button directly beneath the buttonhole.
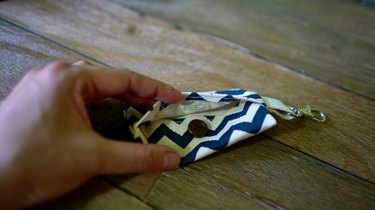
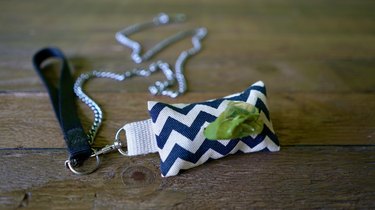
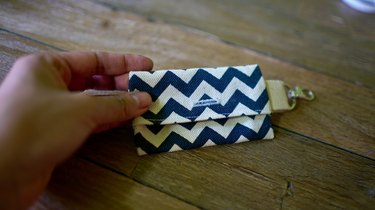
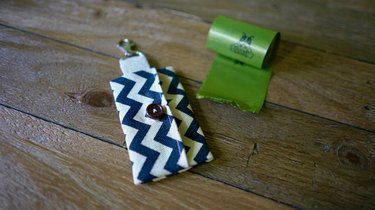
And that's it! Your dog waste bag dispenser is done and ready to roll. Literally. Grab a roll of waste bags and insert it into your dispenser, feeding the first bag through the dispense hole.
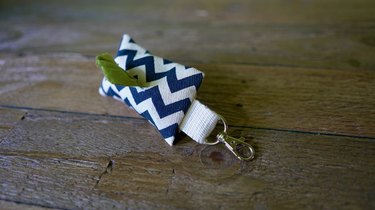
It's potty time!