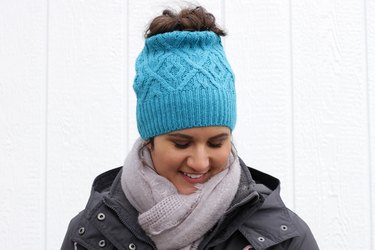
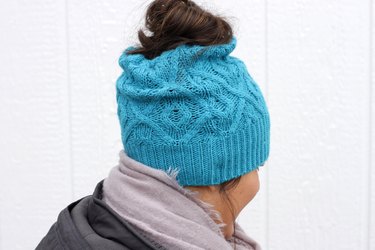
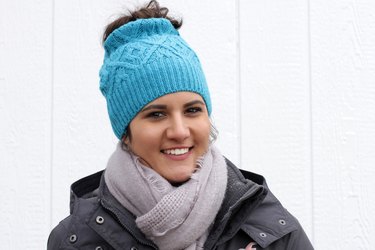
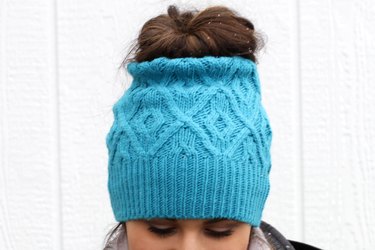
Move over headband, now there's an even better way to stay warm with your hair up. You can make this trendy bun/ponytail hat even if your skills don't include crocheting or knitting. Just gather up an old sweater, a little bias tape, and some elastic to be on your way to a warm and stylish winter.
Video of the Day
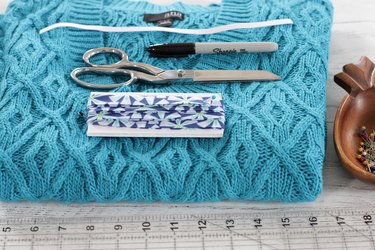
Things You'll Need
Sweater
Measuring straight edge
Marking pen
Sharp scissors
Pins
3/4-inch Double Fold Bias tape (Pre-made or make your own in any color)
Safety pin
Elastic
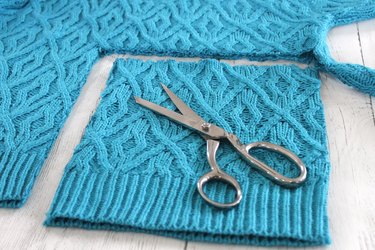
Step 1
Measure and mark a 10-inch tall by 9 1/2-inch wide rectangle along the bottom edge of the sweater.

Step 2
Use a sharp pair of scissors to cut along the marked lines through both layers of the sweater.
Step 3
Put the right sides of the sweater together and pin along both sides.
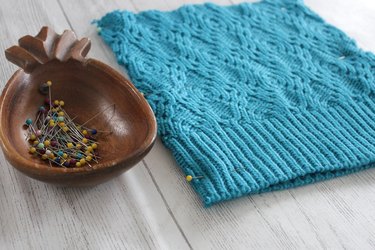
Step 4
Sew a 1/2-inch seam along both sides of the hat. Be sure to remove the pins as you sew.

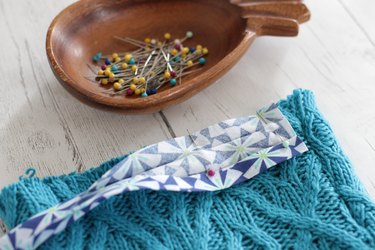
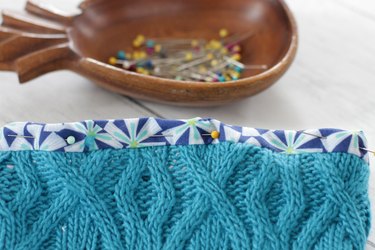
Step 5
Open up the bias tape and pin all around the top raw edge.
Tip
You can use pre-made bias tape from the store for this project, but most bias tape just comes in plain colors. If you want to customize your bias tape and bring it up a notch, you can make your own. See how to make bias tape here.
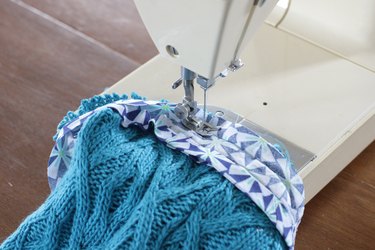
Step 6
Sew along the first fold line of the bias tape.
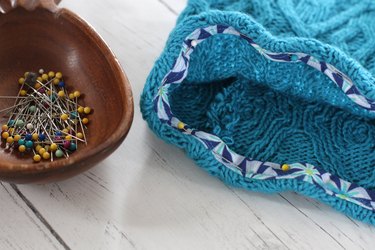
Step 7
Fold over the bias tape to the other side so it "captures" the raw edge inside of it and will keep the sweater edge from fraying.

Step 8
Pin the bias tape in place.
Step 9
Sew the bias tape in place with a straight stitch. Be sure to remove the pins as you sew.

Step 10
Fold over the bias tape edge to the inside of the hat to create a 1-inch casing for the elastic.
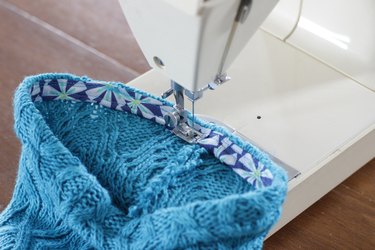
Step 11
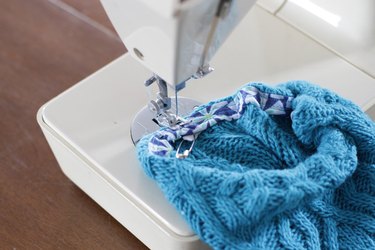
Sew the casing in place leaving a 1-inch opening at one of the side seams.
Step 12
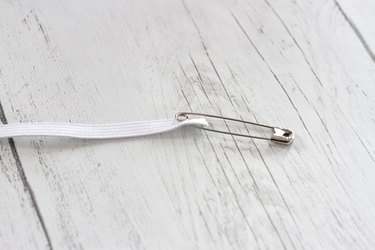
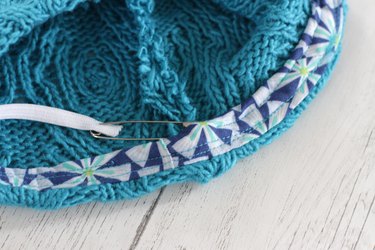
Attach a safety pin to the end of a 10-inch piece of elastic. Thread it through the casing. When the end of the elastic reaches the opening, secure it in place with a pin so it won't get lost inside the casing.
Step 13
When you get through the casing with the safety pin, sew the ends in place.
Now you're all set to look great and stay warm with your hair up and your hat on this winter!