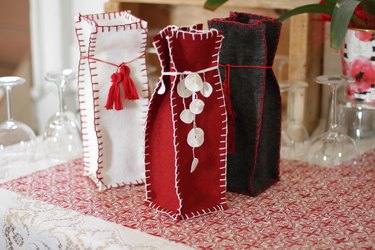
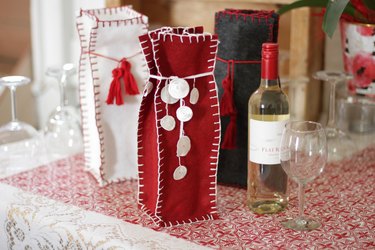
When it comes to holiday get togethers, there's nothing quite like showing up at your gathering with a nice bottle of wine. Bring your gift-giving game up a notch when you present your vino in this felt gift bag featuring a cozy blanket stitch. Your hosts are sure to feel extra special when they find out you made it yourself. Whether you're a beginning or a seasoned seamstress, you'll find these bags are quite easy, inexpensive and fun to make. So move over paper gift bag, there's a new bag in town!
Video of the Day
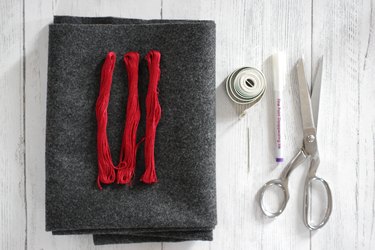
Things You'll Need
1/2 yard of heavy felt
Measuring tape
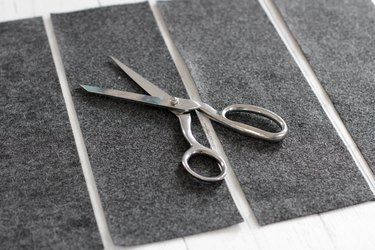
Sharp scissors
Disappearing ink marker
3 skeins of embroidery thread
Embroidery needle
Step 1
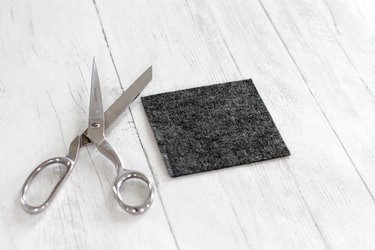
Cut four 13 ½-inch x 4 ½-inch pieces of heavy felt for the sides and one 4 ½-inch x 4 ½-inch piece of heavy felt for the bottom.
Step 2
If you'd like your stitches to be uniform, use a disappearing ink marker to mark every ½-inch a ¼ -inch in from the side of the felt. You can skip this step if you'd like your stitches to be a bit more random.

Step 3
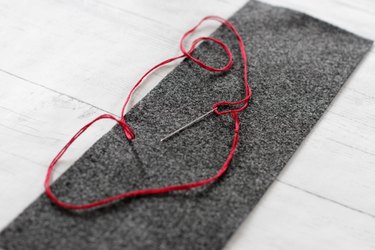
Thread and knot a 108-inch piece of embroidery thread to make a double thread.
Step 4
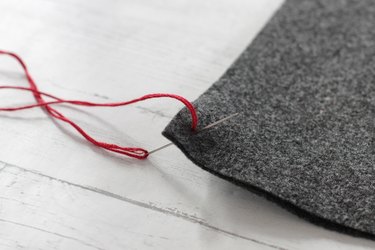
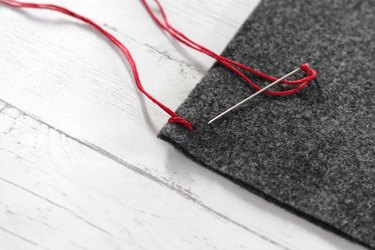
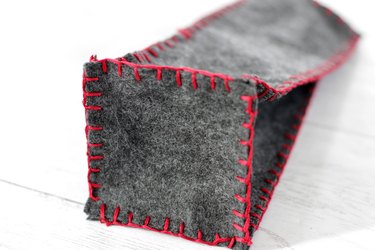
Place two long pieces of felt together. Start a ¼ -inch in from the side and a ¼-inch in from the bottom. Push the needle up through the wrong side of the felt so the knot will be sandwiched between the two layers of felt.

Step 5
Pull the thread all the way through and back around to the back of the bottom piece of felt. Bring the needle up through the felt in the same place as the first stitch.
Step 6
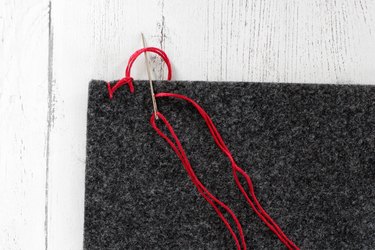
Pull the thread almost all the way through and leave a loop at the end.
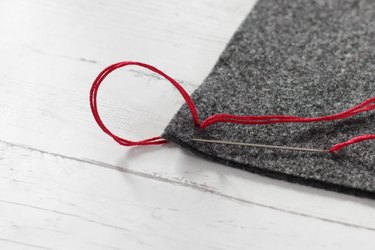
Step 7
Push the needle through the loop and pull the thread tight.
Step 8
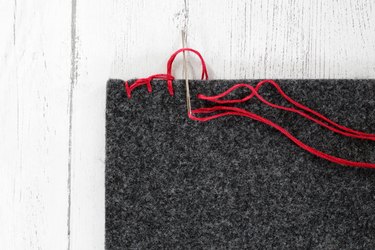
Bring the thread around to the back and push the needle through a ½-inch away from the first stitch. Bring the thread almost all the way through and leave a loop on the end to push the needle through again.
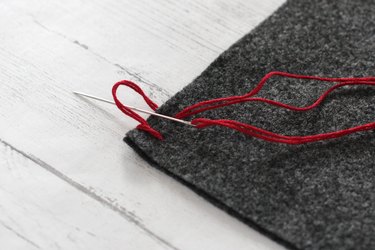
Pull the thread tight.
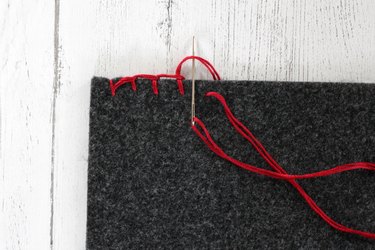
Bring the thread around to the back and push the needle through a ½-inch away from the first stitch. Bring the thread almost all the way through and leave a loop on the end to push the needle through again.
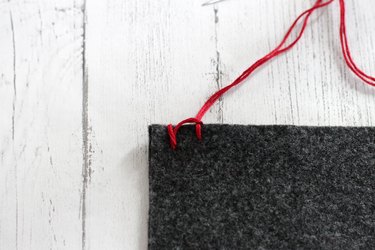
Continue this stitch every ½-inch until you get to the end of the felt.
Step 9
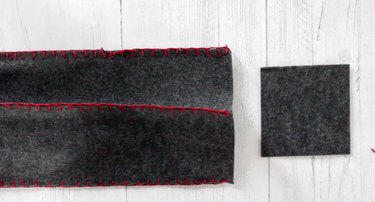
At the end of the felt piece, tie a knot and trim the thread.

Step 10
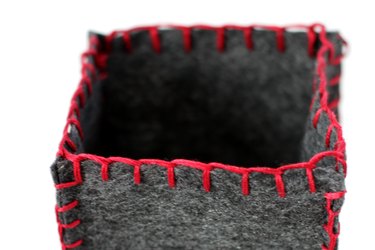
Attach all four sides of the wine bag with a blanket stitch. When finished, attach the 4 ½ -inch x 4 ½ -inch piece of felt to the bottom with a blanket stitch.
Step 11
Add a decorative blanket stitch around the top of the wine bag.
Step 12
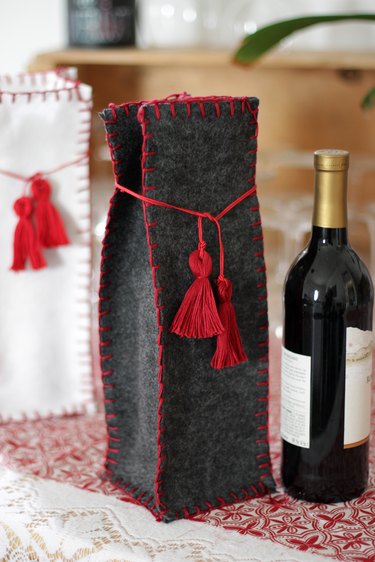
Place your favorite wine inside the bag, add some ribbon or some tassels, and head out to your next party in style. Click here to learn how to make embroidery floss tassels.
Happy gift giving!