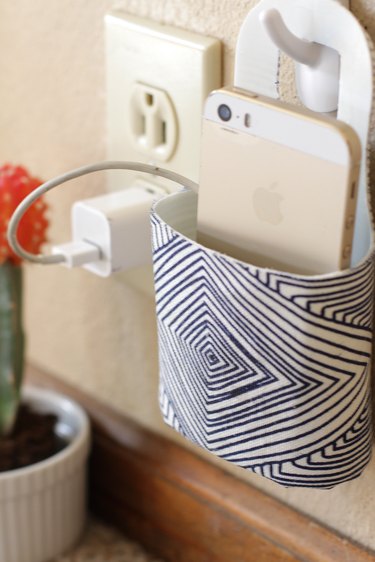
Let's face it, our phones have become a fun, creative and integral part of our daily lives. We don't just communicate with them anymore, we also create, manage our time and finances, work, and play on them. But along with having information at our fingertips 24/7, those jumbled up charging cords can become such a mess. To minimize cord clutter, why not upcycle a plastic bottle into a stylish phone charging station. It can be made with things you most likely already have around the house. All you need is an empty plastic bottle, a little fabric, and some glue to make this environmentally friendly project.
Video of the Day
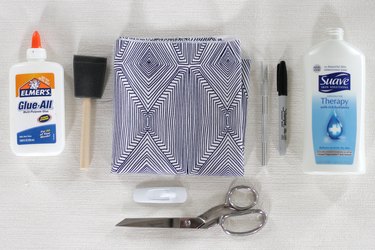
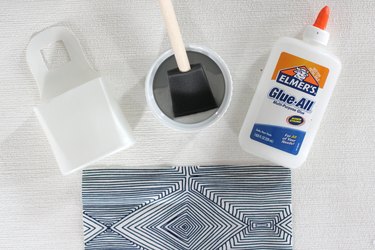
Things You'll Need
Plastic bottle (lotion, shampoo, or dish soap)
Marking pen
X-acto knife
White glue
Foam brush
Sharp scissors
Step 1
Peel the labels from the bottle.
Tip
If your bottle doesn't have a label and the writing is printed on the bottle, try rubbing fingernail polish remover directly onto the writing to remove it.

Step 2
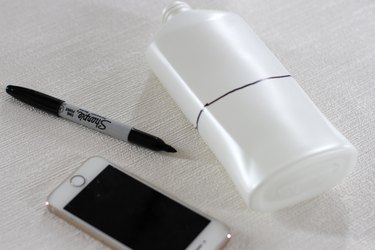
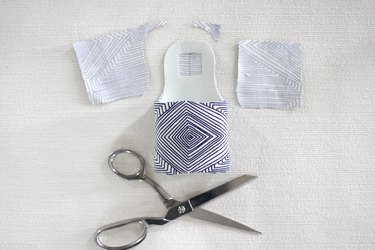
Draw the cutting lines. Draw a straight line across the front and a boxed shape tab on the back. Use your phone to determine where you'd like to cut the bottle.
Step 3
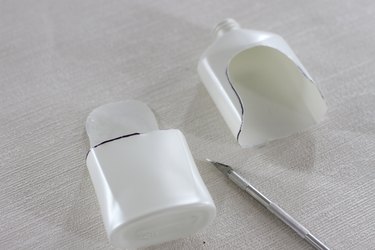
Use an X-acto knife to cut the bottle along the lines. If parts of the lines are still showing, you can remove them with fingernail polish remover.
Step 4
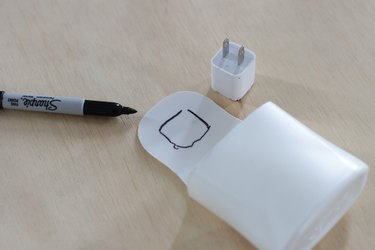
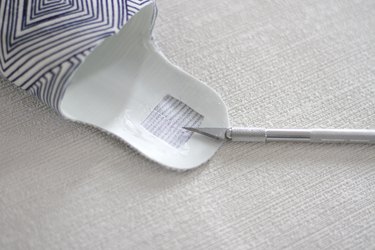
Draw an opening on the boxed shape tab on the back of the plastic. This can be small or large depending on the type of hook you plan to use.
Step 5
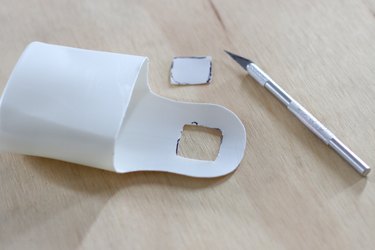
Use an X-acto knife to cut out the opening.
Step 6
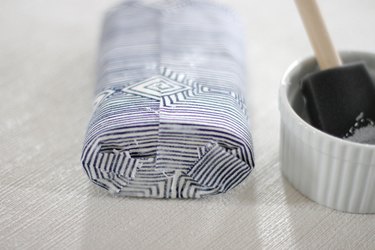
Pour some white glue into a small container. Cut your fabric so it is an inch taller than your charging station and wide enough to wrap around it with a 1/4-inch overlap in the back.
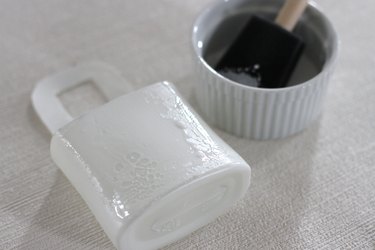
Step 7
Use the foam brush to apply the glue to the plastic.
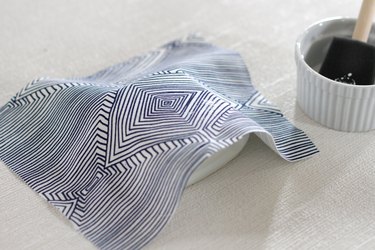
Step 8
Place the fabric over the front and wrap it around to the back, smoothing it in place. Leave a 1/2-inch over hang on the bottom edge and overlap a 1/4-inch of fabric on the back.
Step 9
Cut slits in the bottom 1/2-inch fabric overhang every 1/2 inch or so. Cut them right up to the bottom of the plastic.

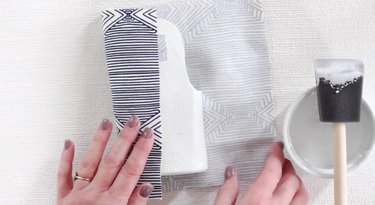
Step 10
Paint the bottom edge of the plastic with glue and fold over the bottom fabric, overlapping the cut fabric to fit. Let it dry overnight.
Step 11
When the glue is dry, trim the excess fabric from around the entire charging station with sharp scissors. Use an X-acto knife to trim the fabric from the opening.
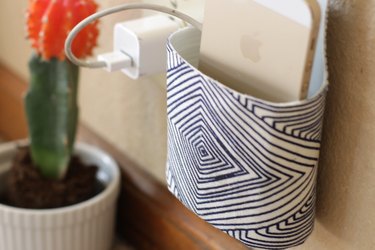
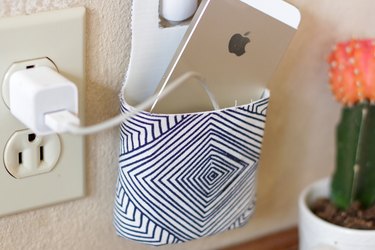
Attach a hook to the wall and charge your phone in your now clutter-free space.