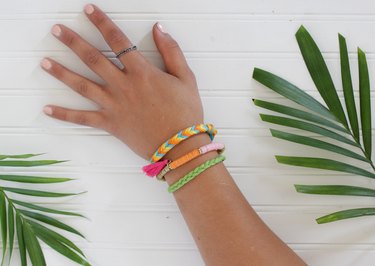
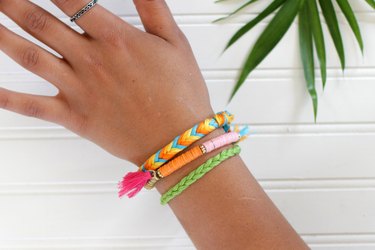
Summer means backyard BBQs, fun in the sun, and beach parties, but no one wants to be slapping pesky insects when venturing into the great outdoors. You can wave bye-bye to bugs and look great doing it when you wear these fun insect repellent bracelets. Gather up some embroidery floss in bright colors, whip up a little peppermint oil insect repellent and you'll be on your way to some itch-free outdoor adventures this summer.
Video of the Day
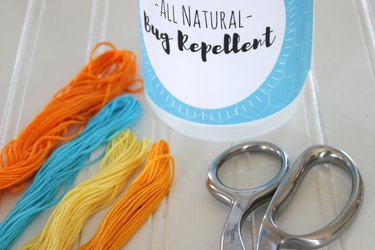
Things You'll Need
Embroidery floss: 4 colors
Sharp scissors
Bead (optional)
Natural mosquito repellent (click here for recipe)
Step 1
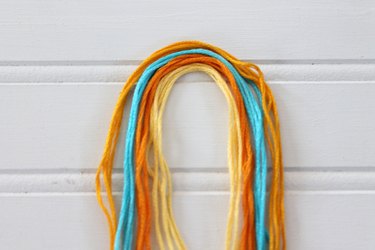
Cut four 36-inch pieces of embroidery thread in each color.

Step 2
Group the threads together and fold the embroidery floss in half.
Step 3
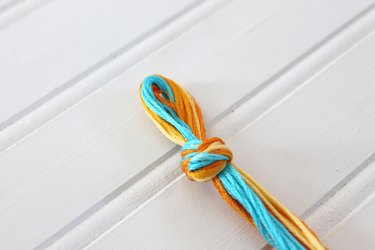
Create a loop by tying a knot one inch down from the fold. Place the loop on a hook or tape it to a board.
Step 4
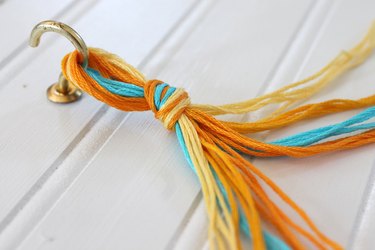
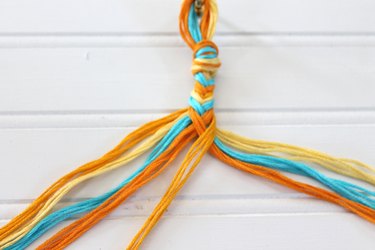
Divide the threads into two symmetrical groups. You will have one group of each color on the left and one group of each color on the right.
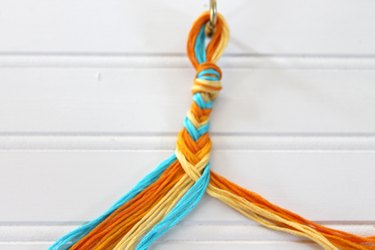
Step 5
Take the outside color from the right side (in this case the light orange) and cross it over to the left side, placing it on the inside of the left group of threads.
Step 6
Take the outside color from the left side (light orange) and cross it over to the right side, placing it on the inside of the right group of threads.
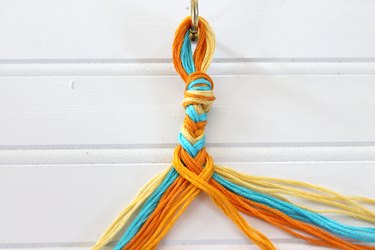
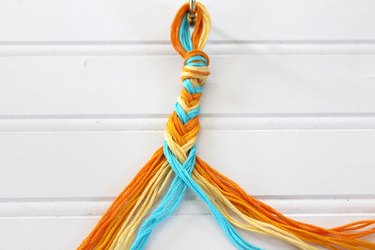
Step 7
Take the next outside color from the right side (in this case the yellow) and cross it over to the left side, placing it on the inside of the left group of threads.
Step 8
Take the next outside color from the left side (yellow) and cross it over to the right side, placing it on the inside of the right group of threads.
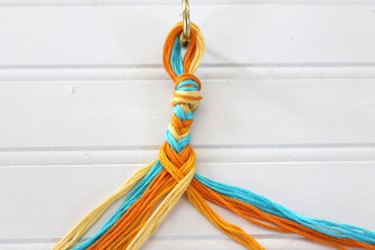
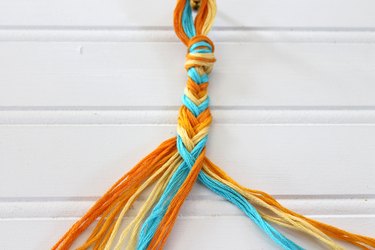
Step 9
Take the third outside color from the right side (in this case the blue) and cross it over to the left side, placing it on the inside of the left group of threads.
Step 10
Take the third outside color from the left side (blue) and cross it over to the right side, placing it on the inside of the right group of threads.
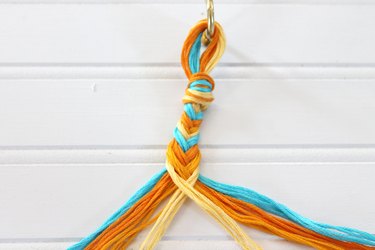
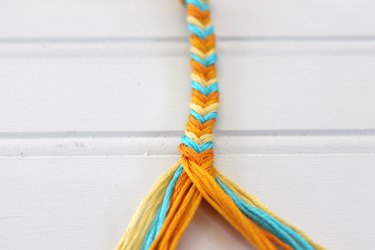
Step 11
Pull on the thread to tighten the design as you braid and continue to repeat steps 5 through 10 until the design is your desired length.
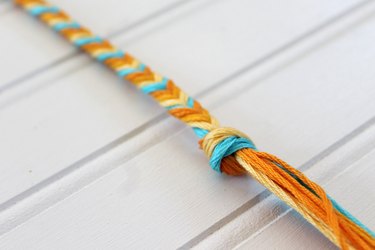
Step 12
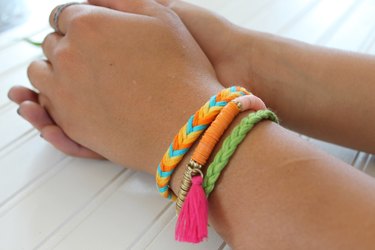
When your design is long enough to fit around your wrist (or ankle), tie a knot in the end to keep the braid together. You could also add a bead for a decorative element. Trim to your desired length leaving enough thread to tie when you attach it around your wrist.
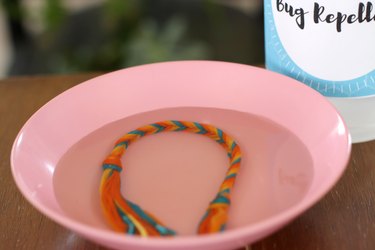
Step 13
Mix up some peppermint oil bug repellent. Pour some repellent into a small bowl and soak the bracelet for a few minutes.

Step 14
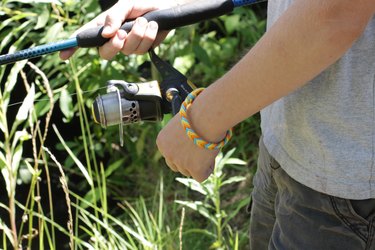
Let the bracelet dry, tie it around your wrist or an ankle, and head to your next outdoor adventure itch-free. The whole family's gonna love these.