Step into a world of nostalgia and imagination as we show you how to create your very own vintage-inspired cardboard dollhouse. Channeling the iconic style of the past, this step-by-step DIY project will transport you back to the golden era of the Barbie Dreamhouse and other make-believe abodes. Using your inner architectural skills (however amateurish!) and a few simple materials, you'll soon have a DIY dollhouse masterpiece complete with personal touches, colorful accents and loads of playful potential—and it all starts with a cardboard box makeover.
Video: Dream Up Your Own Barbie House with a Cardboard Box
Video of the Day
Whether you're crafting this cardboard house as a birthday gift for a young loved one, using dollhouse rooms to try out decor ideas for your own home or simply feeling nostalgic, you'll have a blast bringing those mini playhouse dreams to life. Let's get crafting!
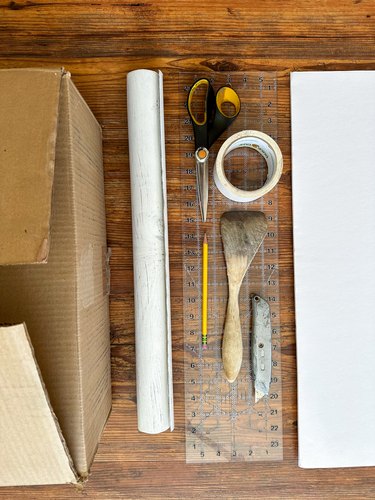
Things You'll Need
Cardboard box
Utility knife
White foam board or cardboard
Spatula
Straightedge
White duct tape
Contact paper
Peel-and-stick vinyl
Peel-and-stick wallpaper
How to make a DIY Dollhouse:
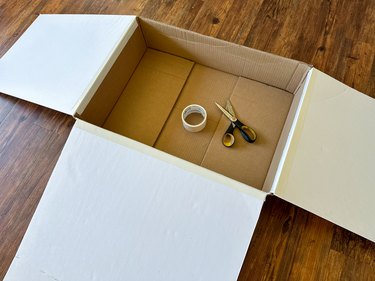
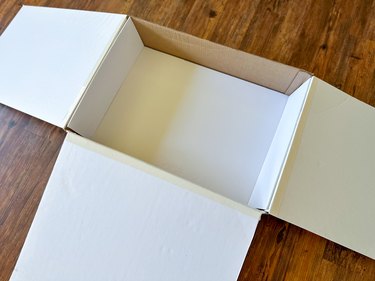
1. Select box and remove flaps
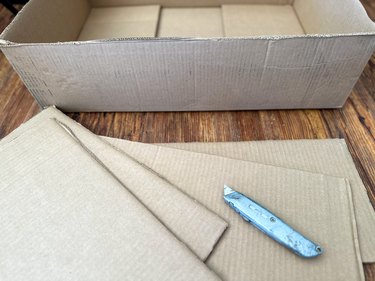
Turn to your stash of discarded home delivery boxes to find the perfect vessel for your DIY dollhouse. Opt for a box that's at least 12 in. tall and 18 in. wide when placed on its side. The depth is up to you, but we recommend around 5 to 6 in.
Use a sharp utility knife to remove flaps from box.
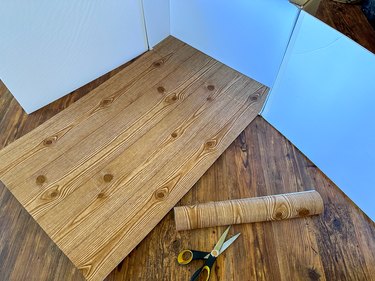
2. Cut and score foam board
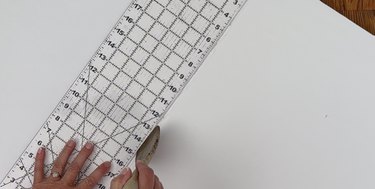
Place box on its side and cut a long piece of foam (or cardboard if you prefer) that, when attached to bottom edge of box, will wrap up the box across the top and about halfway down back of box. Use a straightedge and a spatula to score folds where foam will bend around box.
Cut two side pieces from foam that are the same height as the box and a little smaller than box width.
3. Attach foam to floor
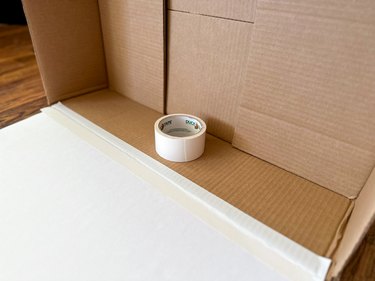
Use white duct tape to attach long wrap-around foam piece to bottom edge of box. Tape top and bottom edges of foam for added strength.
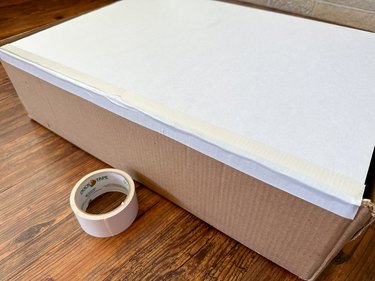
4. Attach side flaps
Attach both side flaps to side edges of box using white duct tape. Again, add tape to both sides for added strength.
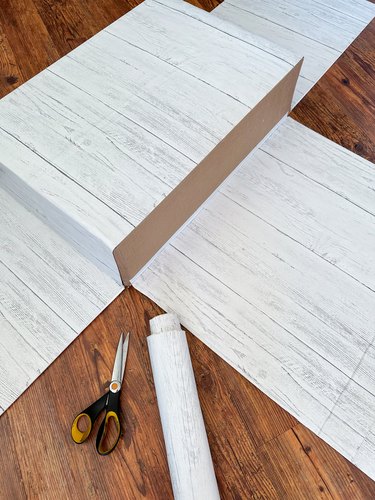
5. Create floor
Use contact paper with a wood or floorlike appearance. Apply it to the long wrap-around foam board, creating a charming living room floor area.
6. Cover outside of box
Cover outside of box with peel-and-stick vinyl. We chose another wood look, but get as creative as you'd like for outside of your dollhouse.
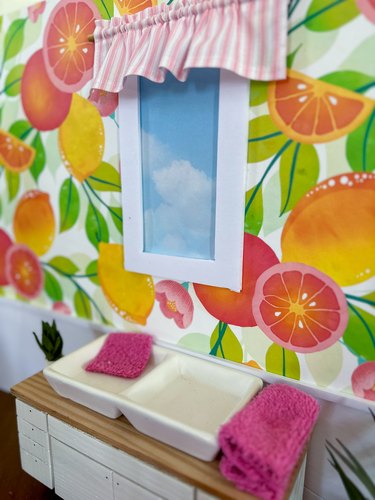
7. Cover walls
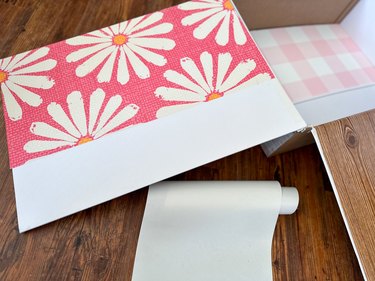
Hunt for small pieces of peel-and-stick wallpaper to adorn various rooms of your dollhouse. We discovered delightful wallpaper options from Spoonflower, which added a vibrant touch to every nook and cranny of our cardboard dwelling.
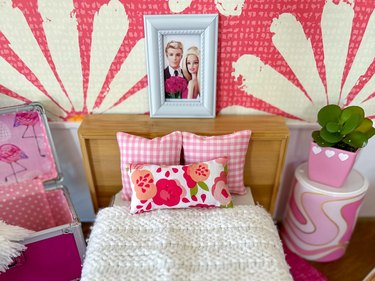
8. Decorate Dollhouse

Grab your needle and thread, unleash your inner designer and get ready for a decorating extravaganza as you bring your doll dream house to life. We even added a wreath to the outside of our Barbie house. You can find printable home accents on Etsy, Amazon and beyond—though you're totally welcome to draw or design your own!

9. Paint doll furniture
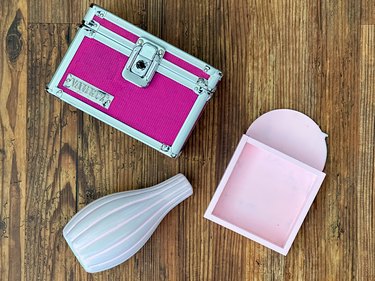
Transform everyday or thrifted items into fabulous pieces of doll furniture with paint.
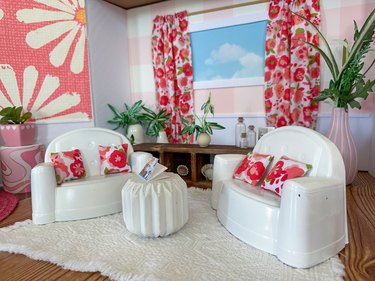
10. Sew accents
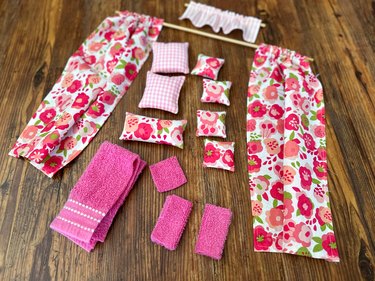
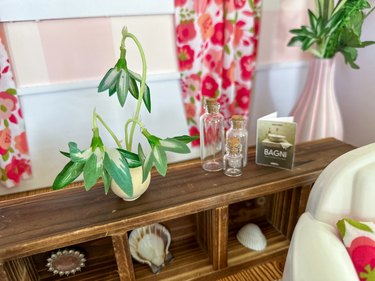
Sew curtains adorned with playful patterns. Fluffy pillows and cozy blankets will turn your doll's living space into a haven of comfort and relaxation.
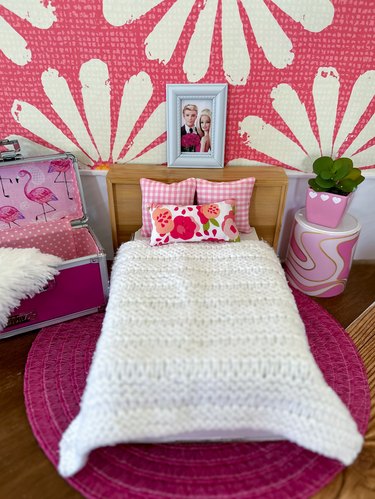
11. Arrange dollhouse furniture
We love this tiny world where old containers are reborn as stylish sinks or dressers, small cardboard boxes become chic beds and thrifted items become a bookshelf.
Incorporate "found" objects: seashells, buttons and twigs will breathe life into one-of-a-kind accessories that make this modern play on a Barbie Dreamhouse so unique.
If you're feeling extra creative, fill a blue container with water and give your dolls their very own swimming pool!
With every fold and unfold, this fun project becomes a portal to a world where imagination knows no bounds. If you ask us, you're never too old to embrace your handmade dollhouse dreams—and making your own DIY version of a childhood classic is downright magical.