Overview
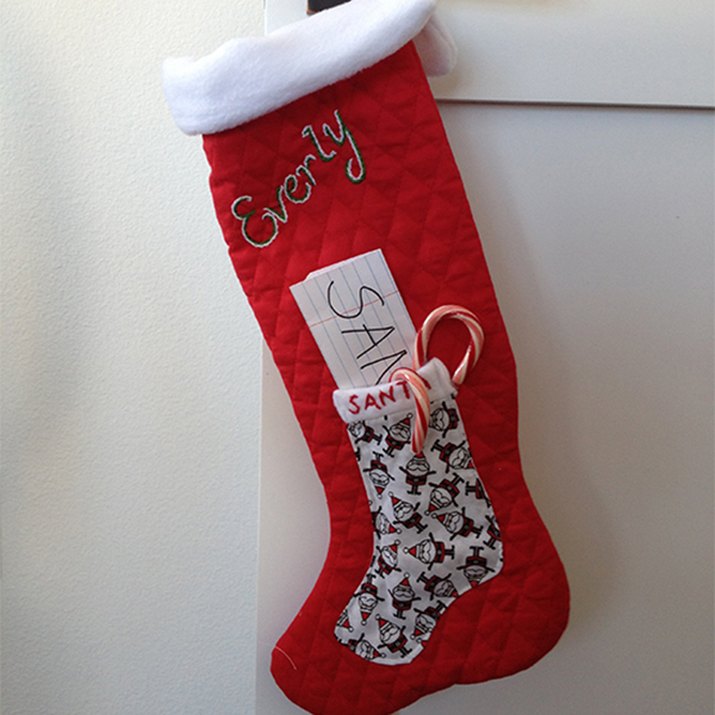
Bypass the mailbox this year by making a special delivery of your Letter to Santa. Imagine the jolly man's delight when he finds his own stocking piggybacking yours, carrying that oh-so-secret wish list and a sweet little incentive to fulfill your every dream.
Materials
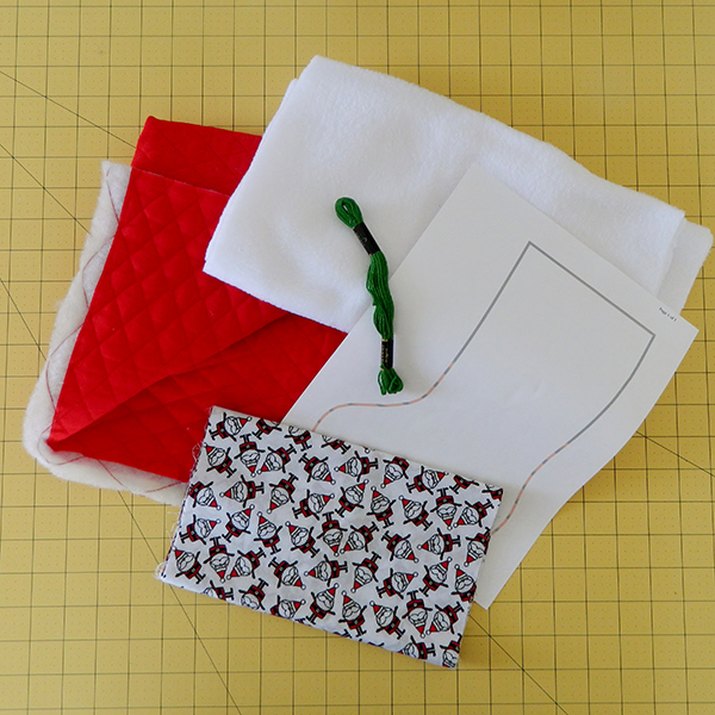
You'll need ½ to 1 yard (depending on how long/large you want the stocking to be) of 45" wide double-sided quilted fabric, ¼-yard of white microfleece for the cuffs, and ¼-yard of contrasting fabric for the letter pouch. You can use embroidery or fabric paint to personalize the stockings. You'll also need a sewing machine and your iron and ironing board.

Make Your Stocking Pattern
Download a stocking template and use your photocopier to enlarge it to the desired size or trace around another stocking on newspaper, leaving about an inch all the way around for seam allowances. Cut two from the quilted fabric.
Related: Enlarging a paper pattern
Small Santa Stocking
Reduce the size of your template to fit on the front of the large stocking, taking seam allowances into account. Cut two small stockings from your contrasting fabric leaving ½ -inch around all sides for the seam allowance. With right sides together, sew small stocking along edge, leaving top open. Clip curves. Turn and press.
Small Stocking Cuff
Cut one piece of fleece the width of the small stocking plus ¼-inch on each side and 2-inches high. With right sides together, fold cuff lengthwise and sew the short edges together. Turn cuff out and with right sides together, pin one edge along the top of the stocking through both layers of fabric, matching cuff seams with edges of stocking. Turn and press seam towards cuff.

Add Santa's Name
Embroider or use fabric paint to write "SANTA" across the cuff of the small stocking. If you use fabric paint, be sure it is completely dry before proceeding with the rest of the project.
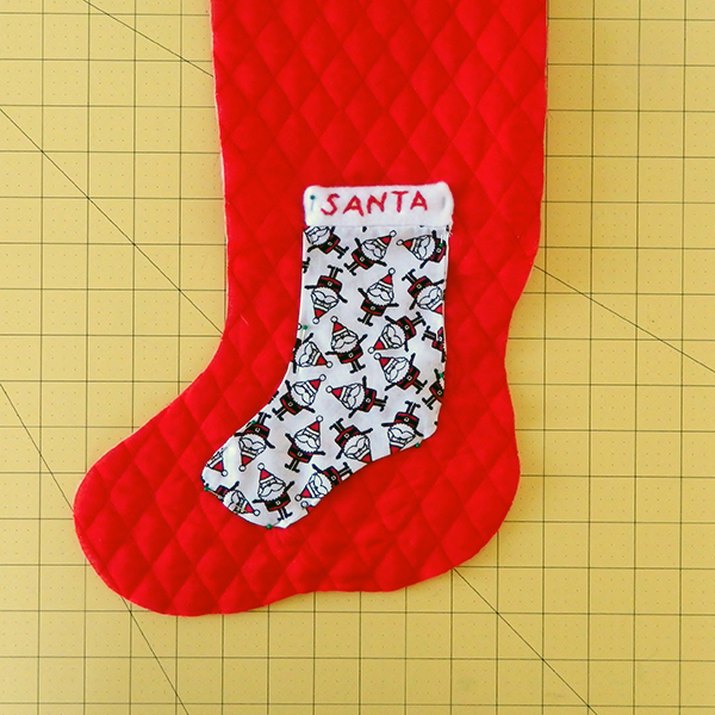
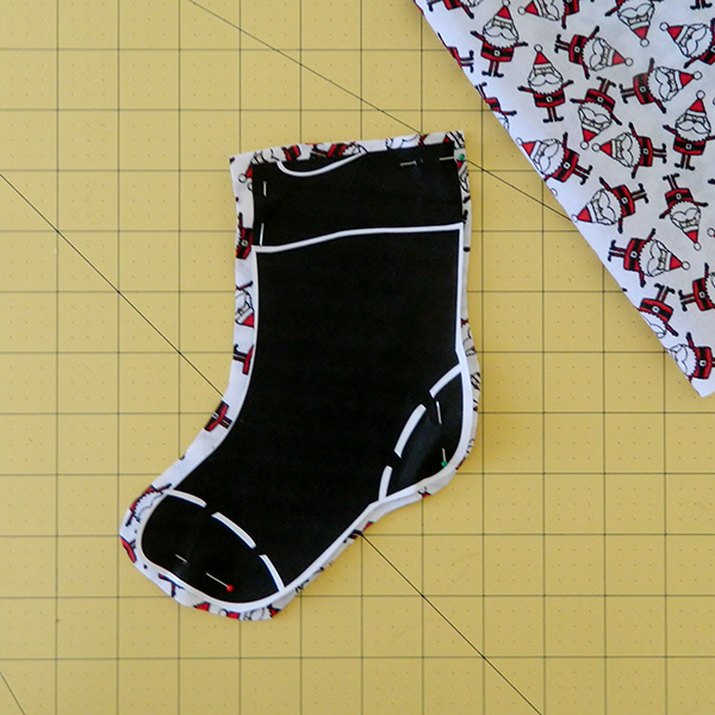
Attach Santa's Stocking
Pin small stocking to one piece of the large stocking and stitch through all layers close to the edge, leaving top of small stocking open.
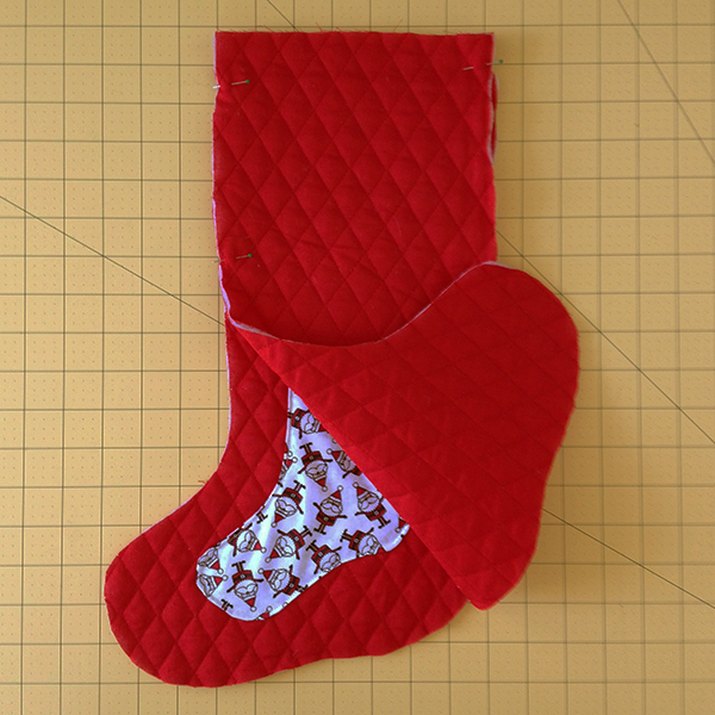
Pin, Sew and Trim Seam
With right sides together (Santa stocking to the inside), pin and sew a 5/8-inch seam around the outside of the large stocking, leaving the top open. Trim seam to ¼-inch. Clip curves. Turn to outside and press.
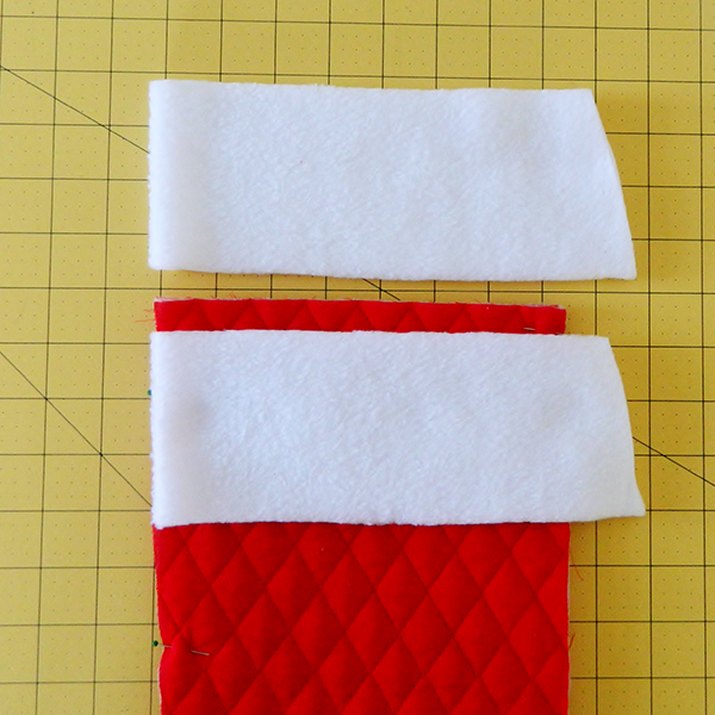
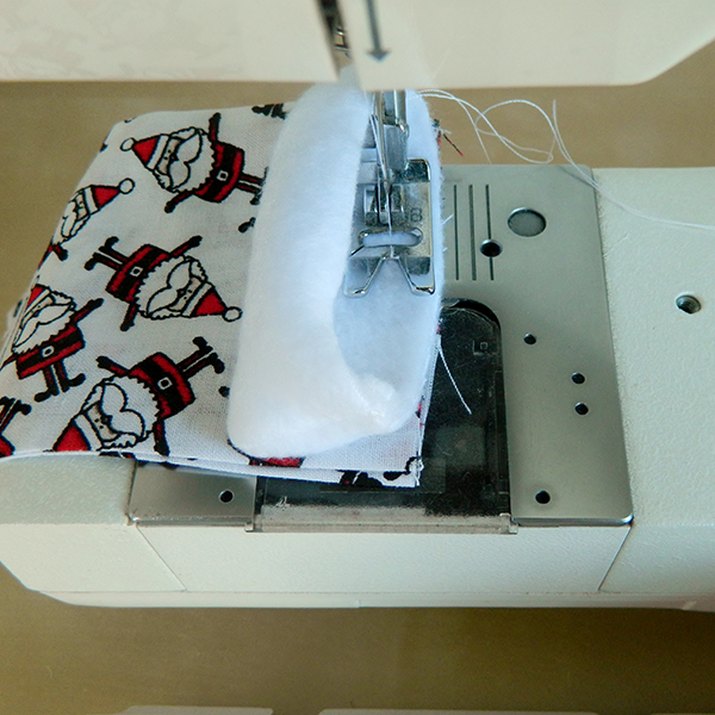
Cut and Sew Large Cuff
Place the front edge of the stocking on the fold of the white microfleece. Cut two pieces on the fold, each about 5-inches long and 5/8-inch wider than the stocking at the top, angling out to 1-1/2-inches wider at the bottom. Open cuff pieces out and with right sides together, sew around the cuff with a 5/8-inch seam. Start along a short edge, turn corner and sew along the longest edge, then up the other short side. Clip corners, trim seam and turn to outside.
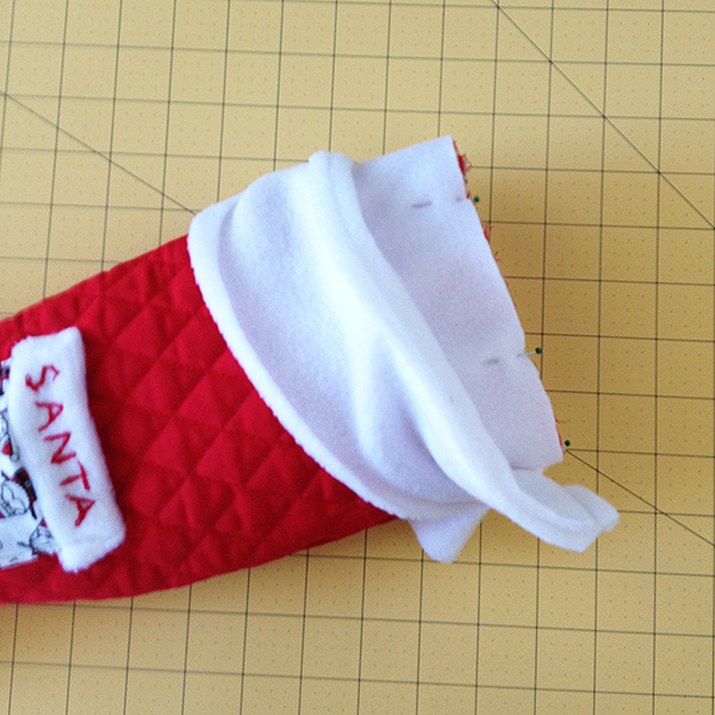
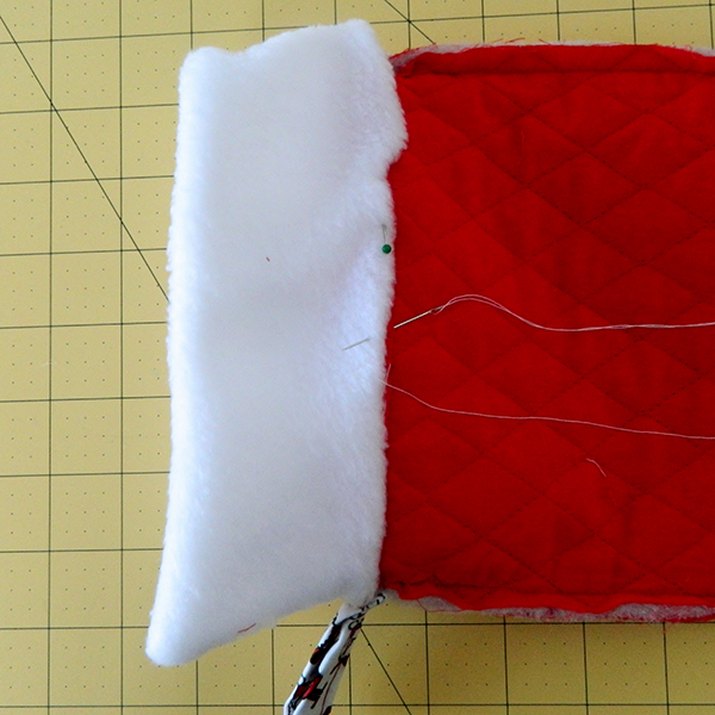
Sew Large Cuff to Stocking
Starting at the back seam of stocking, pin the right side of one raw cuff around the outside top of stocking. Sew cuff to stocking, taking care not to catch other side of stocking or the cuff in the seam. Turn stocking inside-out and press seam up towards cuff.
Make Hanging Loop
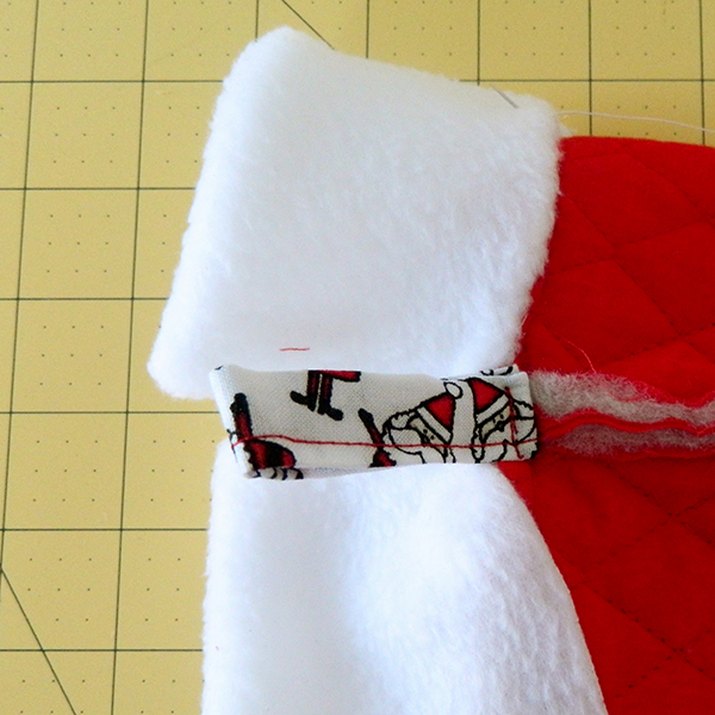
To make the hanging loop, cut a piece of contrasting fabric 5-inches long and 2-1/2-inches wide. Fold in half lengthwise and press. Fold each long side towards the inside center and press. Fold both edges together and stitch along the length of the loop. You can also use a 5-inch piece of grosgrain ribbon. Pin loop to inside back side seam and double-stitch loop to stocking at the seam line of cuff.
Turn Cuff Under and Stitch
Turn the raw edge of the cuff under ¼-inch and blind-stitch it to the inside of the stocking just above the seam line. Turn stocking right-side out.
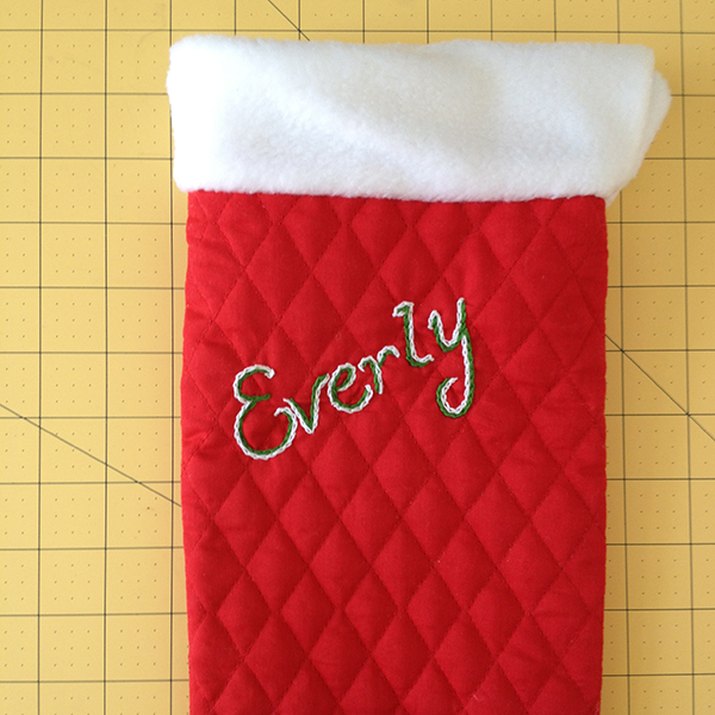
Personalize for the Wisher
Add the final personalization using embroidery or fabric paint and your Letter to Santa stocking is ready to receive that very special wish list this year and for years to come.
Advertisement
Video of the Day