Things You'll Need
Deadbolt lock
2 1/8" hole saw
Power drill
1" drill bit
1/8" drill bit
Wood chisel
Hammer
Utility knife
Pencil
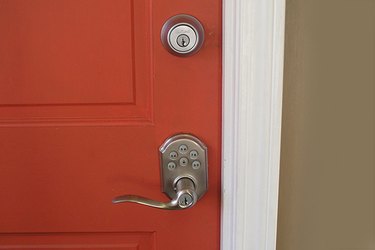
Increase your home security by installing a deadbolt lock on all exterior doors, including the door between the garage or basement and the house. This is a relatively inexpensive project that you can do yourself. You will not only improve the safety of your home for yourself and your family, but save money at the same time.
Step 1
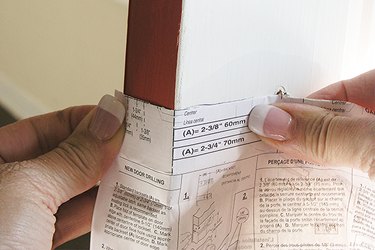
A template for alignment should be included with a deadbolt lock. Use this template to place marks in the correct location for installation. A deadbolt should be centered on the doorknob, about 6" above its location and usually between 2 3/8" and 2 3/4" toward the center.
Video of the Day
Step 2

Drill a 1/8" pilot hole through the center of the lock placement mark and another one through the center of the door edge placement mark. This will give the center bit of the hole saw a place to start and keep the alignment straight.
Step 3

Drill about 1" through the door with the hole saw from the inside, change to the outside and complete the hole. This will prevent tear out on the back side of the door. (There is a small drill bit in the center of the hole saw that will keep the hole aligned through the pilot hole.)
Step 4

Use a common nail placed through the pre-drilled pilot hole in the edge of the door to mark the location in the door frame for the striker plate hole. Using a 1" spade bit or a 1" hole saw, drill a hole through the edge of the door into the space cut for the deadbolt lock. Cut a 1" hole in the door frame centered on the location mark made with the nail.
Step 5
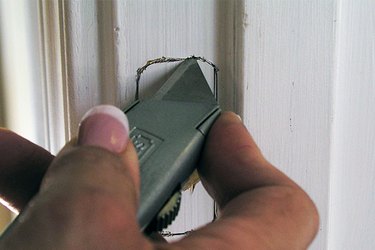
Center the strike plate over the cut hole in the door frame and draw around the edge with a pencil. Score this line with a utility knife.
Step 6
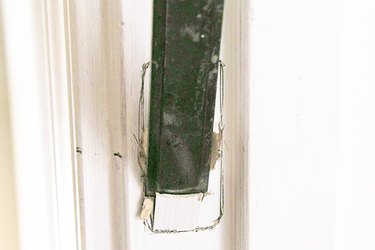
Chisel out the wood in the area for the strike plate by keeping the beveled side of the chisel against the mortised area and tap the end with a hammer. Remove enough material so that the strike plate sits even with the door frame. Repeat this method for the faceplate on the edge of the door.
Step 7
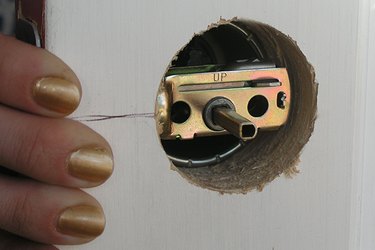
Place the cylinder assembly through the door edge hole. Check the exterior side and make sure any writing is upright. Set the interior thumb-turn plate in place and align the screw holes with the mounting holes inside the lock. Secure the assembly in place with the long screws.
Step 8
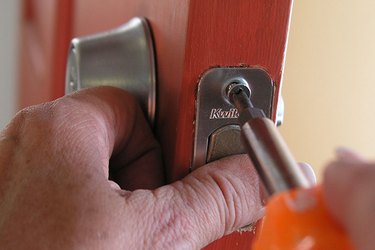
Screw the faceplate on the door edge and the strike plate on the door frame into place. Test the lock to assure that it operates smoothly and make any adjustments necessary.
Video of the Day