Things You'll Need
Faux brick panels
Caulk
Construction adhesive
Hack saw or jig saw
Wet rag
Soapy water
Scrub brush
Tape measure

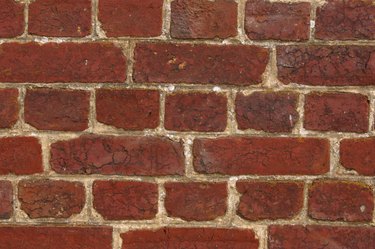
Cinder blocks are often used in construction projects because they are a sturdy material, but if you are using cinder blocks in projects around your home, they can be an eyesore no matter how useful they are in your project. Whether you used cinder blocks to create a wall in your home or simply a small wall to line your yard, you want the attention to be on what you created and not on the unattractive cinder blocks you used. Therefore, with the use of faux bricks, you can transform how your project looks.
Step 1
Use your tape measure to find the square footage of the wall you will be covering so you know how many panels you will need to fully cover it.
Video of the Day
Step 2
Prep your wall by washing it down with soapy water and scrubbing any dirt off the surface. Rinse and let completely dry before beginning to apply your faux brick panels.
Step 3
Apply a line of construction adhesive along the edges of the back of the first panel you will use. Make sure this line of glue is placed between 1/2 inch and 1 inch from the edge so it does not ooze out once pressed against the wall.
Step 4
Begin applying your panels starting in the center of the very bottom of the wall and work your way out and up to completely cover the wall with your faux panels. Firmly press the side of you panel with the construction adhesive against the wall with the tongue side of the panel up and the groove side facing down.
Step 5
Squeeze a small amount of caulk along the edges of your now attached panel where the next panel will fit into it, and slide the next panel with construction adhesive along the edges into place on the wall interlocking the edges of the two panels.
Step 6
Repeat this process with all remaining panels, fitting the pieces together until the entire wall is covered. Make sure as you are fitting the pieces together, you are removing any excess caulk with your wet rag.
Step 7
Use your saw to cut any smaller pieces needed to fill small spaces along the edges, and use extra caulk to fill any cracks or spaces between the panels. Use your rag to match the texture of the caulk to that of the mortar pattern on your panels.
Tip
When figuring out how many panels you will need to purchase to cover your wall, add an extra 10 percent to accommodate for mistakes or extra smaller pieces needed.
Make sure you are using a caulk that matches the color of the mortar of the faux brick panels.
Warning
When using the saw, always cut away from your body to avoid personal injury.
Video of the Day