Things You'll Need
Bucket
Kitchen soap
Sponge
Scrub brush
Towel
Screwdriver
Plastic sheeting
Medium-grit sanding block
Mini foam roller
Paintbrush
Dark umber paint
Glaze
Stir stick
Variety of paint colors for mural or stencil work
Stencil
Stencil stipple brush
Water-based polyurethane
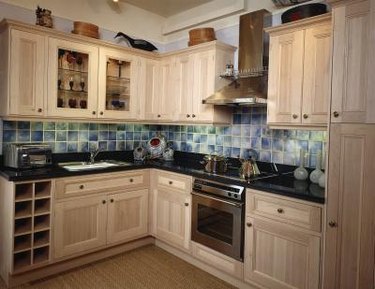
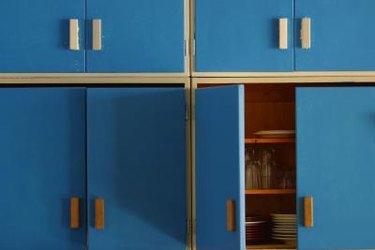
Remodeling and updating kitchen cabinets can be expensive. Change the look of a kitchen, and save money, by simply altering the color of cabinets. Paint the cabinets a white or a cream color for a French country look or choose black cabinets for a polished, modern finish. Many homes also incorporate two different cabinet colors; one color for the top cabinets and another for the base. Painting cabinets takes several days of work; be prepared to paint several layers of paint and sealer on all cabinetry pieces.
Step 1
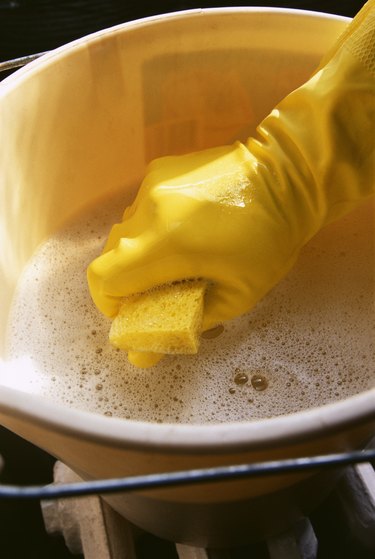
Wash all cabinets with warm soapy water. Use a sponge and light scrub brush to degrease the cabinets and remove all stains. Dry cabinets with a towel.
Video of the Day
Step 2

Unscrew all doors and remove all drawers. Place all items on clean plastic sheeting. Don't forget to unscrew all hardware such as knobs and drawer pulls.
Step 3

Lightly sand all cabinetry with a medium grip sanding sponge. Move the sanding block in the direction of the wood grain. Wipe down and dry all the cabinetry to remove all sanding dust.
Step 4

Lightly roll on eggshell or satin latex paint using a mini-foam roller; a brush can also be used to coat the cabinetry with paint. Ensure the paint is applied light and evenly to avoid drips and sagging paint.
Step 5
Don't forget to paint both sides of doors. Apply two layers of paint to the entire cabinetry surface.
Step 6
Allow each coat of paint to dry four to six hours between coats.
Step 7
Add decorative paint effects if desired. Lightly sand the edges of the cabinetry for an antique or worn look. Use the sanding block to lightly rub off the newly applied topcoat. Be aware the underlying coat of paint or wood will appear.
Step 8
Wipe on stain or glaze on the cabinets for a glazed look. Brush a mixture of one part dark umber paint with four parts glaze onto the cabinets. Wipe the stain off, allowing the glaze to remain in the crevices and corners of the cabinets.
Step 9

Paint the inset of doors different colors. Add a stencil or hand-painted design for an additional design element.
Step 10

Apply two coats of water-based polyurethane to all cabinetry. Lightly brush on the top coat in a thin layer; thick layers can appear cloudy once dry. Allow to dry four to six hours between coats.
Step 11

Replace doors and drawers to the cabinetry base.
Step 12

Do not wipe down or clean cabinets with chemicals for 30 days.
Warning
Do not use an oil-based polyurethane as a sealer; the finish will yellow with age.
Video of the Day