Things You'll Need
Paper
Pencil
Colored pencils
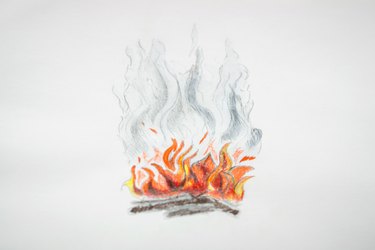
Maybe you're trying to depict a four-alarm fire. Or a character simply puffing on a cigarette. Either way, drawing smoke in one of your sketches isn't difficult, but giving it the shading and texture necessary to make it appear realistic can offer a challenge. To draw smoke, you have to capture something that is almost elusive in nature. This can be achieved, however, by using a variety of proven shading and texturing techniques.
Step 1
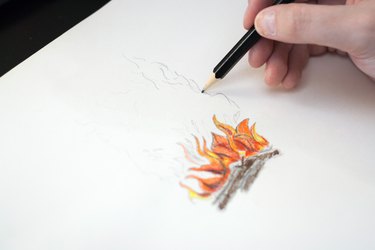
Draw a light outline of the smoke pattern you want to create. Start in the center of your paper and draw a cloud-like pattern. Keep in mind that smoke isn't perfect, so add a few thin, curled lines rising from this pattern to give the illusion of curls of smoke drifting from the cloud.
Video of the Day
Step 2
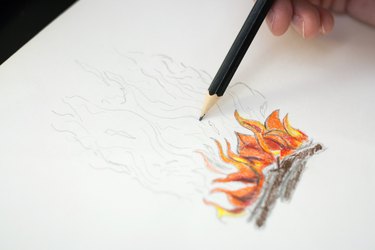
Sketch random lines throughout your smoke cloud that will give it texture. Some of these lines will be squiggly and others will be curved.There isn't a set number of these lines to draw, but they should be distributed throughout your cloud.
Step 3
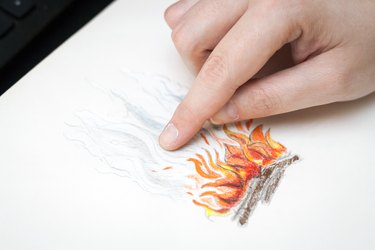
Color your smoke. This can be the tricky part. Use color pencils. Apply a layer of white coloring over the smoke cloud, then color over this with gray. Use your finger to blend or smudge the colors into a smooth texture. Apply the gray over the white using side-to-side strokes and continue to blend until you have the grayish-white tone that looks like smoke.
Video of the Day