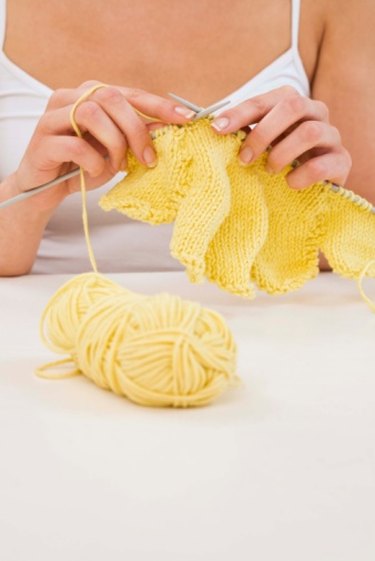
Things You'll Need
Knitted item
Knitting needles
Yarn
When you make a feminine garment with your knitting skills, add a little bit of extra flair with a ruffled edge. A knitted ruffled edge works equally beautifully on a blanket, scarf or shawl. It would even make a feminine edging for a pair of gloves or mittens. Though it may look complicated, making a ruffled edging on your knitting is as simple as increasing stitches. You will only need a basic understanding of knitting terminology in order to knit a ruffled edging.
Step 1
If you're adding a ruffled edge to something that is already finished, pick up and knit stitches on the edges of your knitted item by inserting your knitting needle through each stitch on the edge, moving from left to right as you look at the piece. If you are in the process of knitting, simply keep the live stitches on your needles for this step.
Video of the Day
Step 2
Knit two rows of even stitching if you picked up stitches. If you already had live stitches, keep them as they are if the right side is facing; if the wrong side is facing, knit that side so you have the right side facing again. Make sure to purl the wrong side rows if you are knitting stockinette stitch.
Step 3
Increase every stitch in the next row. To do this, knit one stitch and then make one stitch; you can make one by knitting in the front and back of every stitch, making a yarn over in between every stitch or lifting up the bar between stitches and knitting that bar like a stitch. See the resources for details.
Step 4
Knit evenly back and forth across your piece. Having doubled the stitch count in step 3, your work will now begin to ruffle on its own without making any more increases. Keep knitting evenly across the rows until your ruffle is the desired width.
Step 5
Bind off all of your stitches loosely in the pattern you have been following.
Video of the Day