Things You'll Need
Pipe cutter
Bucket
Wire brush
Brass union
Soldering flux
Propane torch
Lead-free solder
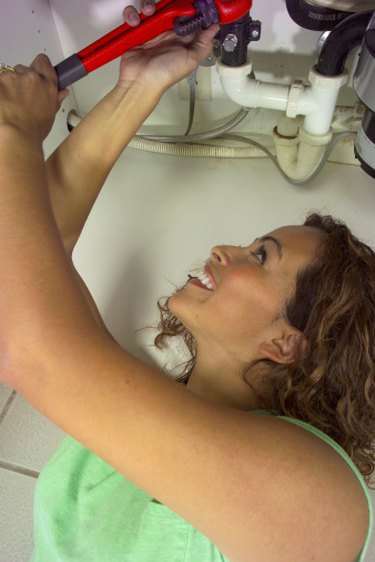
Pipe wrench
The usual way to attach fittings to copper pipe is to sweat them, which means soldering with lead-free solder. Sweat connections are permanent, so when you need to be able to separate the pipes, as you do when they are connected to a removable appliance like a water heater, you need to install a union. It is a special kind of plumbing fitting with two threaded halves and a central nut to hold them together. Unions for copper pipe can be made from copper or brass, and they have slip joints for making sweat connections.
Step 1
Cut the copper pipe with a pipe cutter if you are installing the union in the middle of an existing line. Turn off the water, then unscrew the cutter drive, fit the cutter around the pipe, and tighten the drive until the blade makes contact with the metal. Rotate the tool around the pipe, tightening the drive on each rotation until the pipe separates. Let the water in the pipes drain into a bucket.
Video of the Day
Step 2
Clean the ends of the pipes with a wire brush to remove oxidation and provide better bonding for the solder. Some pipe cutters have an attached brush intended for this purpose.
Step 3
Separate a brass or copper union by unscrewing and removing the central nut. Spread flux inside the slip fittings on both halves of the union and on both ends of the pipes you want to join using the small brush that comes with the flux. Slide each half of the union onto the end of one of the pipes.
Step 4
Heat one of the connections with a propane torch, holding the flame about six inches from the metal. The flux will turn black, liquefy and eventually begin to bubble. When this happens, remove the flame.
Step 5
Touch the end of a coil of lead-free solder to the joint immediately. The solder will melt and disappear into the joint, where it will fuse the fitting to the pipe as it cools. Move the tip of the solder around the pipe to make sure the solder fills all the space between the fitting and the pipe. When you have soldered one half of the fitting to a pipe, solder the other half to the other pipe in the same way. Let the metal cool for 10 to 20 minutes.
Step 6
Screw the nut onto one half of the union, then bring the pipes together and continue screwing in the same direction. The opposite half of the union has reverse threads so that screwing in one direction will tighten the nut onto both halves. When you have tightened the nut by hand as far as it will go, continue tightening with a pipe wrench.
Step 7
Turn on the water and check for leaks. If the union is leaking, tighten the nut with the pipe wrench until the leaking stops.
Tip
You can join copper to galvanized steel pipes with a union, but it must have insulation to prevent the different metals from touching. Such a union is called a dielectric union.
Don't attempt to solder pipes that have water in them. The water will vaporize, and in so doing will absorb enough energy to prevent the pipes from getting hot enough to melt the solder sufficiently to make a watertight joint.
Warning
Wear safety glasses while sweating copper fittings to protect your eyes from hot flux and solder.
Video of the Day