Things You'll Need
PEX cutter
2 straight insert fittings
4 crimp rings
PEX crimper
Tape measure
PEX pipe is a flexible plastic tubing product used for supplying water in buildings. It is made from cross-linked polyethylene. PEX pipe can become damaged during installation, from freezing or other unforeseen events. Splice a new piece of PEX pipe into the existing pipe to repair the damaged section. There are many types of PEX connectors, but insert fittings will work best with previously installed PEX.
Step 1
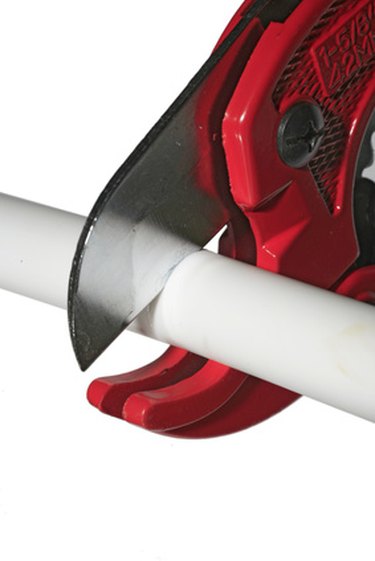
Cut the damaged section of PEX pipe on a 90-degree angle and remove it, using a PEX cutter.
Video of the Day
Step 2
Slide a crimp ring over the end of each side of the removed damaged area. Slide the ring onto the pipe so it is at least 2 inches from the end.
Step 3
Press a straight insert fitting into each side of the damaged area that was removed until the fitting is pushed into the pipe as far as it will go.
Step 4
Slide the crimp ring over the end of the pipe and fitting until it is aligned over both the PEX tubing and fitting.
Step 5
Crimp the band with a PEX crimper and secure the PEX tubing over the fitting.
Step 6
Measure the distance between the fittings with a tape measure, starting from the end of the seat on each straight insert fitting.
Step 7
Cut a piece of PEX tubing to the measurement, using the PEX cutter.
Step 8
Slide a crimp ring over each side of the new piece of PEX tubing.
Step 9
Press the tubing onto the open end of each side of the area being replaced until the tubing is as far as it can be pushed onto the fitting.
Step 10
Slide the crimp ring over the section where the PEX tubing and fitting overlap.
Step 11
Crimp securely with a PEX crimping tool.
Tip
Check both sides of the damaged area to be sure the entire damaged area is removed.
Video of the Day