Things You'll Need
Safety glasses
Adjustable wrench
Helper
Duct tape
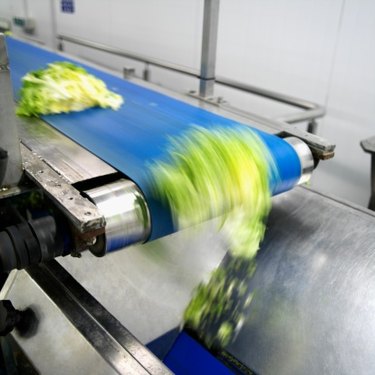
Adjusting a conveyor involves working with both belt tension and belt tracking. Tension is the amount of pressure applied to the belt from each end of the conveyor rollers, and it is adjusted to prevent slippage between the driven roller and the belt. The tracking of a conveyor belt involves an adjustment to keep the belt centered on the rollers. A conveyor belt will move toward the end of the roller that it first comes into contact with. You can adjust a conveyor with the proper tools and basic mechanical knowledge.
Tension Adjustment
Step 1
Turn off the power to the conveyor. Tag or otherwise mark the power switch or circuit breaker to alert others of the work being done.
Video of the Day
Step 2
Locate the take-up roller adjustments on either side of the conveyor framework. The take-up roller is not powered and is usually at the lead end of the conveyor. The adjusting rods are threaded with lock nuts installed.
Step 3
Loosen the inner lock nuts on both adjustment rods, using an adjustable wrench. Turn the nuts back from the frame a few turns to provide slack for the tension adjustment.
Step 4
Tighten both sides of the take-up roller an equal number of turns clockwise, using the adjustable wrench. Tighten the roller until the conveyor belt is at the desired tension for the work load. Each side moves independently of the other, providing a means for the tracking adjustment that follows.
Tracking Adjustment
Step 1
Attach a strip of duct tape securely across the conveyor belt. You will use the strip as a visual indication of the belt rotation.
Step 2
Turn the conveyor power on and remove the tags. Tracking adjustments must be performed while the belt is operating.
Step 3
Allow the belt to run for several minutes while you observe the belt tendencies. Have a helper stationed at the power end to control the conveyor.
Step 4
Face the take-up roller and observe the position of the belt. If the belt tends to "walk" to the left side of the roller, loosen the tension adjustment nut on the right side 1/2 turn counterclockwise. If the tendency is to the right, loosen the left side.
Step 5
Check the position of the belt and continue to make small, incremental adjustments until the belt is centered on the roller. Allow at least three full belt revolutions after the idler has been adjusted to determine if additional adjustment is required. Count the revolutions by observing the rotation of the duct tape.
Step 6
Turn off the conveyor power when the adjustments have been completed and remove the duct tape.
Step 7
Tighten the take-up roller lock nuts clockwise with the adjustable wrench.
Tip
Avoid wearing loose clothing when making adjustments on a conveyor.
Wear safety glasses and provide glasses for helpers.
Warning
Familiarize yourself with all manufacturer safety recommendations for the type of conveyor used. Make sure all helpers are aware of these recommendations before beginning work.
Video of the Day