Things You'll Need
AC adapter
TL082 Dual JFET-input IC operational amplifier
pH probe
Digital multimeter
Wires
BNC panel controller
Soldering iron
Flux
Two 9-Volt batteries
Graph paper
Straight rule
Build an accurate, easy-to-use, do-it-yourself pH meter and probe device from widely available, inexpensive materials. Purchase high quality tools to give a professional finish to the kit. Use your new pH meter and probe for a variety of different purposes around the home. Check the pH level of your aquarium, measure the acidity or alkalinity of your home brewing kits or test your medicines to ensure your supplies are in the correct, safe pH range for their respective purposes.
Step 1
Construct a circuit with an AC (alternating current) adapter and a TL082 dual JFET-input IC operational amplifier which has a high impedance input and prevents the need for the use of pH tables. Position the amplifier between the high impedance pH probe and the digital multimeter. Use ordinary wiring to connect the individual components.
Video of the Day
Step 2
Solder the amplifier directly to a BNC ("bouncer" or relay) panel controller using a soldering iron and a piece of flux. Use a 7-volt offset as a reference ground rather than an earth ground. Connect the multimeter to ground and pins 6 and 7 of the amplifier. Connect the pH probe to a non-inverting input. Power the circuit with two 9-volt batteries.
Step 3
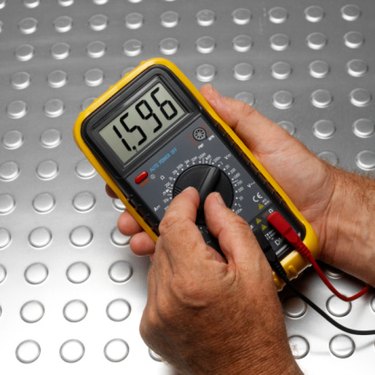
Insert the pH probe into the solution you wish to measure. Use the multimeter to measure the output voltage, which is directly proportional to the pH in this setup and produces an increase or decrease of 1 volt when there is a change in one unit of pH.
Step 4
Interpret the voltage. Acids give negative voltages. Basic solutions give positive voltages. A pH probe produces about 59 mV per pH unit so, at a pH value of 7 (neutral pH) the probe produce 0 volts, as described by 66 Pacific.
Step 5
Draw a graph of your results on graph paper (paper printed with squares). Put the full 0-14 pH scale along the X axis (the base line) and a range of steadily increasing voltage values up the Y axis (the vertical side line) from -300-mV to +300-mV. Draw a diagonal line with a straight rule from pH 14 to +300-mV.
Step 6
Determine the pH value of the solution you are measuring. Locate your voltage on the Y axis. Follow along to the right until you reach the diagonal line. Now follow down in a direct line to the X axis. Read the corresponding pH at that point.
Warning
Wear safety gloves when using a soldering iron or you could scold your fingers. The tip of a soldering iron can reach temperatures of over 250 degrees Celsius.
Video of the Day