Things You'll Need
Trisodium phosphate cleanser
Steel wool
Rags
180-grit sandpaper
Masking paper
Professional painter's tape
Acrylic spray primer
Epoxy spray paint
Metal-etching spray primer
A scratched or discolored sink can ruin the overall appearance of a kitchen. While some spend hundreds on a brand new sink, frugal homeowners opt to resurface their kitchen sink with the appropriate coating. Before you do likewise, learn the proper way to prepare the old sink, or it will ultimately reject the new surface coat. Encourage lasting results by abrading and/or priming the sink. Apply the new surface coating, using specific techniques, or ugly flaws may show up in the final result.
Step 1
Clean your kitchen sink, or primer won't stick. Ordinary chemical cleansers may leave residues that can interfere with primer adhesion. For best results, choose a heavy-duty trisodium phosphate soap. Rinse the kitchen sink; let it air dry for two hours.
Video of the Day
Step 2
Abrade nonmetal sinks to encourage better adhesion. Sand these types of sinks until they feel coarse.
Step 3
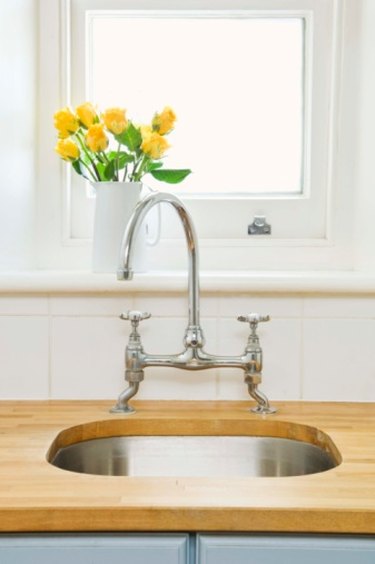
Cover the kitchen countertops and faucet with masking paper, using tape. Apply tape to the metal sink drain.
Step 4
Coat abraded nonmetal sinks with acrylic spray primer. For best results, maintain 8 inches between the kitchen sink and spray tip. Let the acrylic primer dry for two hours.
Step 5
Finish your sink with epoxy spray paint. Maintain 8 inches between the kitchen sink and spray tip. Don't run the tap for three hours.
Warning
Acrylic spray primer won't bond to metal kitchen sinks; use metal etching spray prime on these.
Video of the Day