Things You'll Need
Table saw
Table router
Ball-and-socket bits
Quarter-round routing bit
Wooden boards or slats
Glue
Canvas
Featherboards
Safety goggles
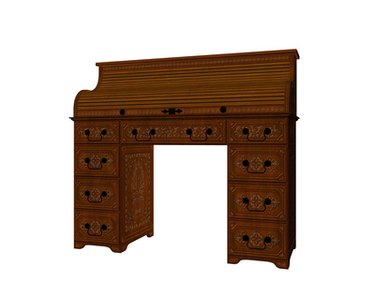
Roll-up bread basket doors, called tambour doors, roll up out of the way inside the cabinet when opened. There are two methods of constructing roll-up doors. One method involves gluing slats to a piece of canvas. Another method involves using specialized router bits to create slats with ball-and-socket joints. With either method, the roll-up door is placed in a track and a knob is attached to the bottom slat. By pushing up on the knob, the slats slide up and into the cabinet, leaving counter space free and uncluttered by hinged doors.
Ball-and-Socket Roll-Up Doors
Step 1

Plane your wood stock to 1/2 inch by 1 15/16 inch. You will use each piece of wood to create two slats at one time, to be cut in two after all routing is complete.
Video of the Day
Step 2
Set up your table router. Set the fence so the wood barely touches the shaping bit.
Step 3
Rout your profile using the large routing bit. The profile rounds one edge of the slat and cuts the ball for a ball-and-socket joint at the same time. Because you are making two slats at one time, after routing one side of a board, turn the board end over end and rout the other side. Think of a sheet of paper folded and a pattern cut on the the open side. When the sheet of paper is opened, each side is identical from the middle outward. This is the effect you are creating.
Step 4
Turn your board to the opposite side, the side that does not yet have rounded corners, and repeat the previous step.
Step 5
Kerf cut each of the narrow sides of your board using your table saw. This cut paves the way for the cutting of the socket.
Step 6
Rout the kerf cut edges with your socket-routing bit.
Step 7
With your table saw, cut the two slats apart by cutting down the middle of each board. The narrow end of each slat will look similar to a wish bone or a piece from an interlocking puzzle.
Step 8
Sand each piece. Cut slats to the desired width for your door. For easy roll up, slats should be 1/16 inch more narrow than the distance from the inside of one track to the inside of the other. Slide the ball of one slat into the socket of another. Create enough slats to build your door.
Slat and Canvas Roll-Up Doors
Step 1
Rout the profile of 3/4-inch boards using a quarter-round routing bit. Round both the top and bottom edges.
Step 2
Cut each board down to approximately 1/4-inch thick slats using your table saw.
Step 3
Cut slats to the desired width plus two inches.
Step 4
Construct a jig. Build a wooden frame that is the width of slats at the completion of the previous step. This frame can be made by screwing 1/4-inch by 2-inch boards to a sheet of plywood.
Step 5
Place slats in the jig, backside up and press together for a tight fit. Using boards and clamps, hold the slats firmly in place. Sand with a belt sander.
Step 6
Cut canvas to the size of the slats in the jig.
Step 7
Remove dust from sanding. Apply glue to the backs of the slats. Press canvas onto the slats.
Step 8
When dry, remove the roll-up door from the jig and cut to final size.
Warning
Use featherboards and wear protective goggles at all times while using your table saw or routing table.
Video of the Day