Things You'll Need
Small screwdriver
Coil shims
Blister pack tattoo lining needles
Sterile tattoo machine tube
Rubber gloves
Latex gloves
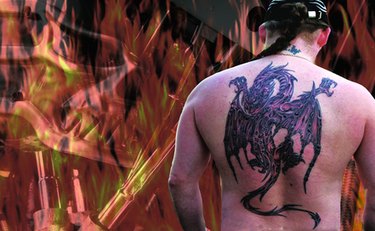
Tattoo machines are precise pieces of equipment that create body artwork. Different types of tattoo elements require different techniques and setting up of the machine in a specific way, called tuning. Lining is the outline of the tattoo. Typically, this is applied deeper and heavier than some of the shaded areas of the tattoo.
Step 1
Hold your tattoo machine so the coils are at eye level. Press down on the armature bar and see if the front coil top touches the armature bar as it comes down before the rear coil makes a connection with the bar. If it does not, or if they hit at the same time, you need to adjust and shim your coils. Shims can be purchased from a tattoo supply or hardware, and will raise the coil so that the front bar touches the armature just before the rear coil. The standing gap between the front coil and the armature bar when not moving should be about the thickness of a dime, or 1 mm.
Video of the Day
Step 2
Remove the retaining bar on the contact screw on the top back of the tattoo machine. Adjust the speed of the machine by turning to to the left to make it slower, which is preferable for lining, or to the right for faster if it is adjusted too slow. If your machine has a volt reading around 6 volts is preferred for lining speed. Replace the retaining bar on the screw.
Step 3
Adjust the spring tension to make a shorter or longer stroke. This controls the needle stroke, and a medium, short, stronger stroke is what you are looking for in heavier work like lining.
Step 4
Lay out the tube, the blister pack needle, and rubber bands. Tattoo needles for lining should be pointed needles, not flat.
Step 5
Put on the latex gloves before handling the sterile machine pieces. Open the sleeve the tube is in and place it on the work area. The work area should be covered by a clean, disposable cloth.
Step 6
Open the blister pack with the sterile needle in. Make a slight bend in the needle so that there will be tension when it's mounted in the machine. Not a corner bend, just a slight curve.
Step 7
Slide the needle into the tube, so that the curve is facing back towards the machine. Mount the hook end of the needle over the pin on the machine and set it in place.
Step 8
Wrap the rubber band around the needle arm and around the back of the machine to increase the tension on the needle. Turn the machine on and adjust the speed according to the type of lining you will be doing. Heavier lining should have a bit more speed and depth than fine lining.
Video of the Day