Things You'll Need
Screwdriver
Wire cutters
Wire strippers
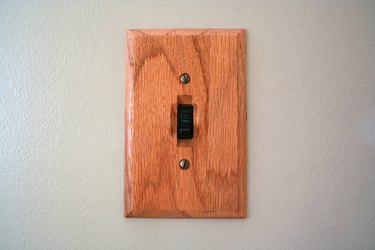
Wall switch
14/3 ROMEX® electrical wire
A 14/3 electrical wire means that it is 14-gauge in size and it has three primary wires plus a ground wire. The three primary wires are red (hot), black (hot) and white (common). This wire is used as two 120-volt circuits that share a common return wire. It can also be used to supply 240 volts by using only the two hot wires. Adding a switch to this type of circuit depends on whether the wire is used for 120 volts or 240 volts.
120-Volt Wiring
Step 1
Verify that no power is active before touching any wires.Take the black wire and strip 1/2 an inch of insulation off the end of the wire. Use a screwdriver to loosen the two screws of the switch.
Video of the Day
Step 2
Wrap the bare metal end of the black wire around one of the two terminals of the switch and tighten the screw.
Step 3
Strip 1/2 an inch of insulation off the black wire of a second piece of 14/3 wire. Connect this black wire to the second screw terminal of the light switch and tighten the screw. The red wire can either stop in the junction box or be spliced straight through to the red wire in the second 14/3 wire. This places the switch on the black wire, but the switch could also be placed on the red wire instead. The process is the same, except the red wire is used instead of the black wire.
240-Volt Wiring
Step 1
Verify that no power is active before touching any wires.Take a double-pole single-throw switch and study the wiring diagram that comes with the switch. Strip 1/2 an inch of insulation off the end of the red and the black wires.
Step 2
Connect the red wire and the black wire to the two terminals on the top side of the switch. Tighten the two screws to secure the connection.
Step 3
Take a second 14/3 wire and strip 1/2 an inch of insulation off the end of the black and the red wires. Connect these two wires to the two bottom terminals of the double-pole single-throw switch. The red wires should be on one side of the switch and the black wires should be on the other side. This switch is important for this type of circuit. A double-pole single-throw switch will shut off both hot wires at one time.
Warning
Shut off all power while working on any electrical wiring.
Video of the Day