Things You'll Need
Construction paper
Scissors
Glue
Cardboard
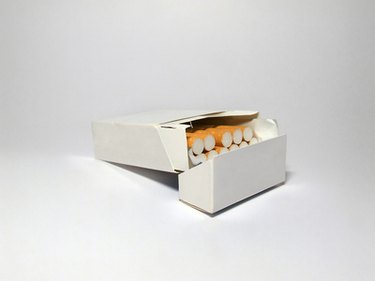
Instead of simply using the box you bought your cigarettes in to keep them in one place, it can be much more stylish to make your own box that can be used again and again. Making your own box adds a personal touch to where you keep your cigarettes and you are free to decorate it any way you choose.
Step 1
Draw the template for your box onto a sheet of construction paper. If you have the machinery, you can also use aluminum that is thin enough to bend but thick enough to keep from crumpling, for a box that lasts even longer. Use solid lines for the places you will be cutting and dotted lines for where you will be folding. The template can be printed and used as a reference as well and should be a two dimensional version of the box you are about to create.
Video of the Day
Step 2
Cut the outline of the unfolded box out of the material you are using. Take care to not touch the lines along which you will be folding. These should be left alone for now. Note that the bottom portion of the box is slightly larger than the top. This is not a mistake and should be accounted for when cutting.
Step 3
Fold all of the dotted lines away from you, with the dashed line on top to separate the different sections you will be folding and gluing.
Step 4
Mark the different tabs you'll be using for clarity. The section at the center top is the "i" tab. Beneath it is the "j" section followed by the "f" section. The next two sections can be left blank. The section that comes after the two blank sections is the "b" section. The top left section is the "g" tab. Underneath it is the "e" tab followed by the "h","d","a", and "c" tabs consecutively. The unmarked tabs on the right hand side of the box are labeled identically to the tabs on the left. Use the pencil to lightly mark the different sections.
Step 5
Stick the bottom tabs "a" to the inside of the bottom of tab "b". Glue these tabs together for added stability. Attach the "c" sides over the side flaps of "d" by gluing them together as well.
Step 6
Stick the "e" flaps to the underside of the top of the "f" flap. Next place the sides of the lid "g" over the "h" flaps and fold the i lip under the front of the lid. The "g" flaps should be glued to their nearby "h" flaps.
Step 7
Insert a piece of cardboard into the package and glue it to the back side of your box to add strength to the overall structure. If you have chosen to use aluminum, this part will not be necessary.
Video of the Day