Things You'll Need
Drywall panels
Drywall lift
Drywall screw gun
Measuring tape
Carpenter’s square
Utility knife
Assistant
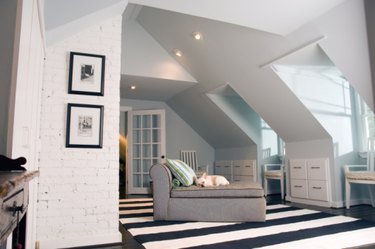
Not all walls are vertical. If you're finishing out an attic loft or a vaulted ceiling, your walls may be slanted. Gable roof lines create inverted V-shaped walls inside. By slightly altering standard installation techniques, you can hang drywall on slanted walls for a finished living space. Because you'll be hanging the panels at an angle overhead, you'll need an assistant and a drywall lift.
Step 1
Install drywall on any vertical walls that adjoin the slanted walls first. Unless you're hanging drywall on an A-frame structure, you will have vertical sidewalls that meet the bottom point where the slanted wall meets the regular wall.
Video of the Day
Step 2
Measure horizontally from the edge of the wall to the middle of the dimensional stud that is just short of the length of the first drywall panel. For example, if you're hanging 10-foot panels, measure to the middle of the stud that is less than 10 feet. If the middle of that stud is 9 feet, 10 inches from the wall, that's the measurement you'll use.
Step 3
Cut the drywall panel to match your measurement. In the example given in Step 2, you would cut 2 inches from the end of the panel. It's important to cut the panel so the edge is exactly on the center of the stud. Drywall contractors say the panel "breaks" on the stud.
Step 4
Use a sharp utility knife and a carpenter's square to make a straight cut on your drywall panel. Cut drywall quickly by running the blade down the line on the front side, and then snapping the panel backward along the scored line. Run the blade one more time down the back crease formed by the snap to cut the paper backing.
Step 5
Position the panel on the drywall lift and raise the panel in place. Have your assistant push the panel tightly against the wall, making sure the outside edge breaks on the center of the stud. Rest the panel on the top of the drywall that forms the wall. If there is no wall, you'll need to use a carpenter's level to get the first row level.
Step 6
Attach the panel to the studs by inserting one screw approximately every 8 inches on each stud. On the sides of the panel, keep the screws about ½ inch from the edge.
Step 7
Measure and cut the next piece of drywall, once again using the center of the dimensional stud just short of the length of the panel for your measurement.
Step 8
Position the next panel on the lift and raise it to meet the first. Have your assistant push the panel tightly against the first panel and insert the drywall screws to hold it in place.
Step 9
Repeat measuring, cutting and attaching each panel as you work your way up the slanted wall. The final row may be a smaller width than the standard 4-foot-wide panel, so measure and cut it accordingly.
Tip
Use the largest-size drywall panels you can safely maneuver to reduce taping later.
Wear protective eye wear when hanging drywall, and use caution when cutting with a utility knife.
Warning
Take frequent breaks when hanging overhead drywall to reduce neck, shoulder and arm strain.
Do not attempt to hang overhead drywall without an assistant and a drywall lift.
Video of the Day